
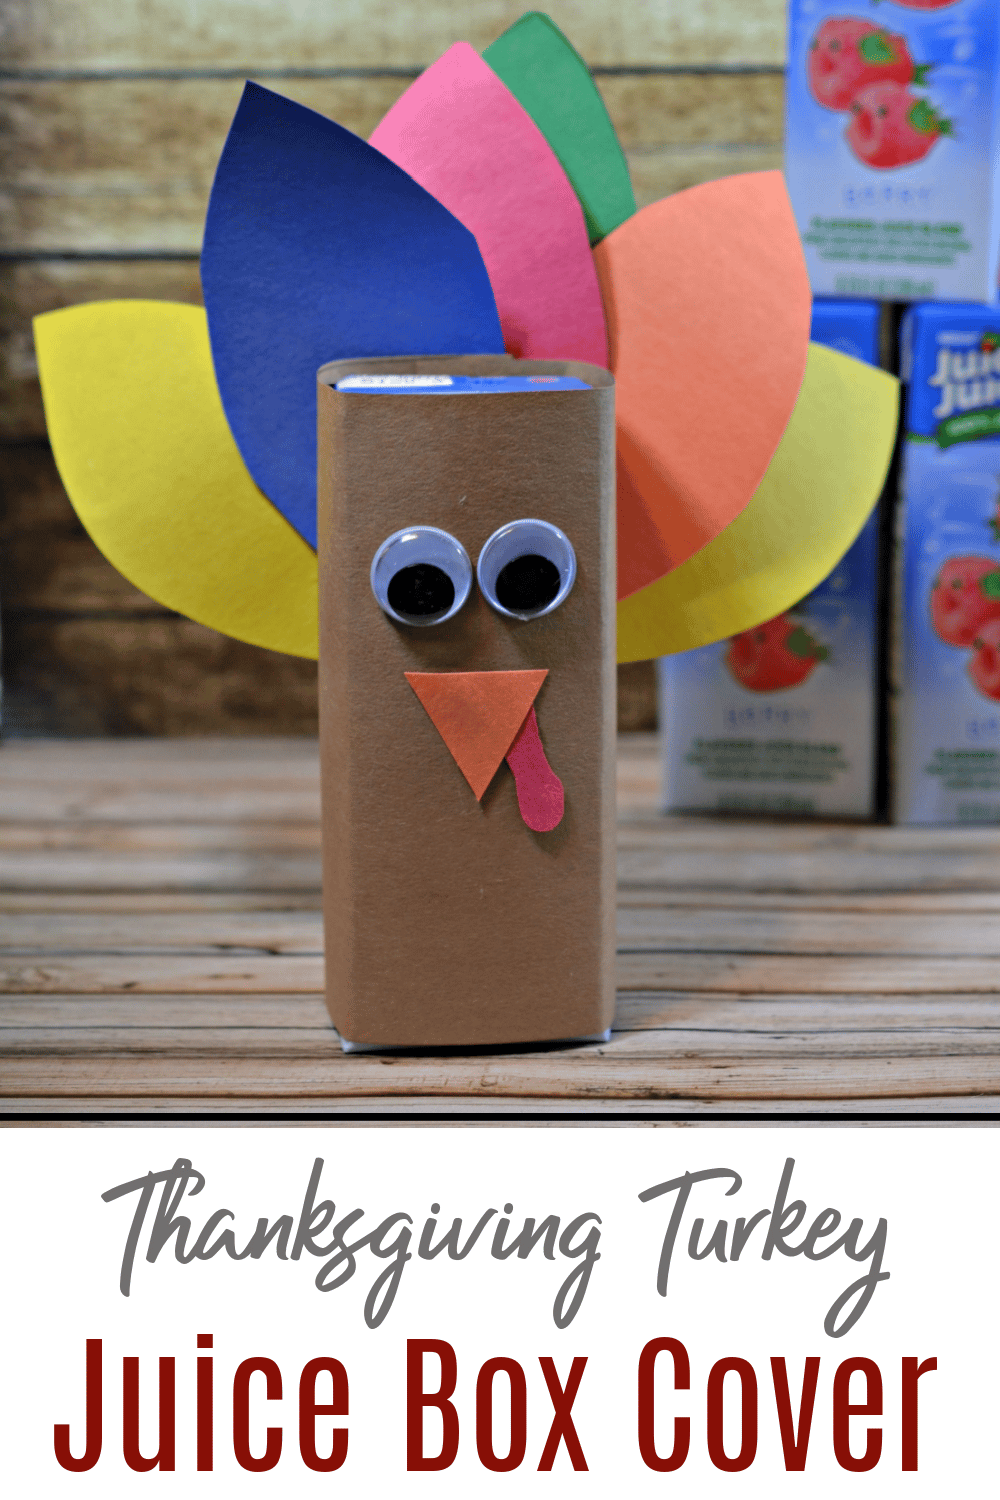
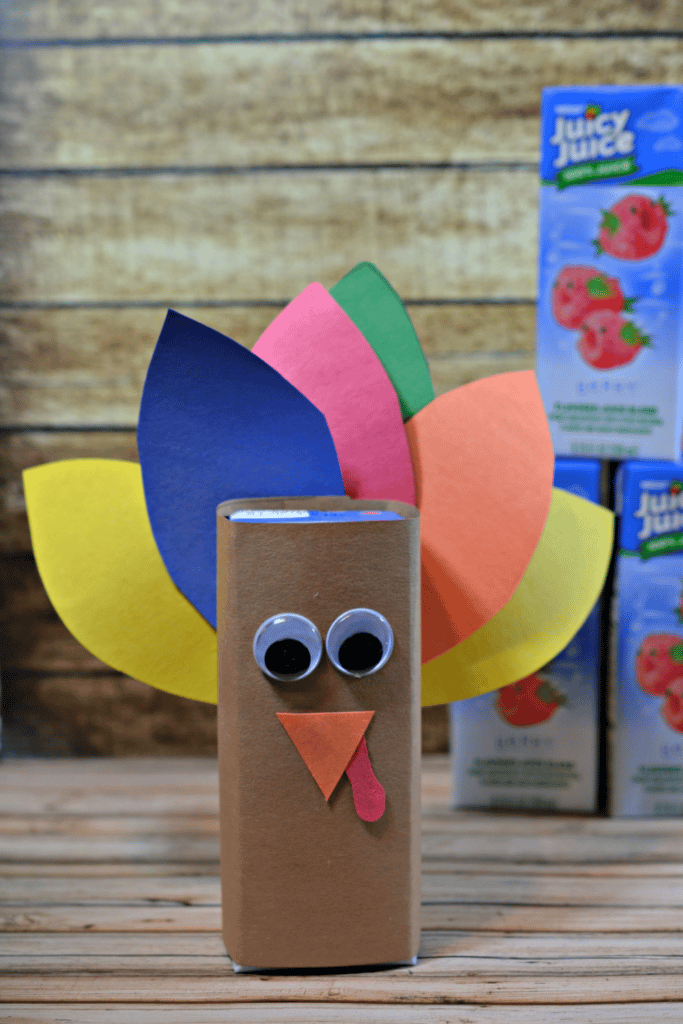
Thanksgiving Craft – Turkey Juice Box Covers
These Turkey Juice Box covers craft is perfect for your little ones to complete before or on Thanksgiving. A fun new way to enjoy their favorite juice box.
Thanksgiving is a wonderful time to reflect on our gratitude and appreciation for our family, friends, and the life we live.
Looking for the good that has occurred over the past year and what is yet to come. As your house fills with laughter and the busyness that is expected when friends and family begin to arrive for a great meal, it is often that the kiddos is get lost in all the adult chatter.
These Turkey Juice Box covers are simple enough to do. Keep in mind that younger kids may need some additional help from an old child or adult. But ultimately they can do the wrapping, the taping or gluing, and customizing themselves.
Creating Your Juice Box Covers for Thanksgiving
Time to turn an ordinary box of juice into a fun turkey friend with a colorful tail. I am pretty sure your kids will love these adorable additions.
You can find printable instructions for this craft below (just scroll down).
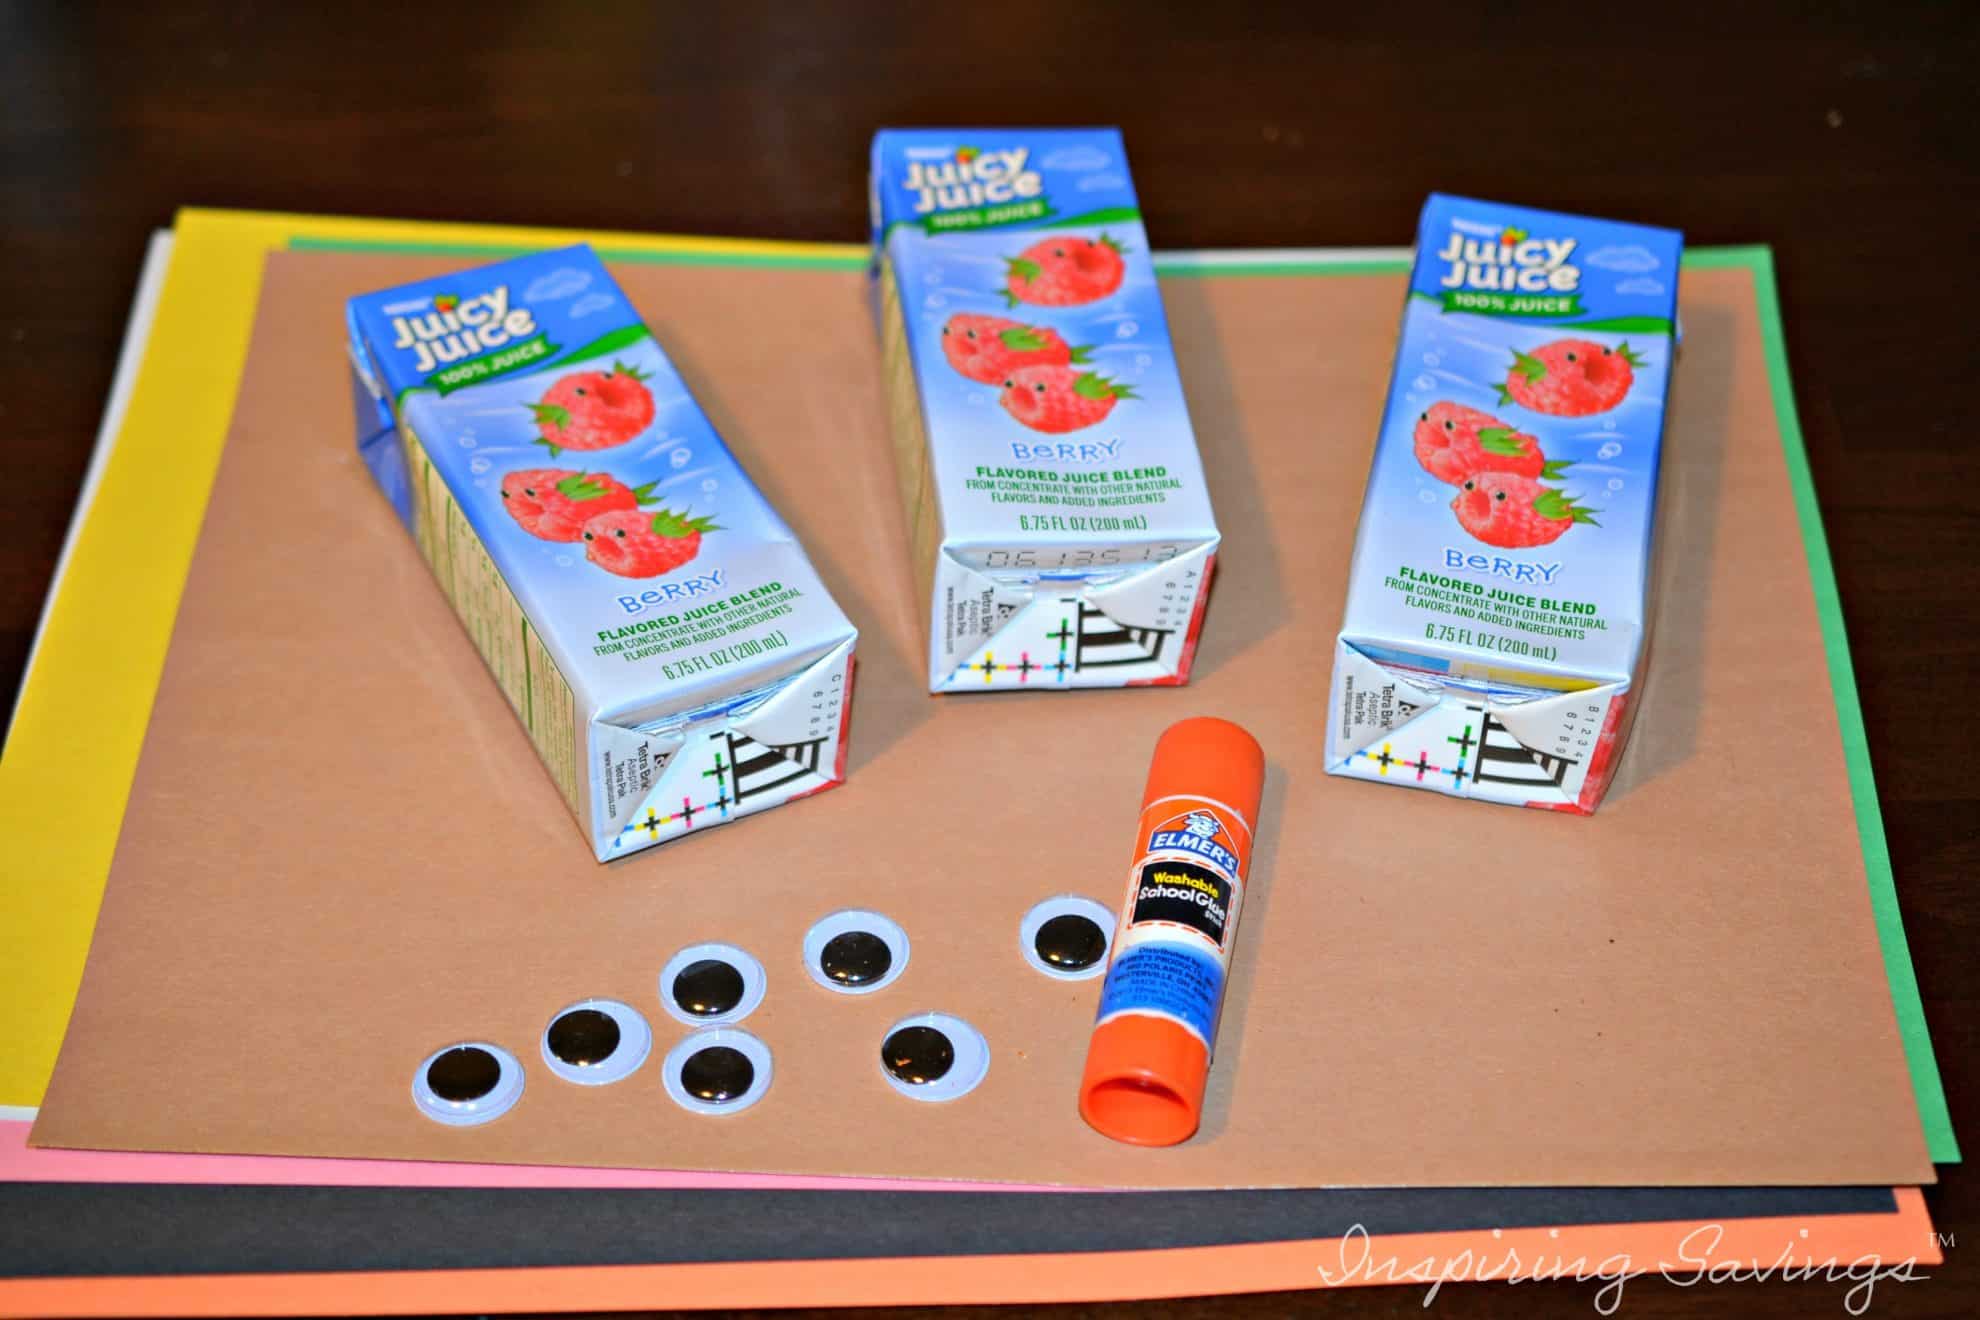
Supplies Need to Make Thanksgiving Craft – Juice Box Covers
- Juice Boxes of your choice (I used Juicy Juice. Just in case you find my measurements a little off)
- Construction paper (brown for the body, orange for the beak, red for the wattle, and multiple colors for the feathers)
- Glue or tape
- Scissors
- Googly Eyes
Making Your Thanksgiving Turkey Juice Box Covers
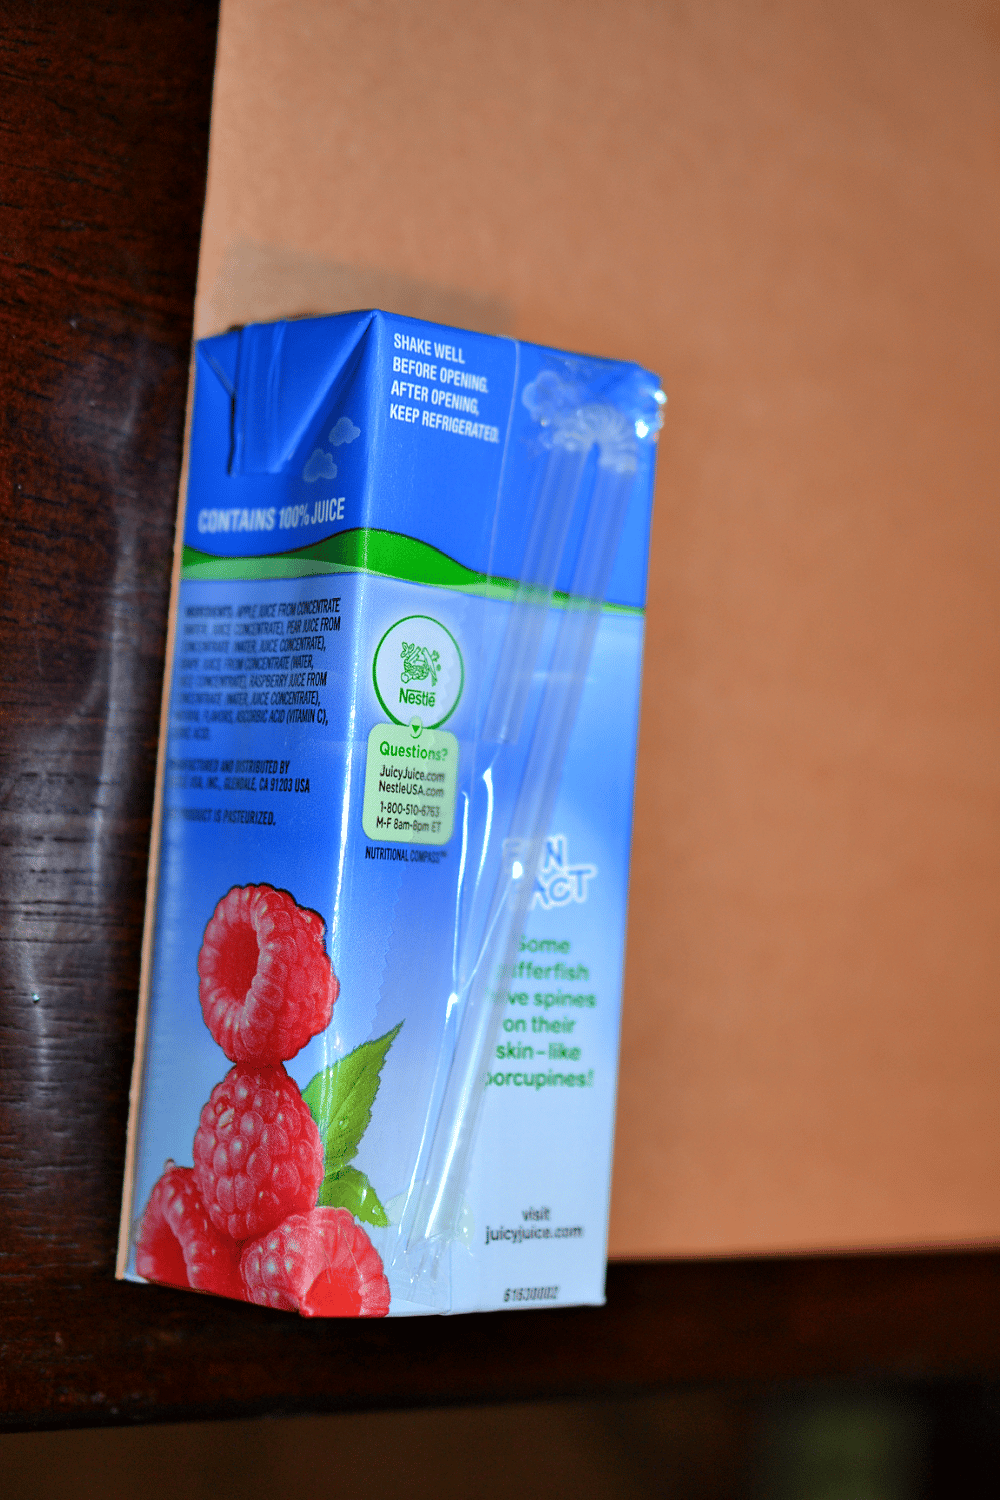
Please Note: You will want to make sure you remove the straw from the juice box before you make the wrapper, otherwise it will be impossible for your child to pull out from behind the wrapper without wrecking their new cover.
STEP ONE: First, start with a piece of brown construction paper. Place your juice box on top to get a rough estimate for measuring. Your size will be dependent on your juice box.

STEP TWO: Roll out your juice box on construction paper. Roll enough times to make sure it will be covered. Rolling it 4 times over.
Again, there is no need for exact measurements. But if you suffer from OCD like me, the above juice box measured on my sheet of paper is 7 ¾ x 4 ¾ inches (based on my juicy juice box).

STEP THREE: Begin work on the tail feathers. Start the tail feathers by cutting out the shapes using different colored construction paper. Using your scissors, cut out a long rounded triangle to form a feather. You will need six or more.
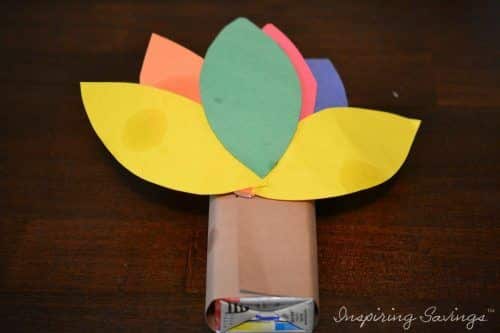
Then take each feather to shape the turkey’s tail. (As pictured below).
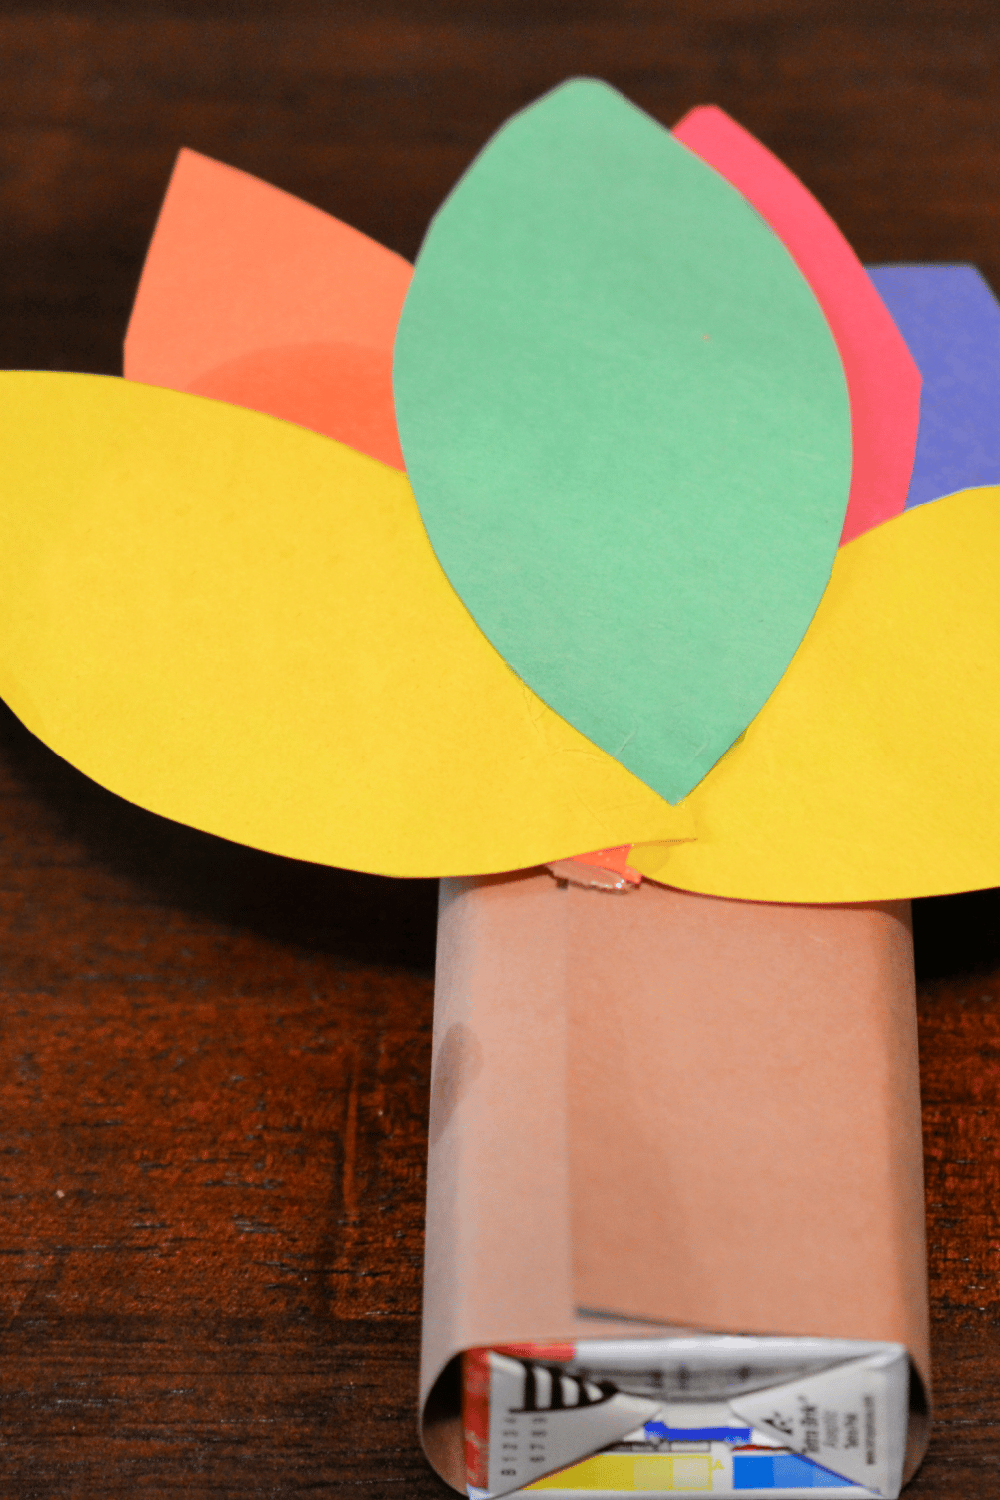
STEP FOUR: Now add your turkey’s tail to your juice box cover. You will need to flip your juice box over so the glued seam is face up. Glue an arrangement of feathers to the back of the juice box.
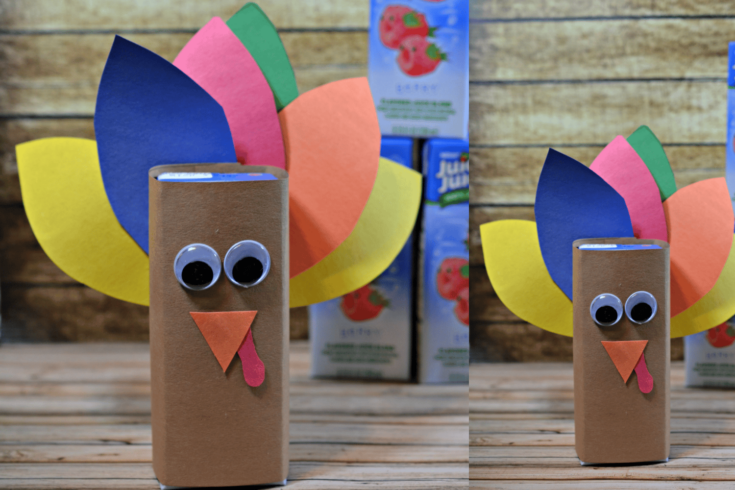
STEP SIX: Turn your juice around and on the front, attach two googly eyes. Take your orange construction paper and cut out a small triangle for the beak. And then cut out a small red wattle to add. Arrange to make your turkey complete.
Aren’t these Turkey Juice Box Covers adorable? I am sure your kiddos will enjoy drinking from them as much as they did making them. Happy Thanksgiving!
Other Creative Craft Ideas
Fall Craft: Leaf 3D Glitter Drawings
Creative Crafts With Fall Leaves For Kids
Turkey Juice Box Cover
Let the kids make this easy craft. Turn an ordinary juice box into a fun turkey for Thanksgiving. This is also perfect for a classroom or party craft.
Materials
- Juice Box
- Construction paper (brown for the body, orange for the beak, red for the wattle, and multiple colors for the feathers)
- Glue or tape
- Googly Eyes
Tools
- Scissors
Instructions
- Start with a brown sheet of construction paper.
- Lay your juice box on top to ‘measure’ enough paper to go all the way around. I used a Juicy Juice Box and my sheet ended up being 7 ¾ x 4 ¾ inches.
- Cut out the rectangle.
- Wrap your juice box with your construction paper and glue.
- Cut a triangle from the orange construction paper.
- From the red construction paper, cut a small squiggle shape for the turkey’s wattle.
- Then cut out the feather shapes from multiple colors of paper.
- Flip your juice box over so the glued seam is face up.
- Glue an arrangement of feathers to the back of the juice box.
- On the front of the box, attach two googly eyes, beak, and wattle.
Notes
Feel free to write the name of each child on the belly of your turkey.
This post may contain affiliate links or sponsored content. Disclosure Policy


So cute and perfect for thanksgiving! I’m sure the kids will have so much fun making these.
This is interesting! I’m sure this this turkey box can encourage the kids to drink more juice or milk.
That is just too cute of an idea, I love it! Kids would definitely love this to make
Awe. Thanks so much!!
What an adorable idea! Such a great idea to keep kids busy over the Thanksgiving holiday break.
Nnniiicceeee…whose googly eyes am I going to steal now, I wonder? These box covers are just perfect. Thank you for them and the DIY guidance.
Very cute. I would have loved these as a kid. These kind of things make me wish I had kids…almost.
I love this creativity. My daughter used the toilet roll to create Chucky family members for Halloween. Maybe I should have her try this.
ahhh.. That is such a cool project. I love how she did that with toilet paper rolls.
This is such a cute idea! I always loved doing similar crafts like this in school and now I get to enjoy doing them with my kids.
Thank so much, Luna!!! So glad you like them.
These are the cutest and cleverest juice covers! I have to make these to put in the kids’ lunchboxes for their last day of school before the Thanksgiving break.
What another great idea!! I know your kids would love this surprise.
That is so cute! I love that grownups can make them quickly and easily for a Thanksgiving party, or they can get the kids involved, too.
Awe. Thank you!!