
Turn Fall Leaves Into Glitter For Artwork
Create two-dimensional drawings made from leaves in your yard. Your kids will have a blast making their own leaf glitter. Turn your Leaves Into Glitter. A great fall craft for the kids.
Leaves that can be gathered during a nice family walk or collected while raking up the backyard can be turned into a great craft for your kids. Turn those Leaves Into Glitter Artwork.
Here is a great outdoor project that we enjoy doing as a family every year. This is a fabulous tutorial for ‘spicing it up a little with actual fall leaves that have been crumbled to create leaf “glitter” or “confetti”! This is an easy craft suitable for all ages; even the youngest ones will have a finished project and love it.

Materials Needed to Turn Leaves Into Glitter
Leaf glitter is a favorite autumn leaf craft for kids. They are beautiful, easy to make, and a great way to decorate for fall.
- Autumn leaves, preferably pressed and dried
- School glue (such as Elmer’s)
- Construction Paper
- A bucket for leaf collection
If your kids love outdoor nature crafts, they will also love creating their own birdseed ornaments to feed the birds outside.
How to Turn Leaves Into Glitter
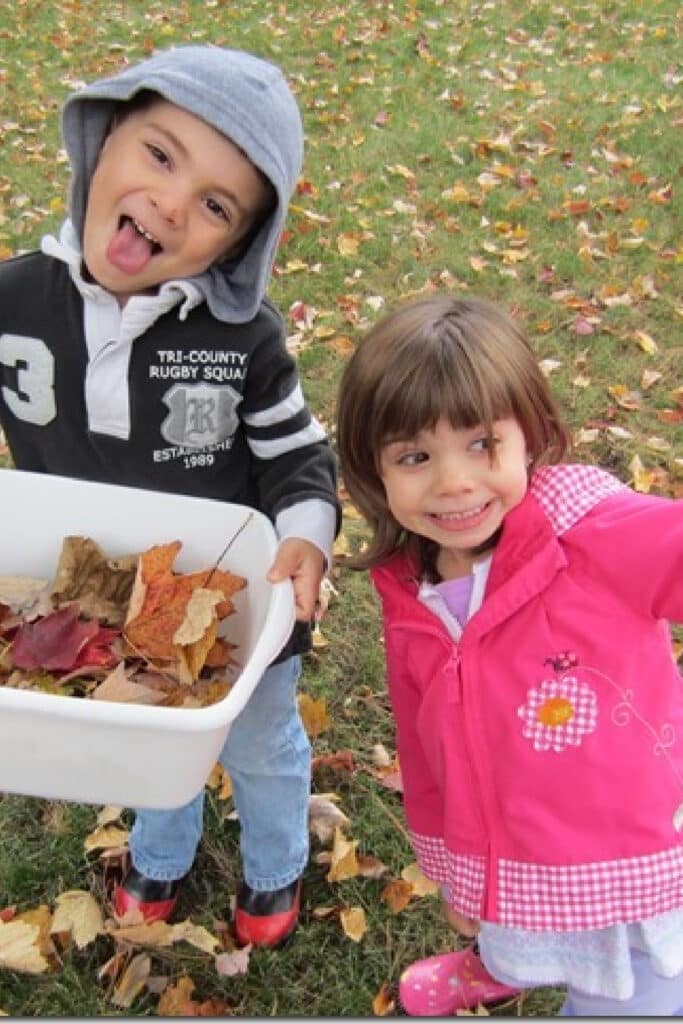
STEP ONE: Collect your prettiest and dried-out leaves from your backyard or from a walk in nature.
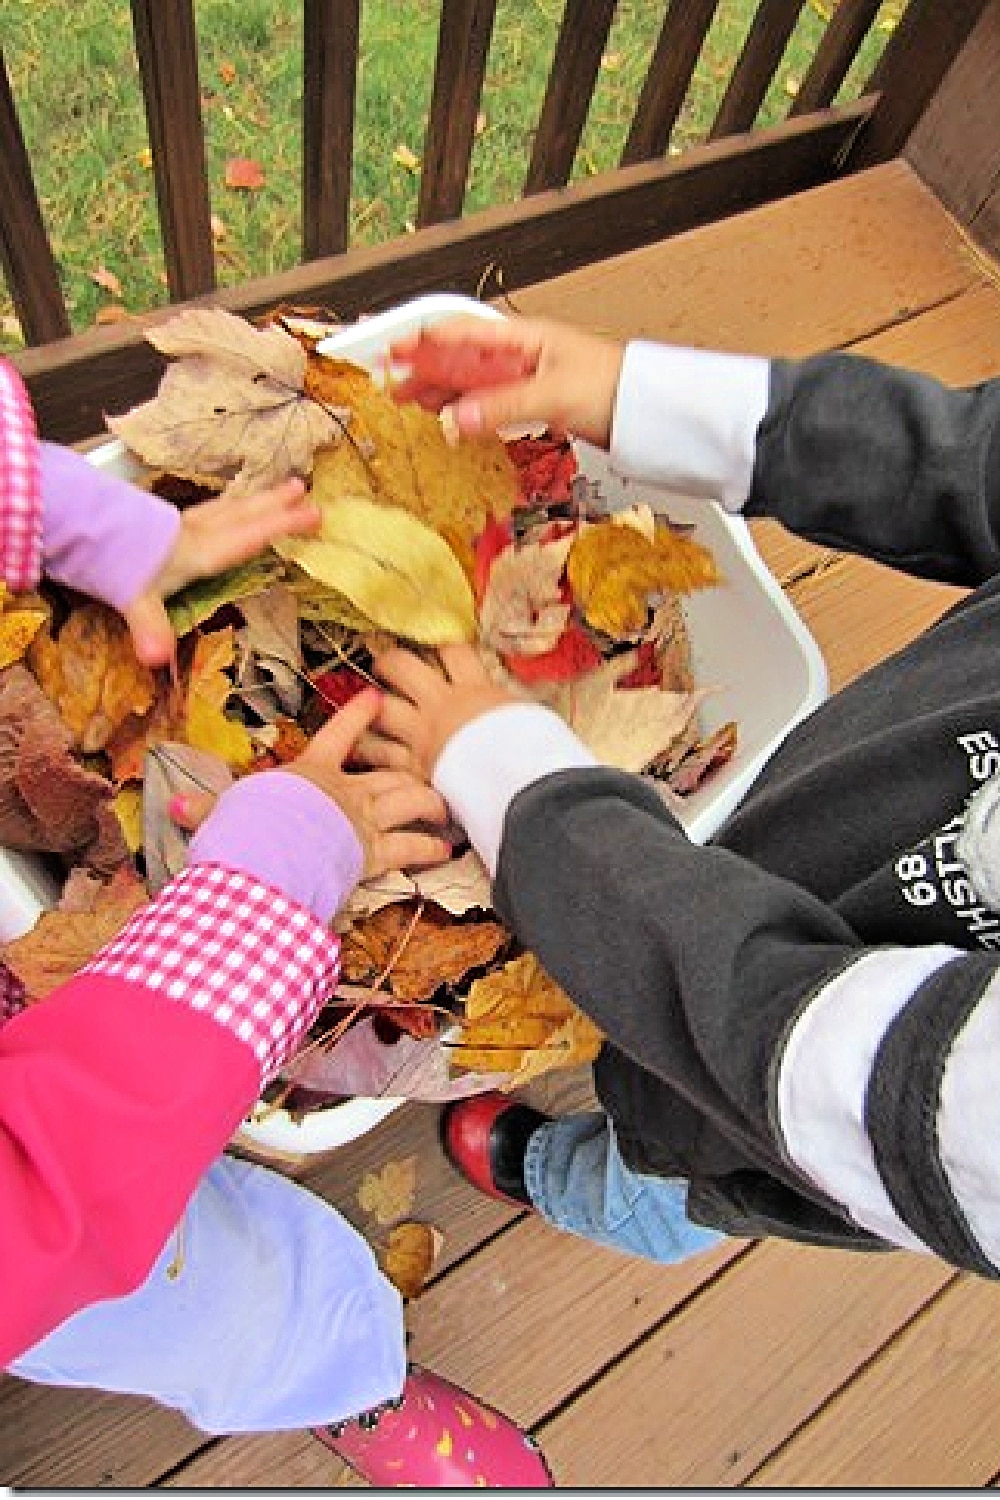
STEP TWO: After collecting your leaves, place them in a large container. This is the fun part. Let the kids go to town, ripping and crushing the leaves into tiny pieces.
A little hint on the leaves; if they are not quite crispy enough, pop them in the microwave for a minute or so. Sounds a bit strange, but you do need dried-out leaves for this project to work.
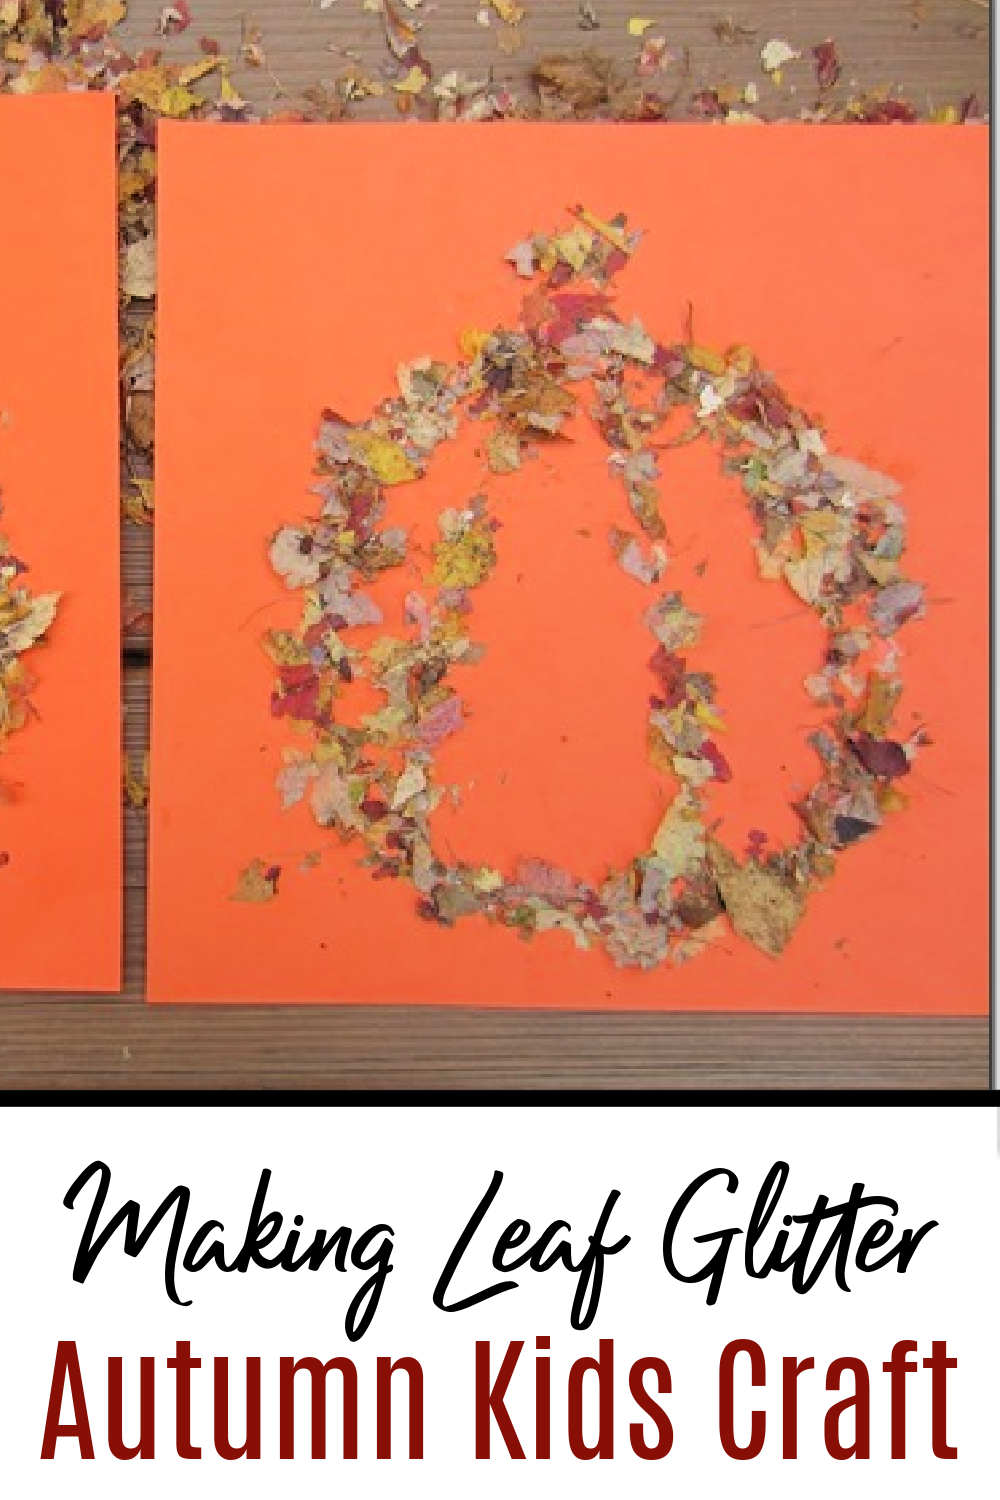
STEP THREE: Allow the kids to sketch their designs with school glue on construction paper. Creating whatever images come to mind.
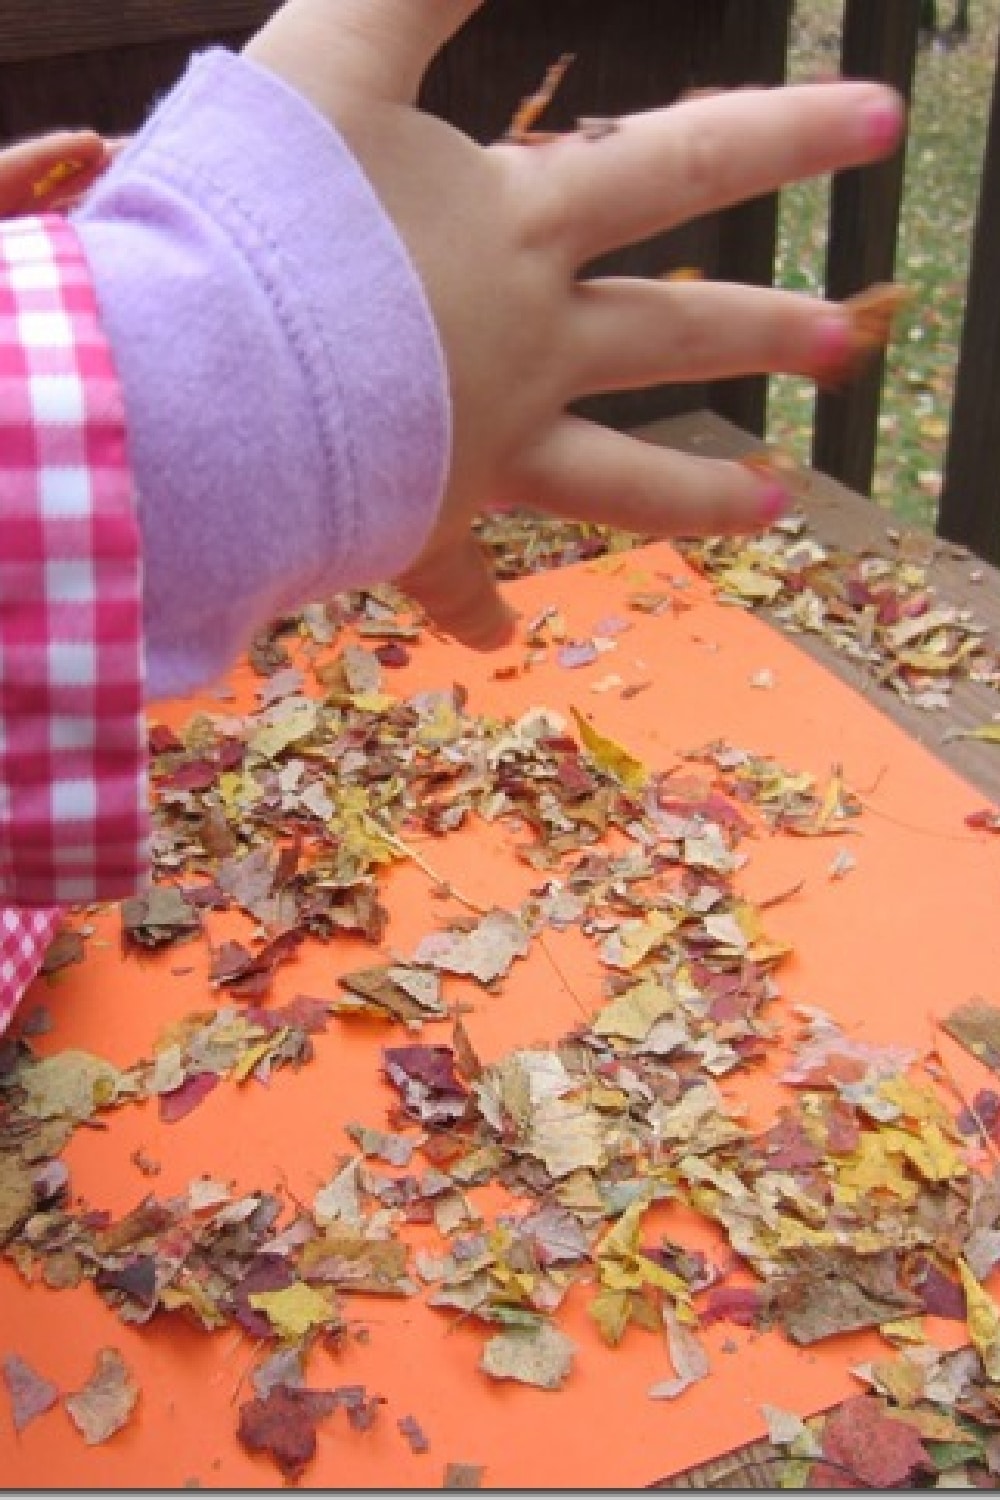
STEP FOUR: Then sprinkled the crushed-up leaves AKA “leaf glitter” all over their sketched artwork.
STEP FIVE: After the sprinkling of glitter. Pat down, ensuring each piece of tiny leaves is stuck to the paper. Then you can shake off the excess.
STEP SIX: Allow to completely dry before bringing the artwork inside to hang.

And VIOLA, your artwork is complete.
The kids really enjoyed the whole process of making their artwork. I think they enjoyed smashing and crushing the leaves the best. Your kids will have a ball collecting and playing in the leaves.
Other Fall Time Crafts
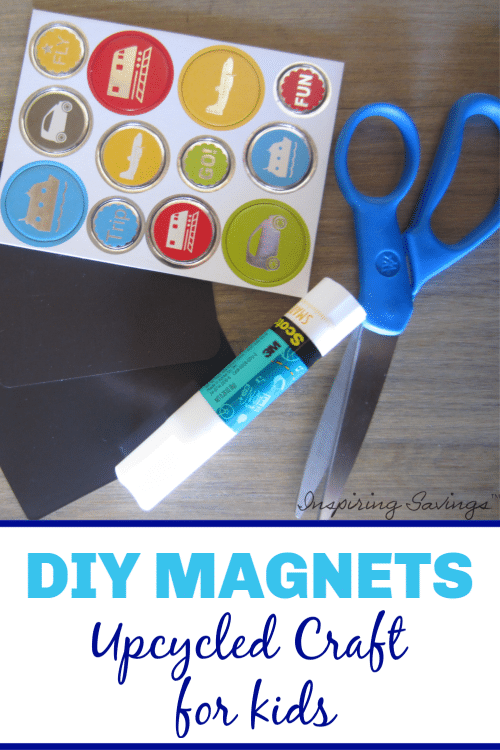
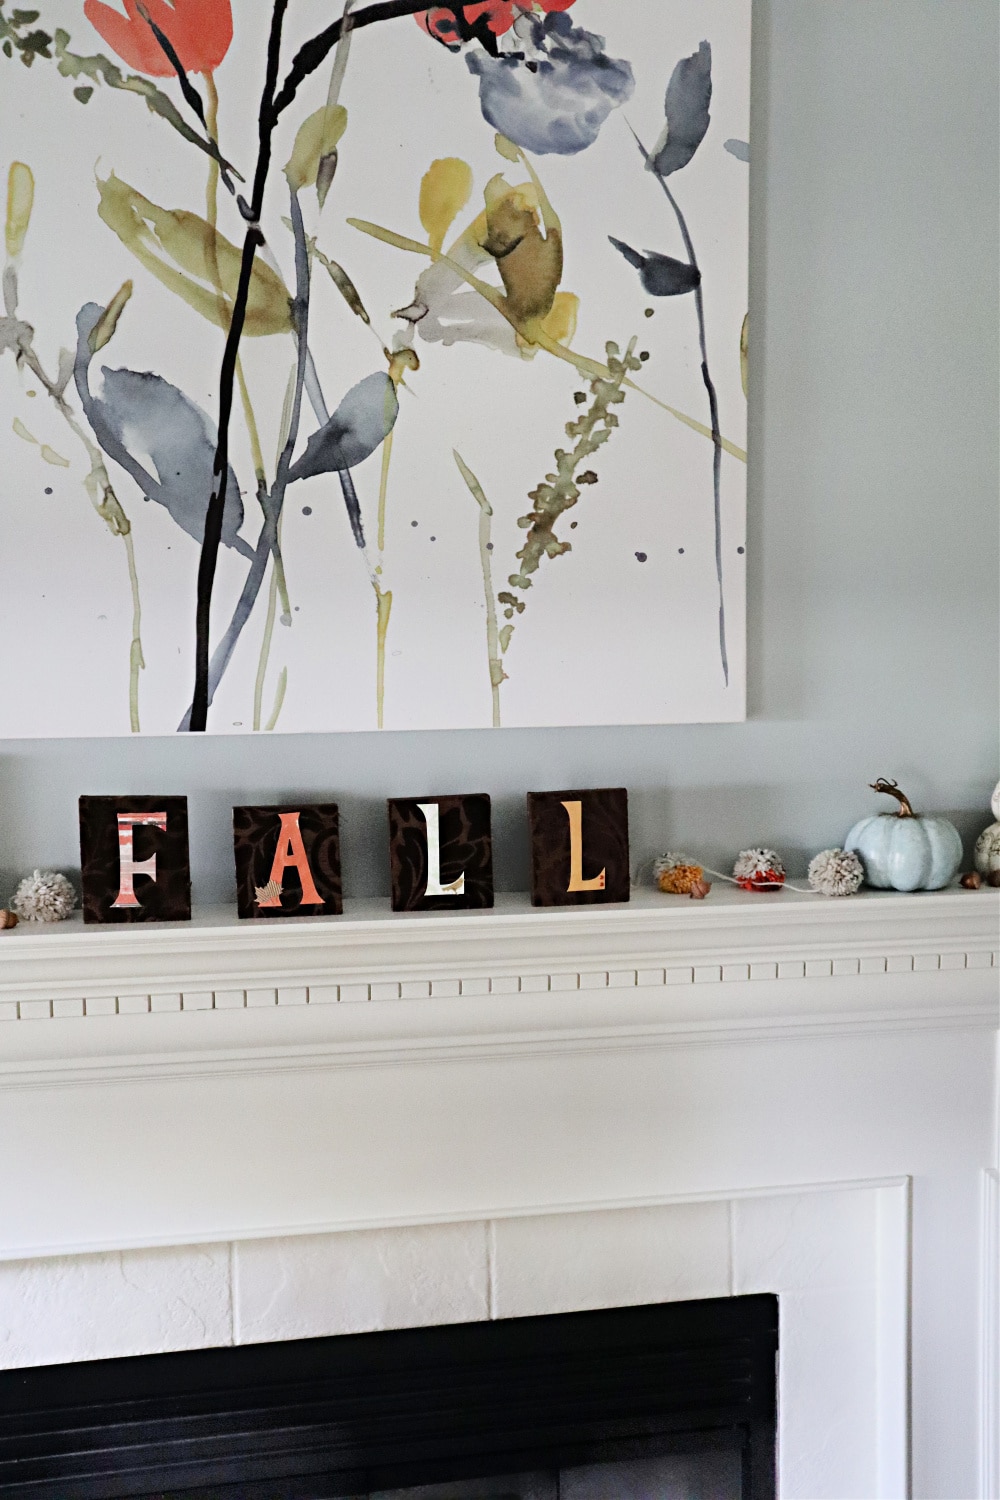
Homemade Fall Decoration: Altered Wood Block Letters
Creative Crafts With Fall Leaves For Kids
Thanksgiving Turkey Juice Box Covers
This post may contain affiliate links or sponsored content. Disclosure Policy


One Comment