Make A Witch Hat Out of Popsicle Sticks
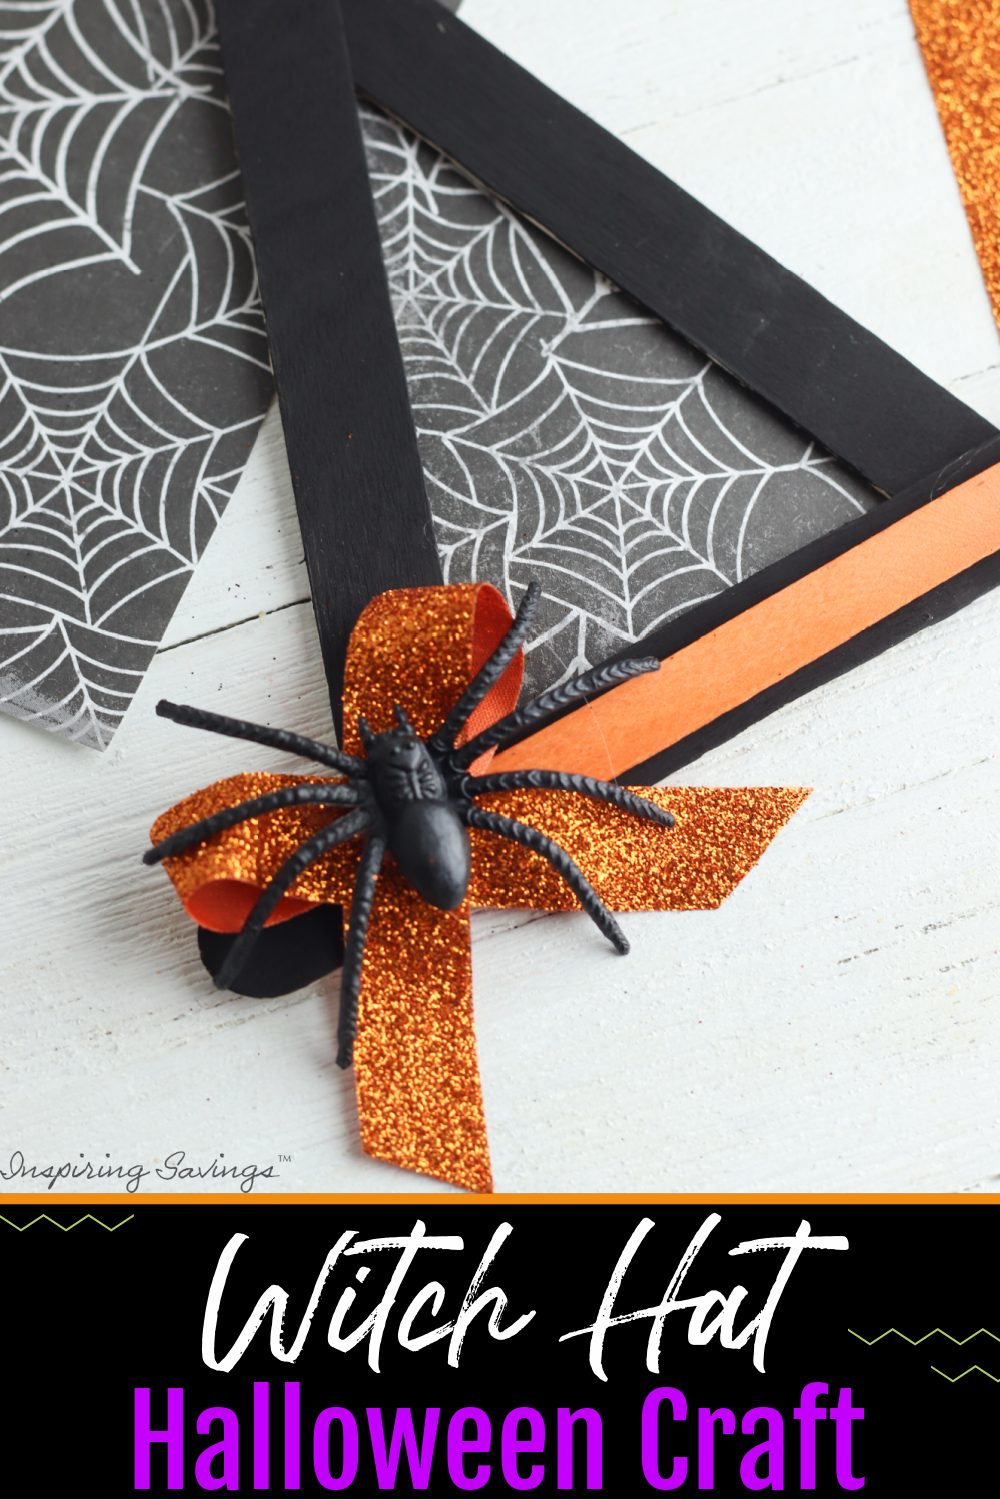
Make a unique witch hat for Halloween with this popsicle stick craft idea for kids. Find step-by-step instructions on how to make adorable-looking witch hats.
How to Make A Witch Hat Out of Popsicle Sticks
Halloween is just around the corner. And are you ready to get crafty? I sure am. These adorable Witch Hats are an easy DIY project you can use for parties or decor! They will put you into the Halloween spirit.
I love completing crafts that can be used in your home as display pieces. The other great thing about these, your children’s artwork is a useful and fun creation. Well, without further delay, let’s get this crafting party started. Que Halloween music!
Supplies Needed To Make – Halloween Popsicle Stick Crafts
If you have kids and are a crafter, you will most likely have many of the items listed below.
However, there is always a point in time when you need to replenish your craft supply stock with some updated items. So be sure to take double-check your supplies at home before making your way to the store. Oh-eh, Amazon.
Here is what you will need to make your witch hat. I did not list the number of supplies, as it will depend on how many you will be creating.
- Large craft sticks
- Small craft sticks
- Black paint
- Orange paint
- Spiderweb scrapbook paper (This Scrapbook Pape Whaline is the BEST)
- Orange ribbon
- Plastic spiders
- Glue (Hot glue or school glue – the choice is up to you)
How To Make A Popsicle Stick Witch Hat Craft
Please note that you can also print the instructions for this craft. Just scroll down.
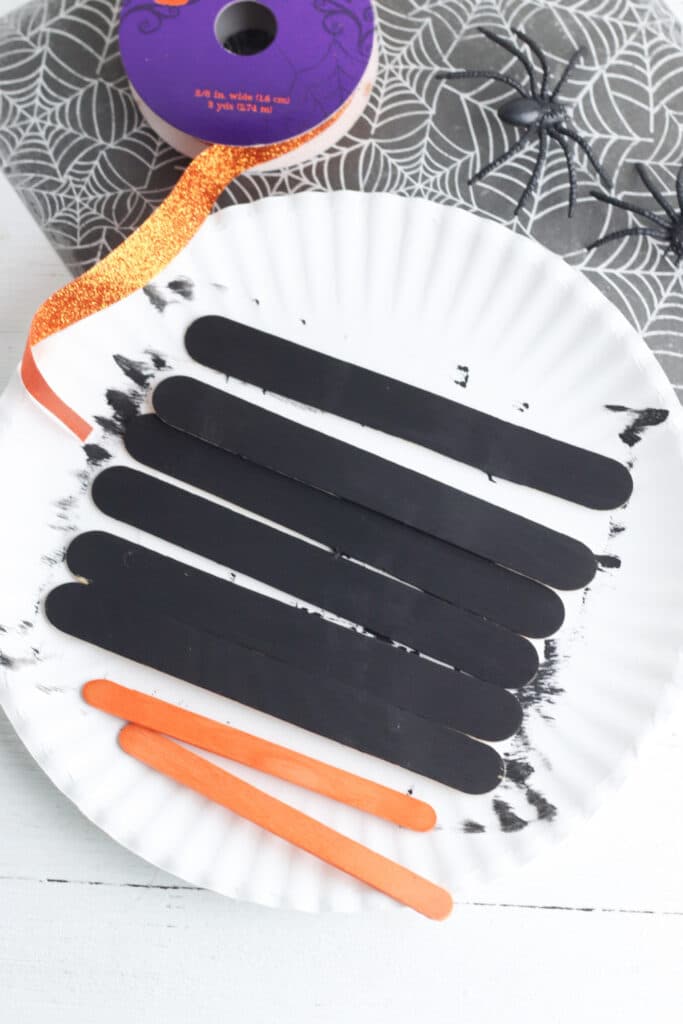
Once you have gathered all your supplies, you are ready to start. I like to provide the kids with paper plates to allow them to paint without creating a huge mess. You know how it goes – paint everywhere, mom left with a huge mess.
Now you are set to begin painting away. Start by painting the larger craft sticks black. Once they are all set, work on painting the smaller ones orange. Now it is your choice to paint the backsides. We didn’t, as no one will see them. But that option is available.
Before beginning the next step, it is important to make sure that your craft sticks are completely dry. Our hats took about 30 minutes. If they are wet and you clue them together using craft glue, your color will run.
Forming your hat
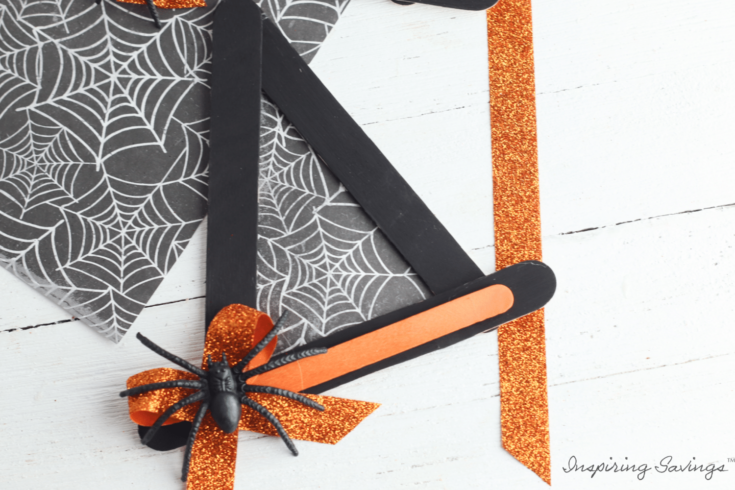
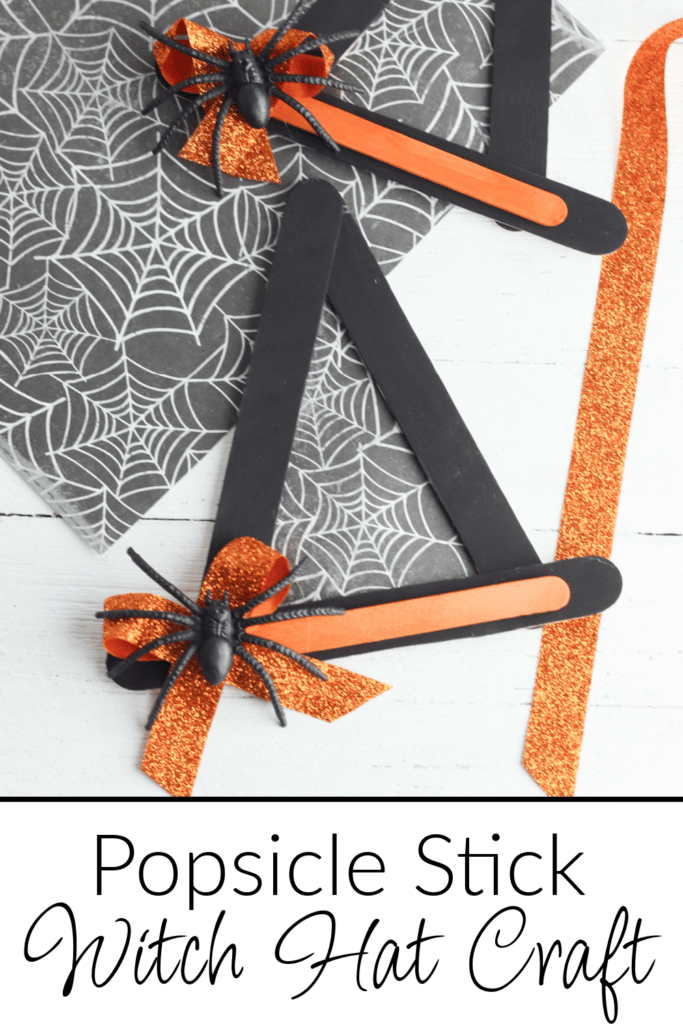
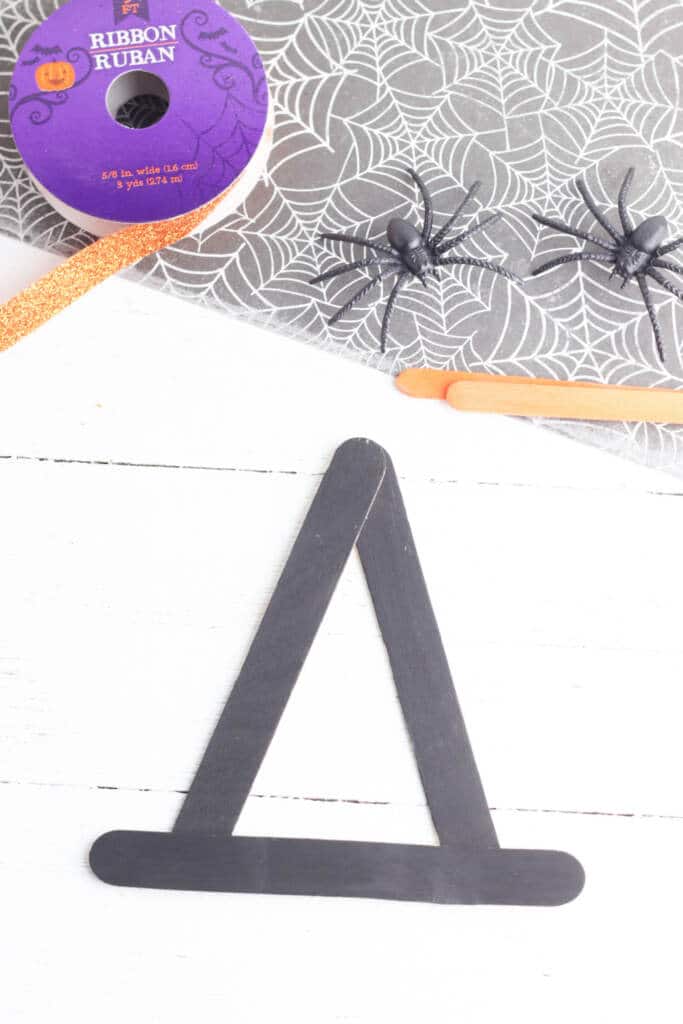
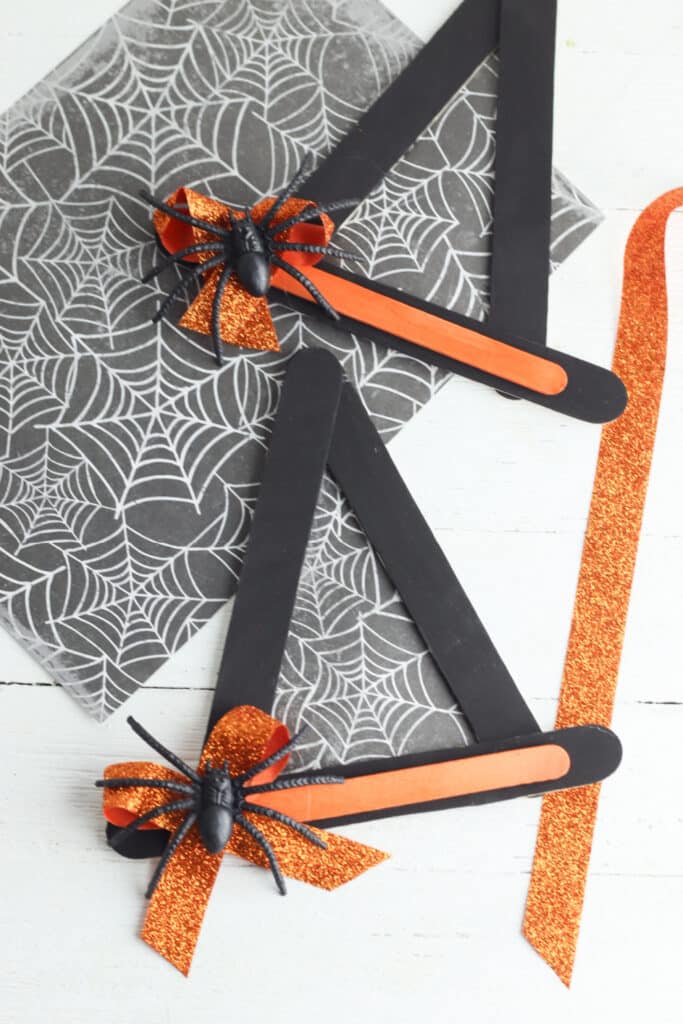
This next step is pretty simple. Take your three black craft sticks and glue them onto the form of a witch’s hat. See the picture above as I placed the stick more towards the center than the furthest point.
You don’t want a full triangle.
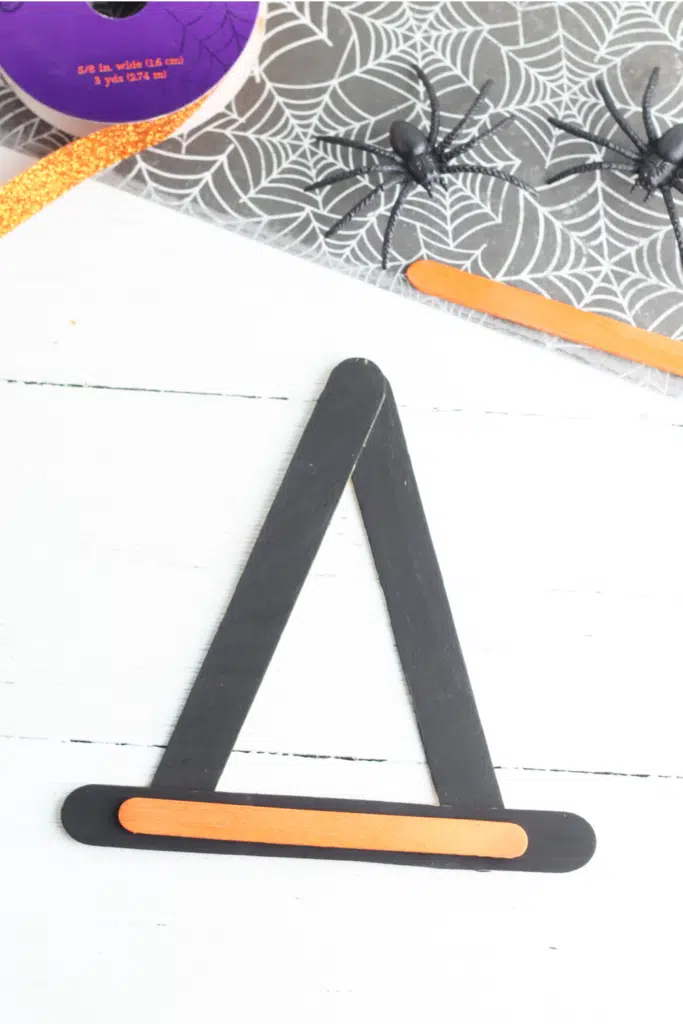
Now you are set to add in one of the orange craft sticks as your hat brim embellishment. This little piece will make your hat stand out. You could even consider painting it a bright purple.
Now is the time to wait for the frame of your hat to dry.
As your frame to your hat is drying, now is a good time to start working on the inside desire of your hat.
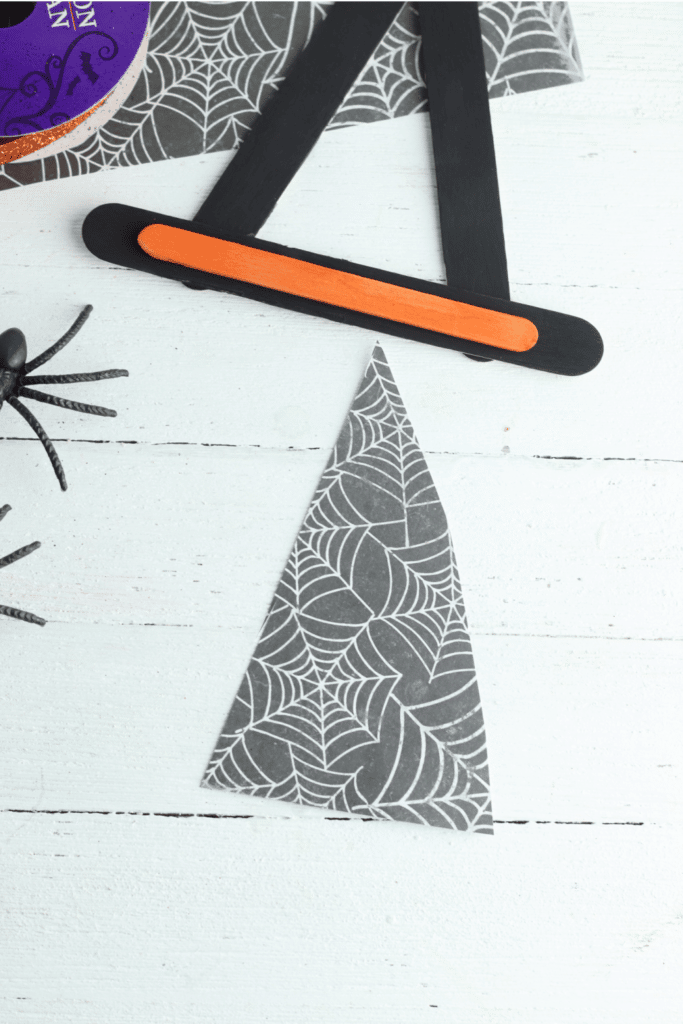
First, choose your favorite pattern from your scrapbook paper stash. Then cut the paper into a triangle, making sure that it is slightly larger than your hat opening, and glue it to the back of the hat.
I chose to use the webbed print paper for this hat as it will pair nicely with the spider embellishment we will add later.
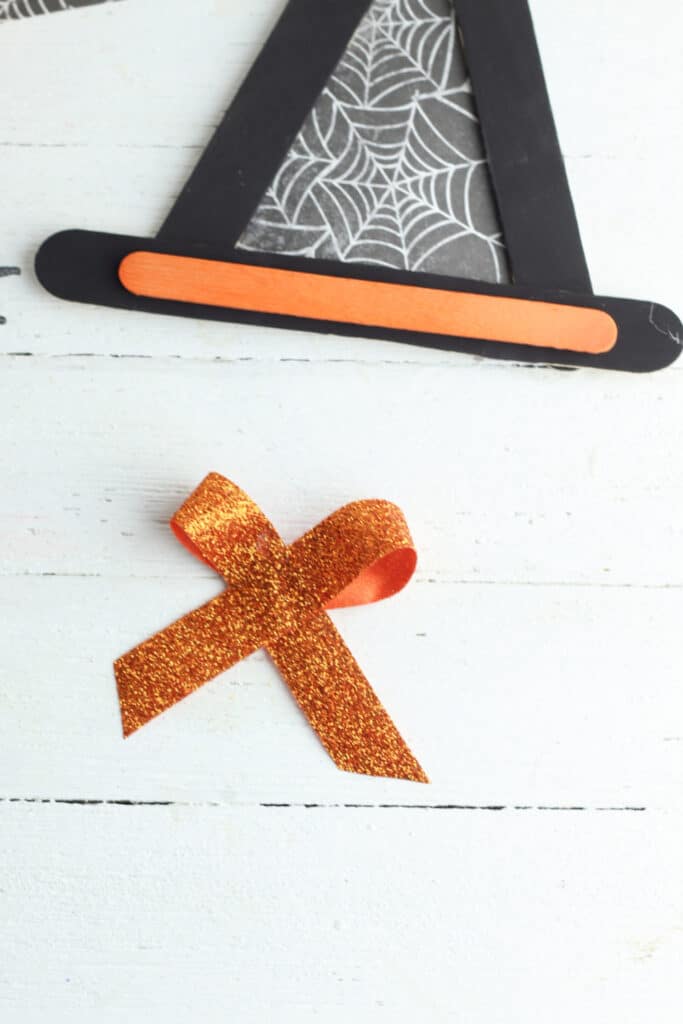
Now cut a piece of your orange ribbon. Mine measured between 4 and 5 inches. I wasn’t too exact and you can decide how big you would like it as you form it into a ribbon. You can choose not to cut the ribbon from the spool until you have figured out the size of the ribbon you want.
Once you have picked a good size, glue it down to your hat.
And lastly, take that adorable spider embellishment and glue it on top of your ribbon. A-D-O-R-A-B-L-E!!! Now are you done and ready to display your amazing witch’s hat just in time for Halloween!
You can pass these little cuties off to friends as gifts, place them in a boo bucket, or display them in your home. Or you can even add a magnet to the back and you can turn it into a fridge magnet. The ideas are endless.
More Amazing Halloween Crafts
If you liked this witch hat craft tutorial, you might also love these other Halloween project ideas too:
Witch Hat Popsicle Stick Halloween Craft Printable Instructions
If you are looking for an easy Halloween craft to do with kids, then you are going to love this popsicle stick witch hat craft! These hats are so much fun to put together and decorate.
Did You Enjoy Making This Craft? Please rate this recipe with ⭐⭐⭐⭐⭐ or leave a comment. It helps other wonderful people connect with our craft.
Witch Hat Popsicle Stick Halloween Craft
Make unique Halloween Witches hats with this popsicle stick craft idea for kids. Find step-by-step instructions on how to make adorable looking witch hats.
Materials
- Large craft sticks
- Small craft sticks
- Black paint
- Orange paint
- Spiderweb scrapbook paper
- Orange ribbon
- Plastic spiders
- Glue (school glue or hot glue)
Tools
- Hot glue gun (optional) - can use school glue
- Scissors
Instructions
- Paint the large craft sticks black and the small
craft sticks orange. Let set until dry. Roughly 30 minutes. - Once all craft sticks are dry, glue three large sticks together to form a hat shape.
- Glue the small orange craft stick along the
bottom black stick. - Cut the paper into a triangle and glue it to the
back of the hat. - Form a ribbon with the orange ribbon and glue it
to the side of the hat’s brim. - Glue the plastic spider on top of the ribbon
If you made this Halloween craft, we would love to hear all about it. Leave us a comment below and tell us how they turned out.
Frequently Asked Questions
Can I use this same pattern to create other hats?
Yes, absolutely. You can use this pattern to create popsicle stick princess hats.
What kind of paper should I use for the witch hat?
It’s best to use strong and thick paper like cardstock or construction paper for the inside of the witch’s hat. This way it won’t puncture as easily.
Can I use fabric instead of paper for the witch hat?
The short answer is yes. But if using fabric, it may require extra sewing if you don’t want the ends to fray after cutting. You may also need to hold it very taunt when gluing down or you may end up with ripples.
How do I store the witch hat after Halloween?
To keep the hat in good condition for later use, put it between tissue paper or wrap it in bubble wrap to stop it from getting creases and being harmed. Carefully put away and pay close attention that nothing heavy sits on top of it.
This post may contain affiliate links or sponsored content. Disclosure Policy


One Comment