DIY Halloween Bat Using an Egg Carton
Make a spooky DIY Halloween Bat using an egg carton! Easy, fun, and perfect for Halloween crafts for kids and creative decorations

Are you ready to unleash your inner artist and make this Halloween truly spooktacular?
Halloween is around the corner and it’s time for some spooky fun. Get ready to dive into a creative project that will bring out your imaginative side, using a material you probably never thought of – an egg carton!
In this article, we’ll show you how to transform a simple egg carton into a DIY Halloween bat, a truly unique decoration that will impress everyone who sees it. So, gather your supplies, and let’s dive into this crafty adventure!
DIY Halloween Bat Using an Egg Carton
Hey, this cute little craft will also pair nicely with our Spooky Toilet Paper Roll Candle.
Supplies Needed
- Egg carton – Look for one made of paper or cardboard, as they are easier to cut and work with.
- Tissue
- Black construction paper or cardstock
- White construction paper or cardstock
- Black paint
- Paintbrush
- Scissor
- A Marker
- School glue or hot glue.
- Batwing template – Print Here
Optional supplies:
- Googly eyes, feathers, or any other decorative elements you’d like to include.
- Glitter
Instructions
STEP ONE: Prepare the Egg Carton. Let’s begin by cutting out individual egg cups from the carton. For the bat shape, you will need two individual egg cups.
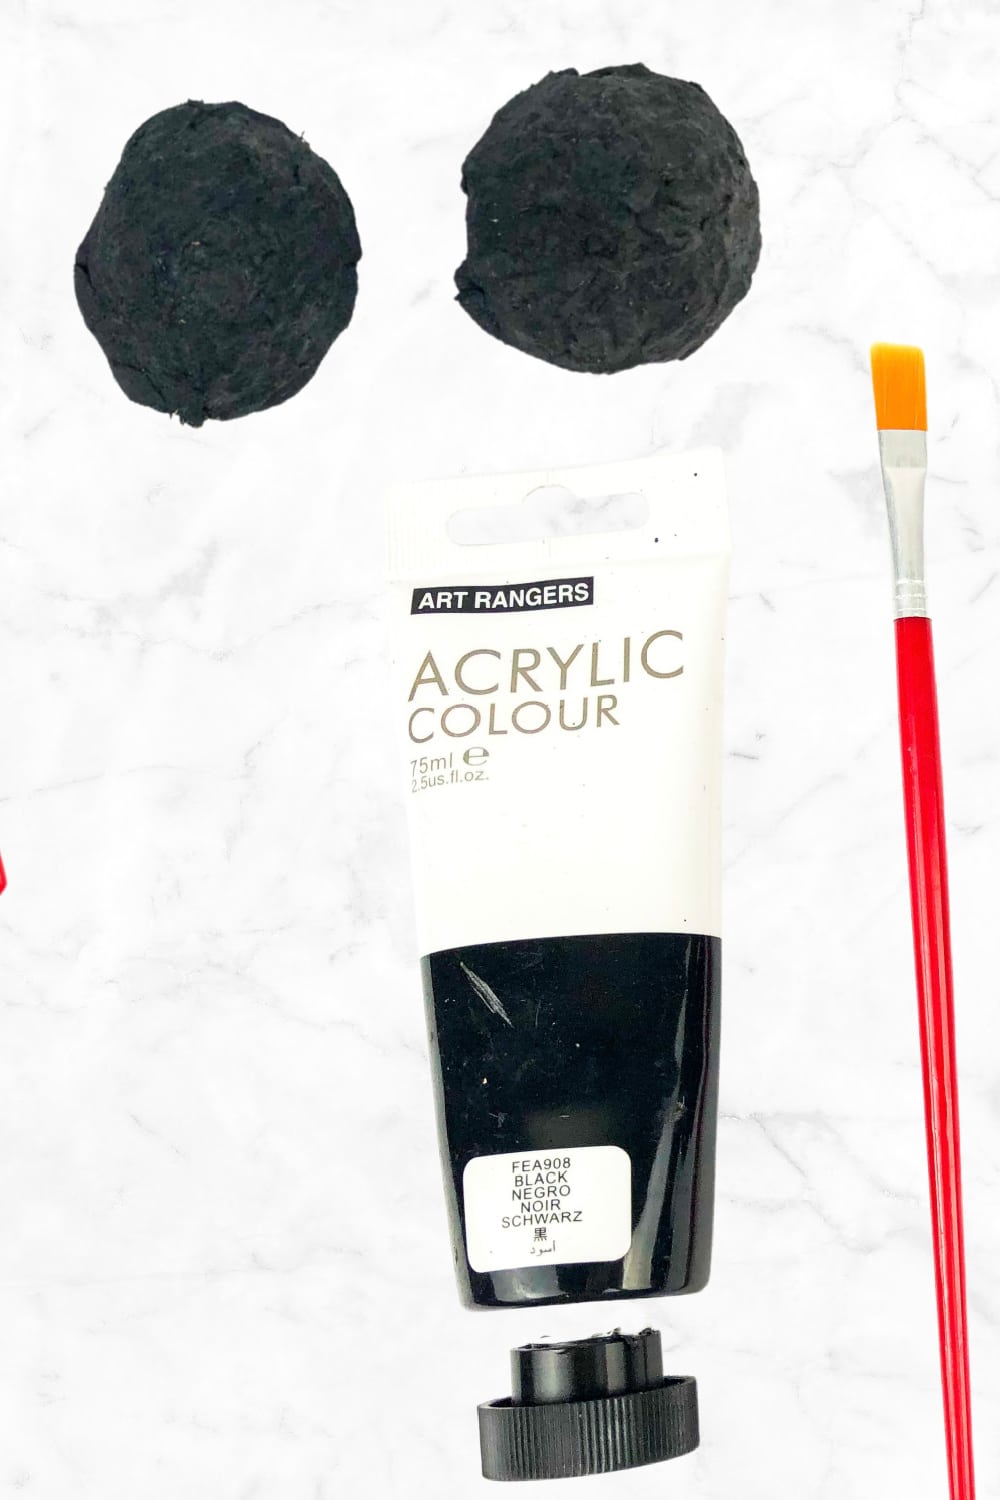
STEP TWO: Then paint each one black. Let them dry completely, then move on to the next step.
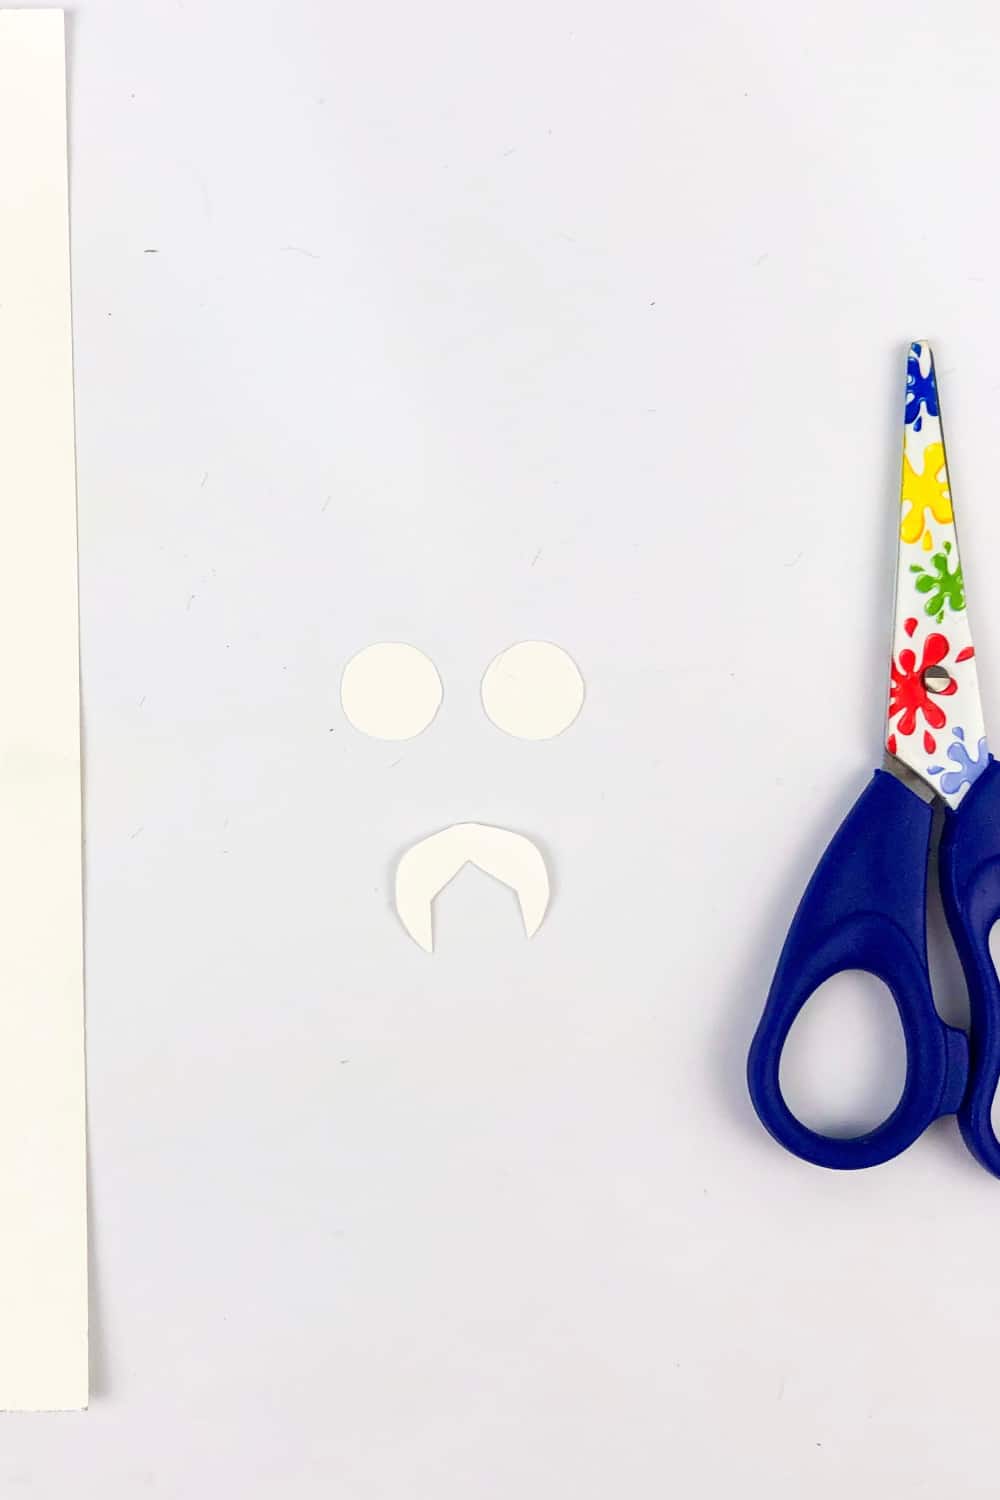
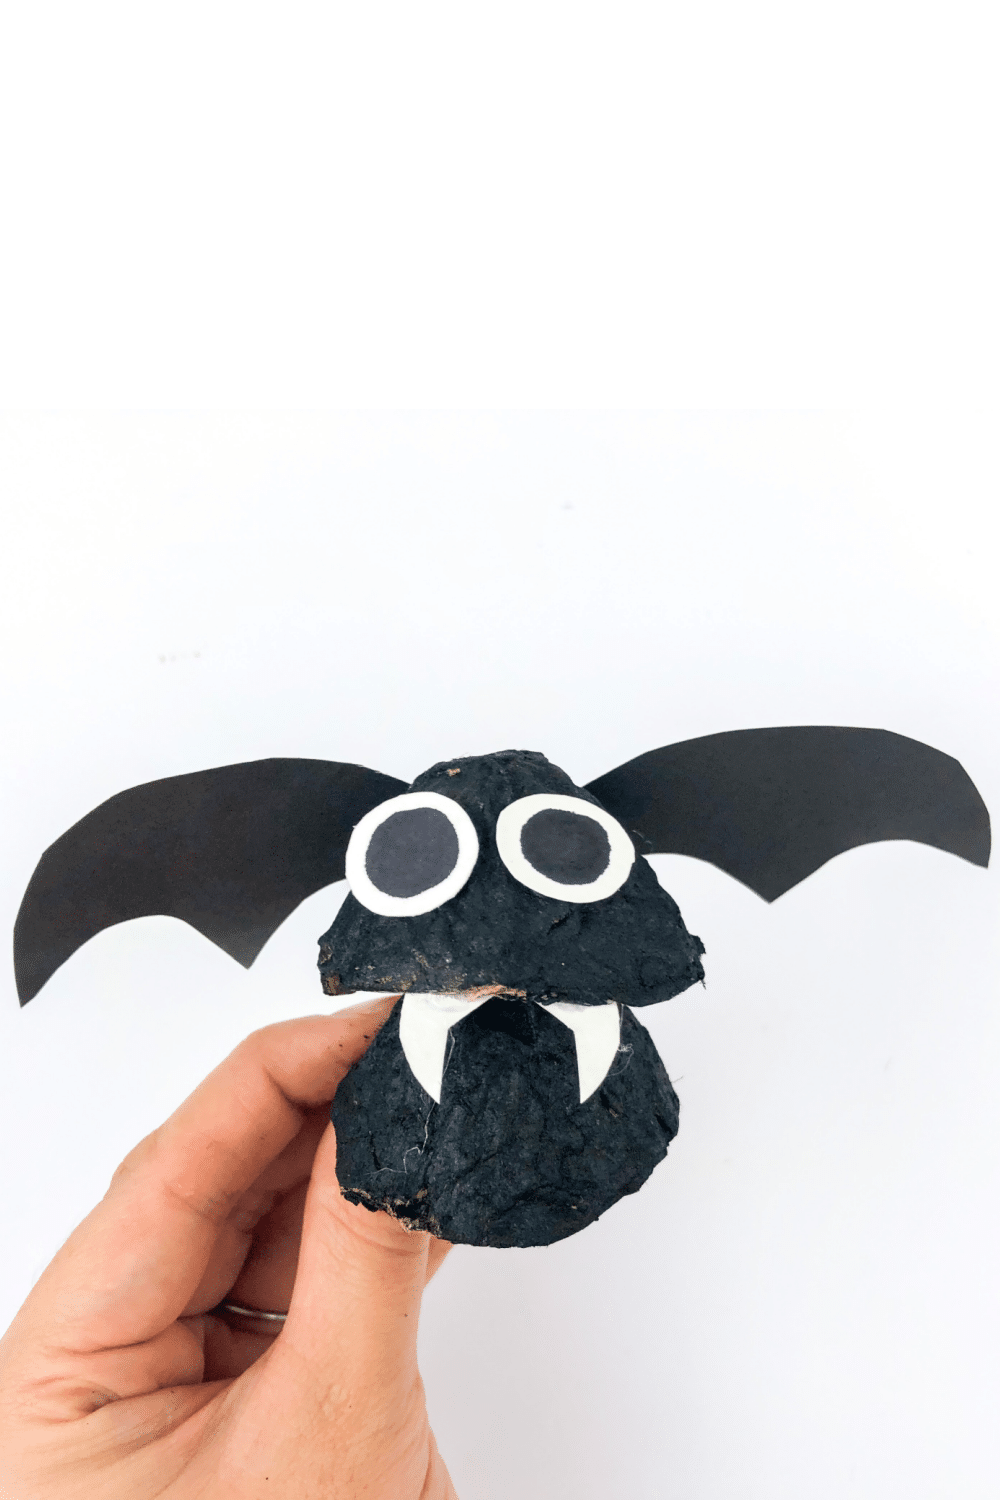
STEP THREE: Cut out eyes and fangs. For this next step, you can either use googly eyes or you can cut two small circles out of white cardstock to make the eyes.
If using cardstock, draw another circle on your cut-out circles for the iris of the eye and color in all black. To cut out fangs, simply draw a 3D U-shape on your cardstock. See the image above.
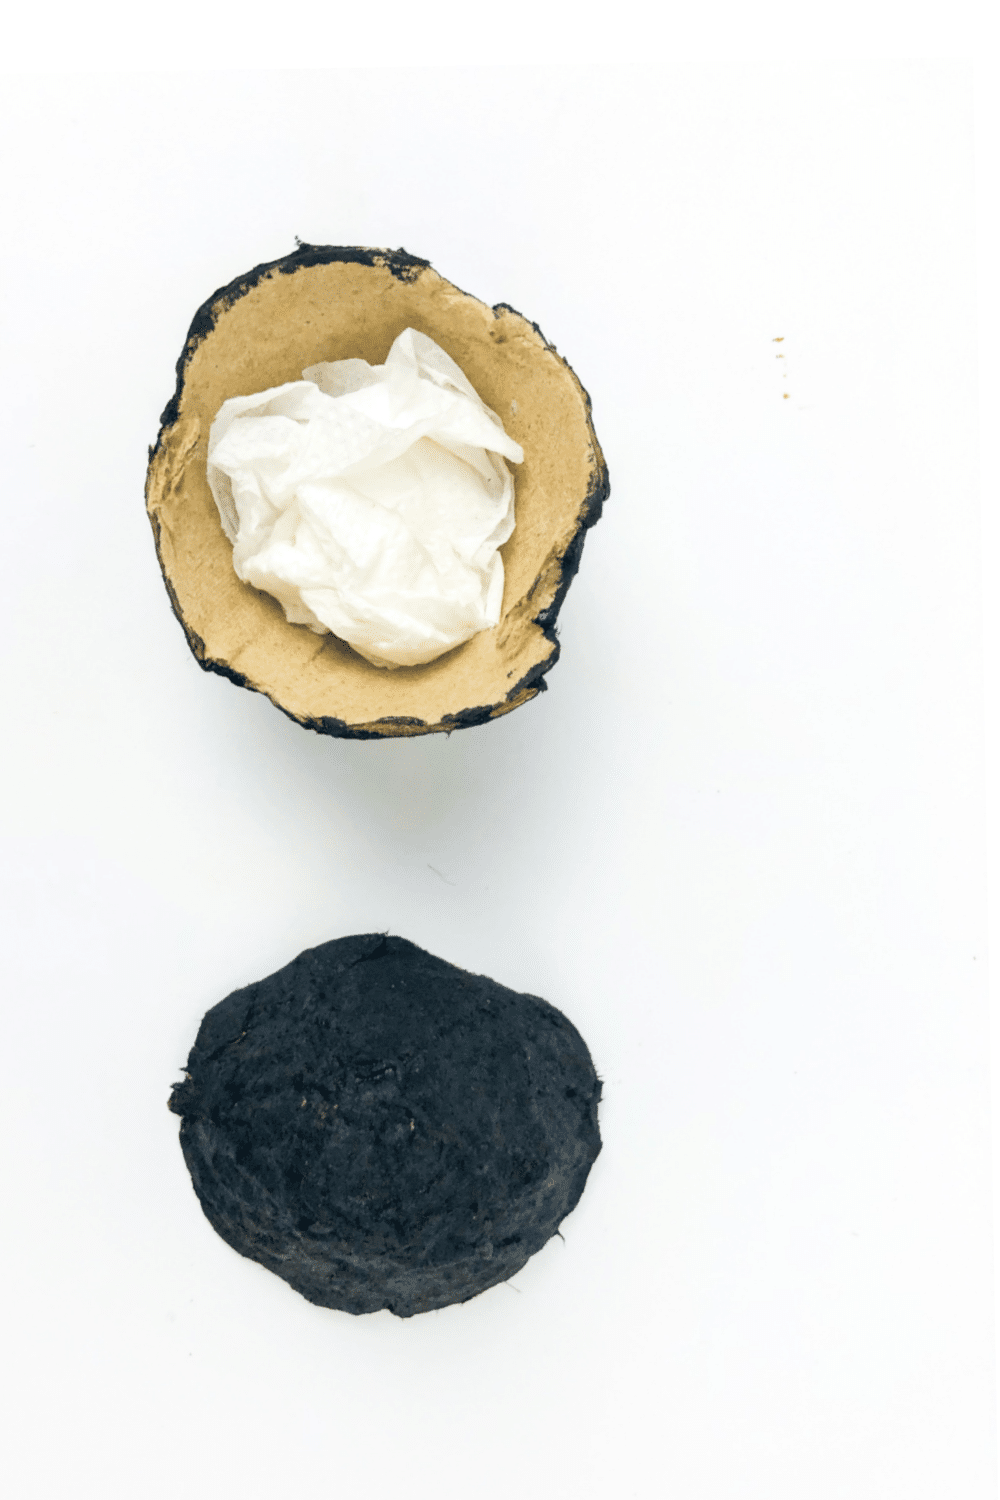
STEP FOUR: Once your paint is completely dry, you are ready to assemble your bat. First, you will be stacking each egg cup on top of the other.
Before stacking, crumple a small piece of tissue and place it inside your top egg cup. Stack on top of your other egg cup. You may want to add a tab of school glue or hot glue to keep it all intact.
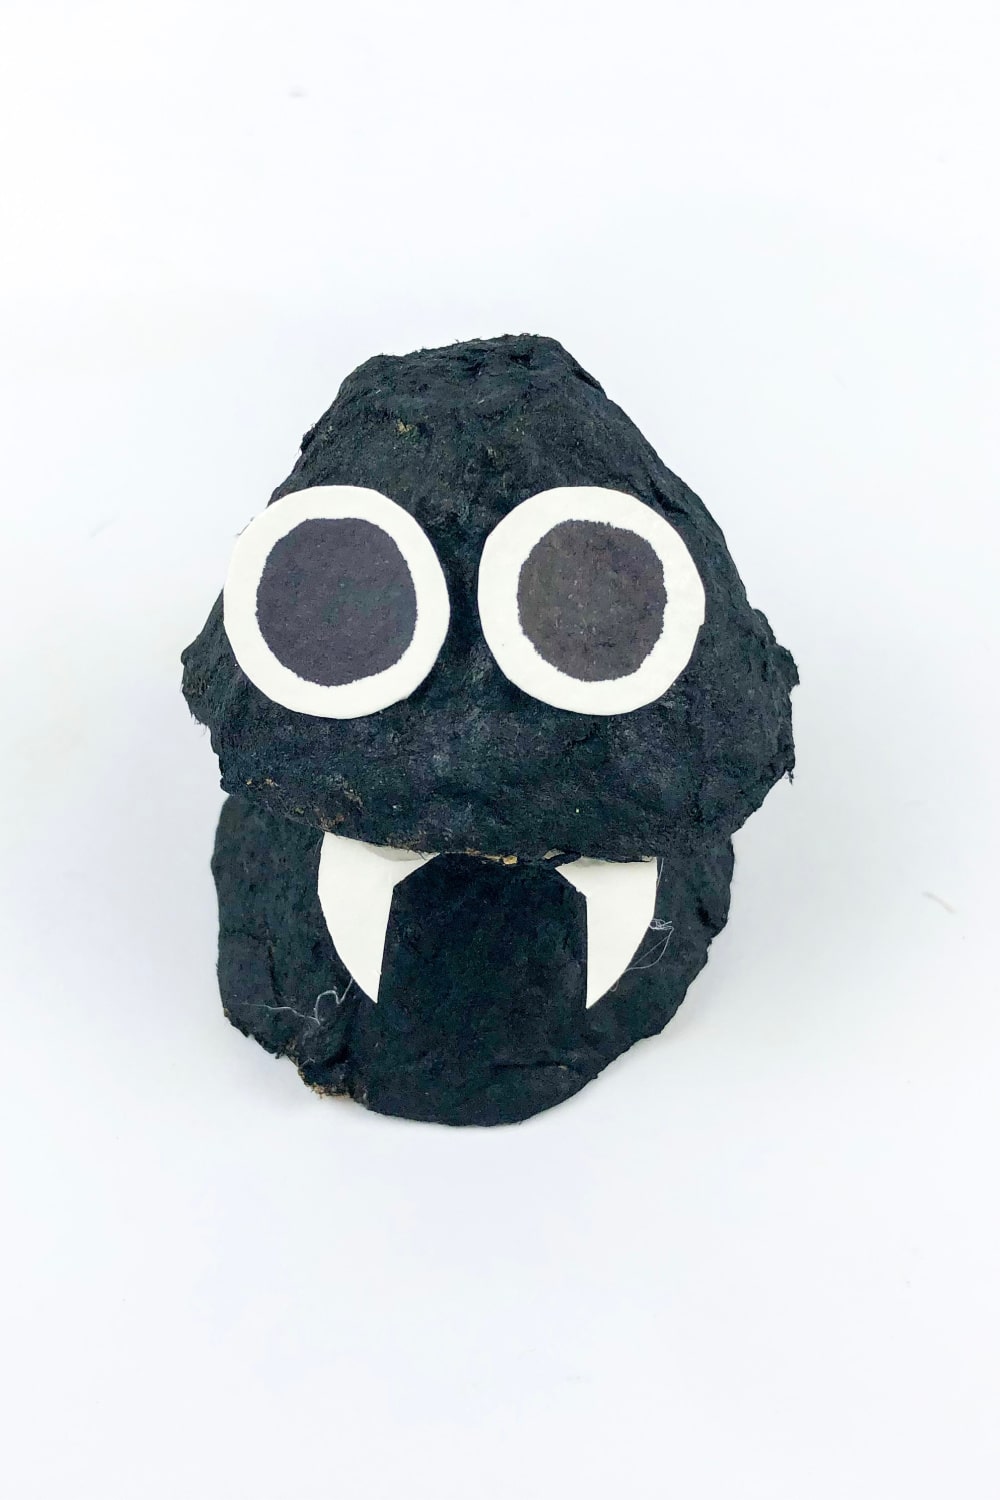
STEP FIVE: Now you can attach the eyes to the upper egg carton using school glue or hot glue. Then followed by the teeth just below the eyes.
STEP SIX: Lastly, to make the wings, print out the batwing template provided. You can trace or cut out the bat wings from the template.
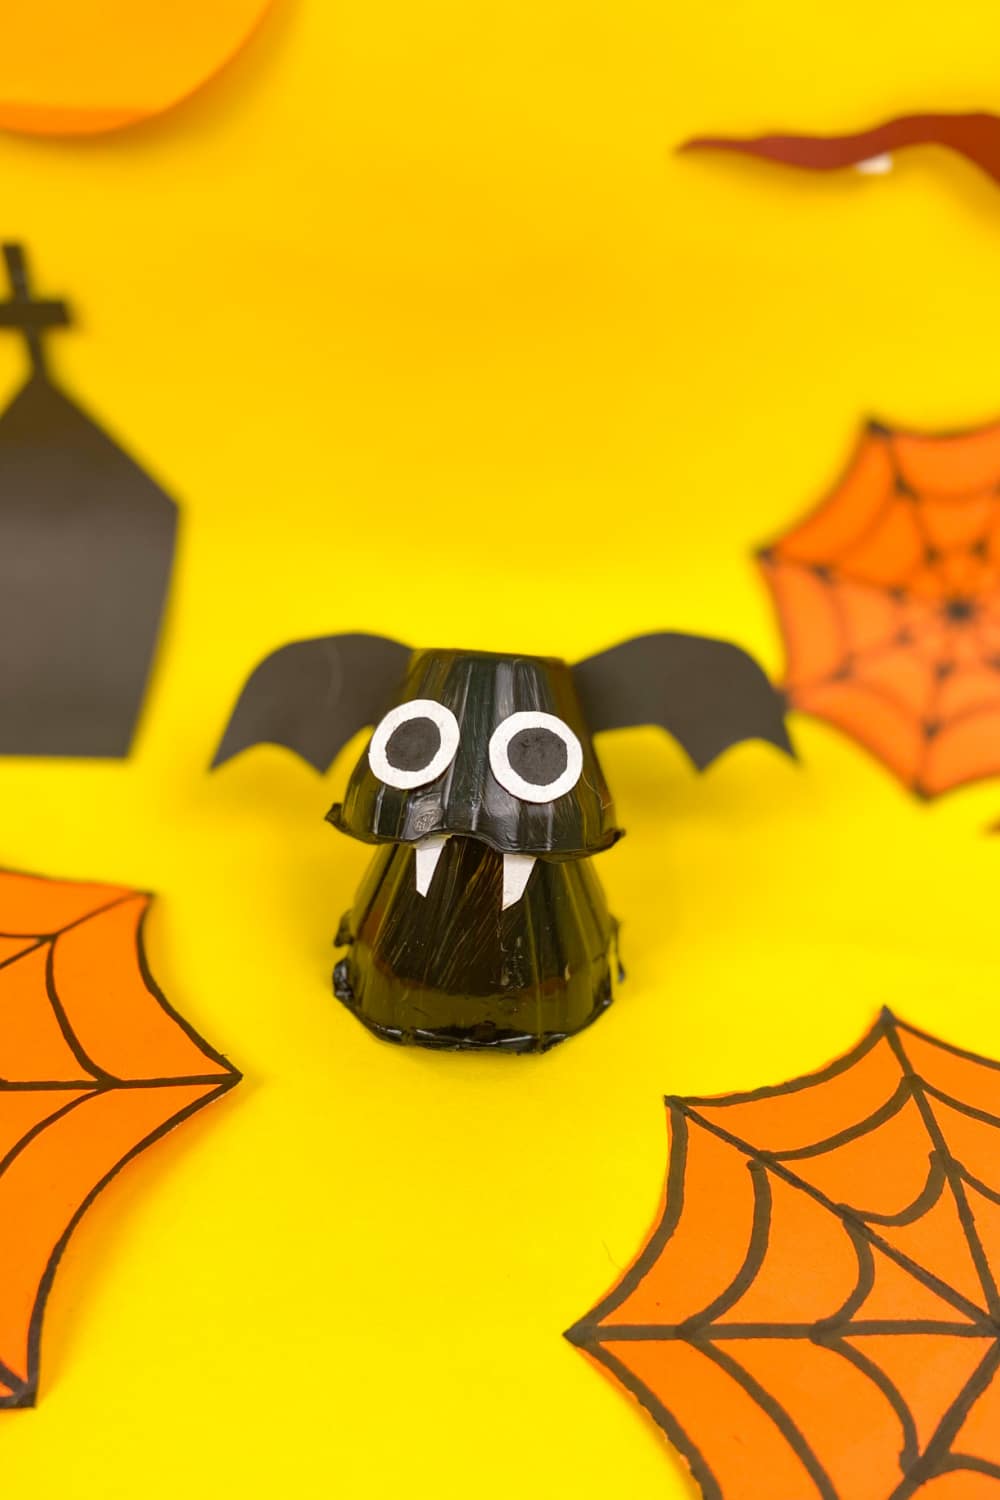
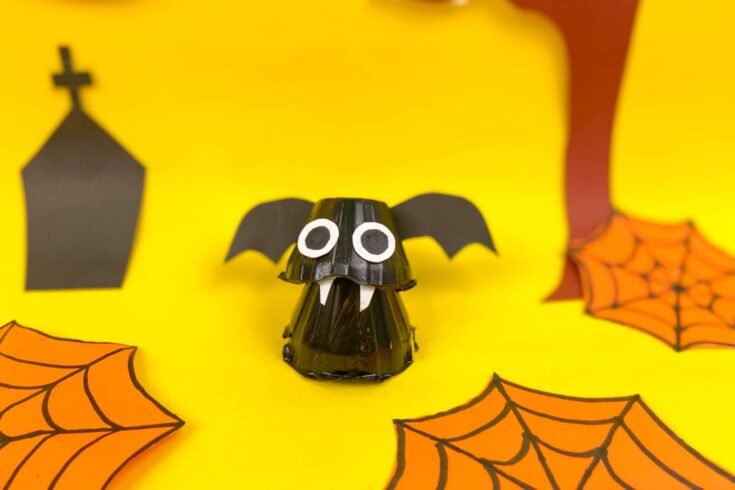
Then attach it to the back of the upper egg using a dab of glue. Now your Halloween Bat is finished.
Optional Step: Customizing Your Bat
You can also use a paintbrush to apply a thin layer of glue and sprinkle some glitter onto the wings for an extra bit of sparkle. If feathers or other decorative elements strike your fancy, go ahead and attach them to the wings as well. Let your imagination run wild!
More Halloween projects that I think you’ll love
Halloween Toilet Paper Roll Candles
Witch Hat Popsicle Stick Halloween Craft
DIY Frugal Frankenstein Mason Jar Beverage Cups
DIY Halloween Bat
Get ready to tap into your artistic side and create a one-of-a-kind Halloween bat using an unlikely material: an egg carton!
Materials
- Egg carton – Look for one made of paper or cardboard, as they are easier to cut and work with.
- Tissue
- Black construction paper or cardstock
- White construction paper or cardstock
- Black paint
- A Marker
- School glue or hot glue.
- Batwing template
Tools
- Scissors
- Paintbrush
Instructions
- Prepare the Egg Carton. Let’s begin by cutting out individual egg cups from the carton. For the bat shape, you will need two individual egg cups.
- Then paint each one black. Let them dry completely, then move on to the next step.
- Cut out eyes and fangs. For this next step, you can either use googly eyes or you can cut two small circles out of white cardstock to make the eyes. If using cardstock, draw another circle on your cut-out circles for the iris of the eye and color in all black. To cut out fangs, simply draw a 3D U-shape on your cardstock. See the image in the original post.
- Once your paint is completely dry you are ready to assemble your bat. First, you will be stacking each egg cup on top of each other. Before stacking, crumple a small piece of tissue and place it inside your top egg cup. Stack on top of your other egg cup. You may want to add a tab of school glue or hot glue to keep it all intact.
- Now you can attach the eyes to the upper egg carton using school glue or hot glue. Then followed by the teeth just below the eyes.
- Lastly, to make the wings, print out the batwing template provided. You can trace or cut out the bat wings from the template. Then attach it to the back of the upper egg using a dab of glue.
Notes
You can also use a paintbrush to apply a thin layer of glue and sprinkle some glitter onto the wings for an extra bit of sparkle.
If feathers or other decorative elements strike your fancy, go ahead and attach them to the wings as well. Let your imagination run wild!
This post may contain affiliate links or sponsored content. Disclosure Policy