
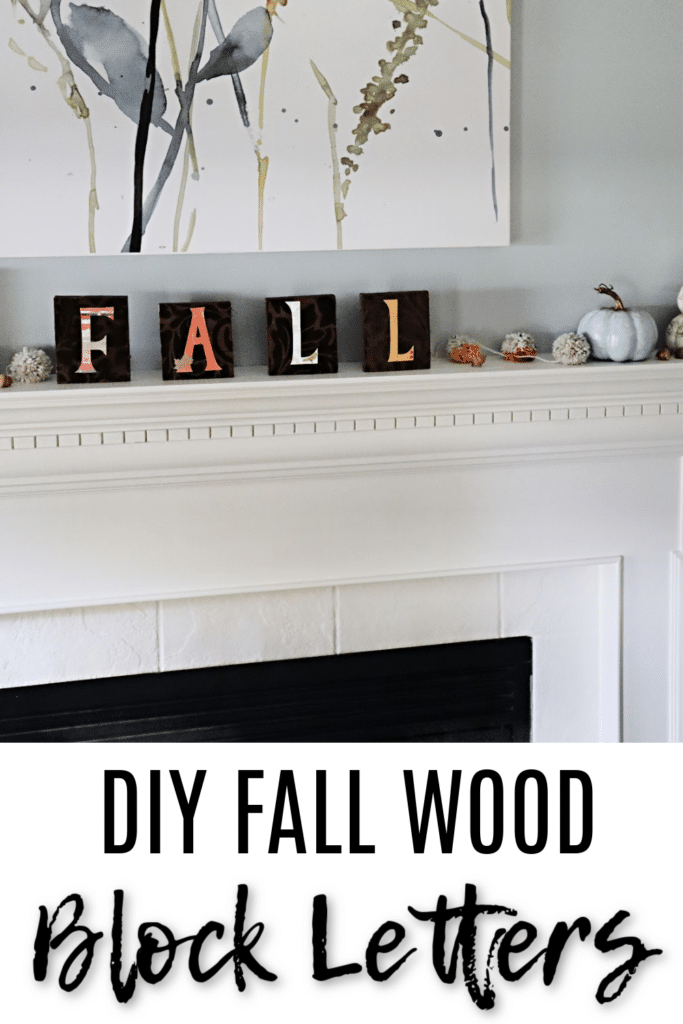
DIY Fall Wood Block Letters Craft
Create your own home fall decor with these simple DIY Fall Wood Block Letters. Make this fall craft project in no time flat! It’s an easy craft project with a step-by-step tutorial. Anyone can do it.
DIY Fall Wood Block Letters Craft
If you want to bring a sense of welcome to your own home, there is nothing that does so quite as well as a welcoming woodblock phrase. It can carry nearly any message or image you desire and is probably the simplest of all wood crafts.
However, despite being so simple, it can have a great deal of impact on your home, particularly if you choose a message that has a special meaning to you and your family.
HERE IS WHAT YOU WILL NEED
- 2x6x8 piece of lumber
- Spray Glue
- Fabric
- Cardstock in your choice of fall colors
- Stain or Paint
How To Make These Fall Letters
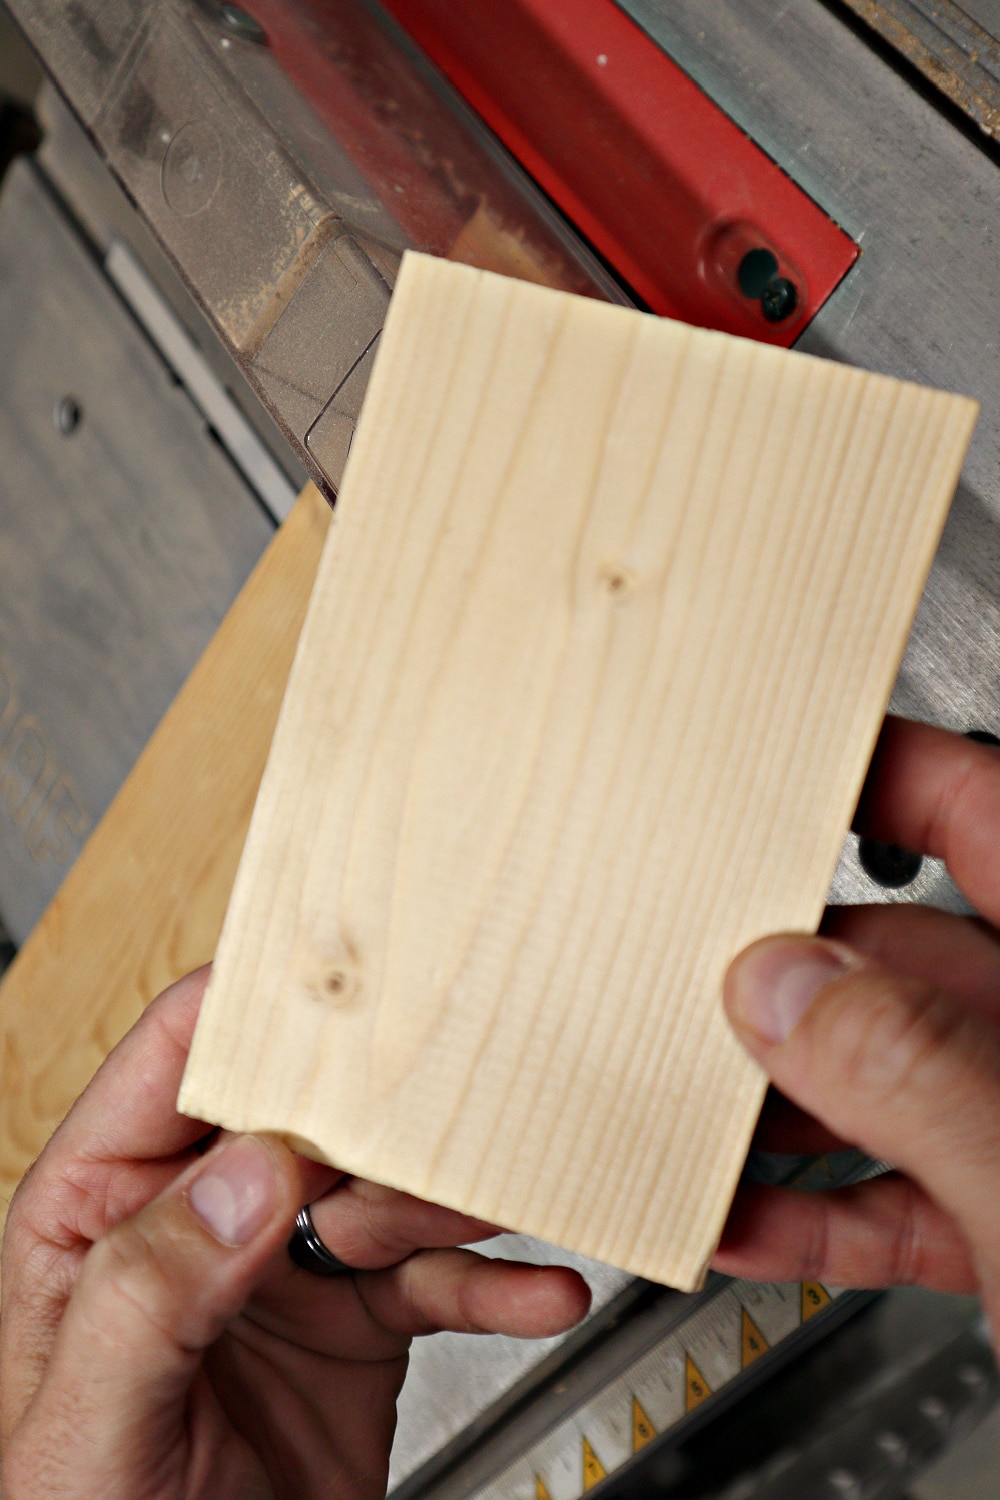
STEP ONE: The first thing you will need for your project is wood. Measure and cut your 2×6 into 4 cuts at 5 and 1/4 inches. If you are using scraps that are roughly this size, don’t worry about cutting.
Random pieces at different heights will work as well.
Just be sure the pieces you cut are large enough to hold the message you intend to use. If you look closely at the picture, you will notice the size differences.
STEP TWO: Once you have your pieces cut out, sand the front surfaces smoothly (this is particularly important because your painting will look rather odd if the surface is not fairly smooth).
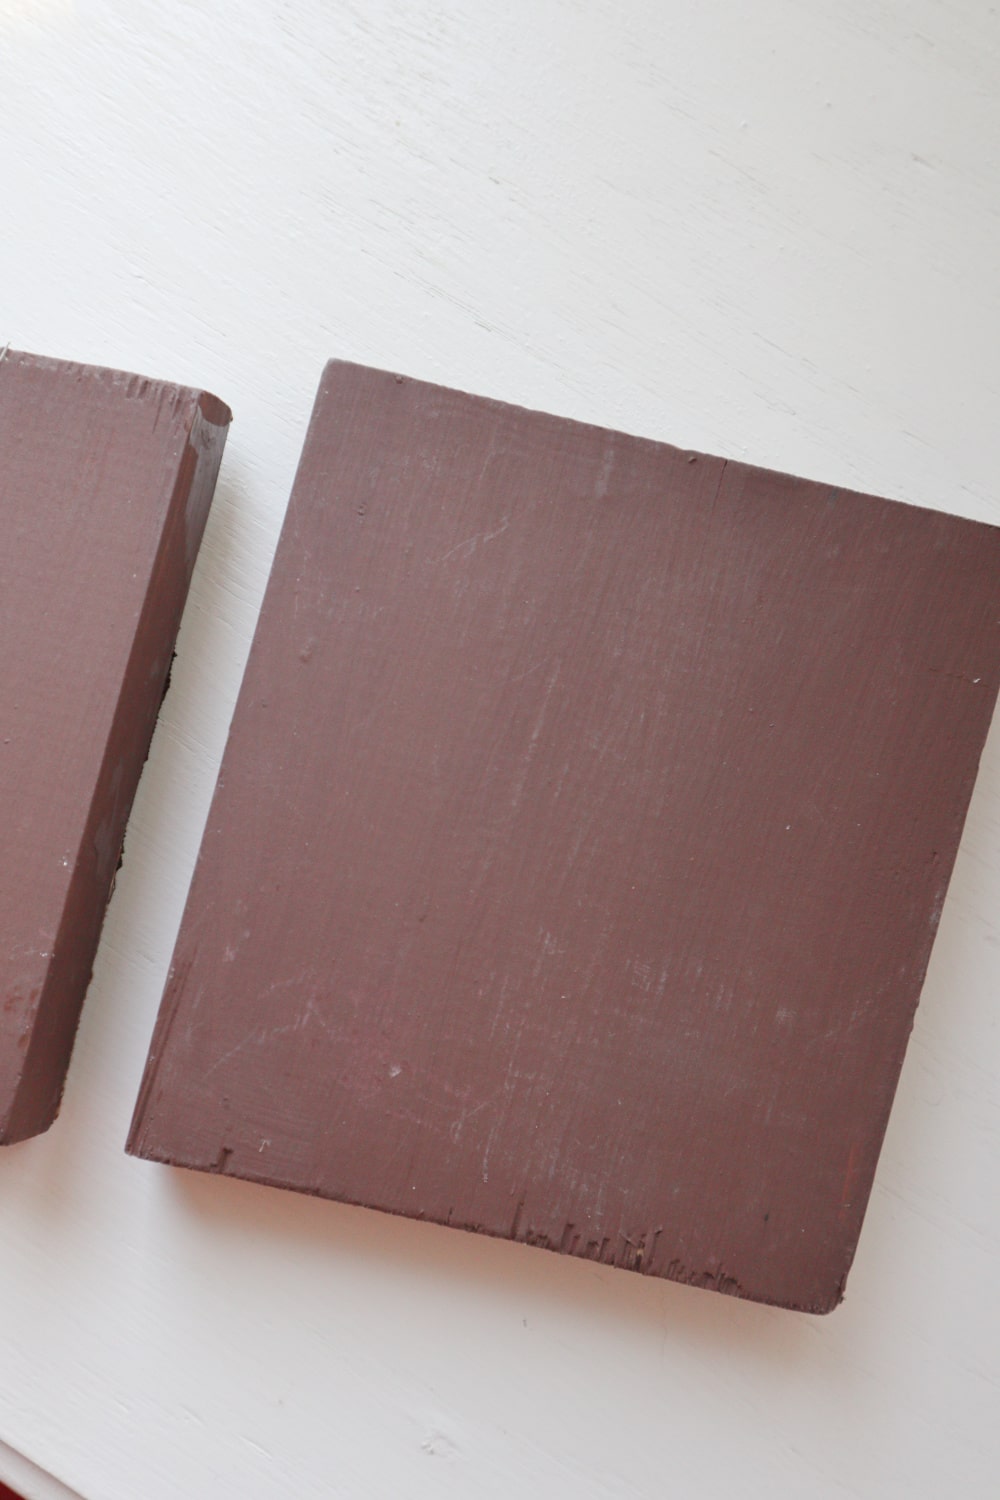
Next, give them a fresh coating of paint. I used brown.
STEP THREE: After Your Wood Block Pieces Are Dry. Dry fit your fabric to your blocks. Once you get the correct sizing, you are ready to glue. I used spray glue.
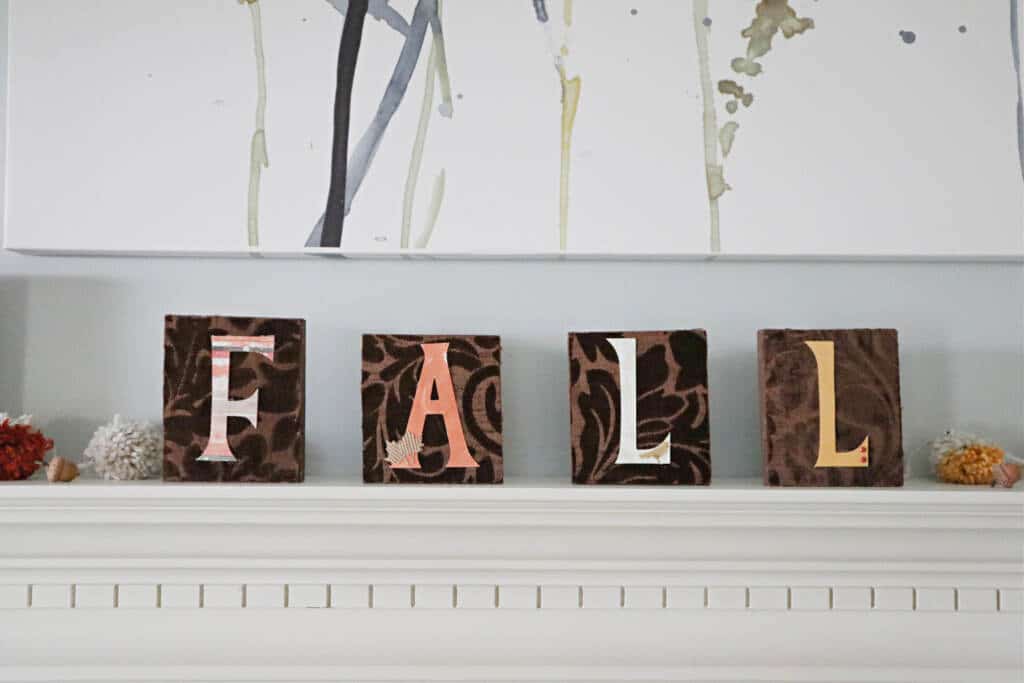
STEP FOUR: Now, to make the letters, you can cut them using a Cricut machine or trace them yourself. I own a Cricut Expression cutting machine. For me, the next step was pretty simple. I just picked out the paper and font I wanted and let the machine do its work.
STEP FIVE (Optional): Before attaching the letters to my fabric-covered board. I distressed them by using a distressing knife (if you don’t have one, you can use anything that will leave impressions on your block).
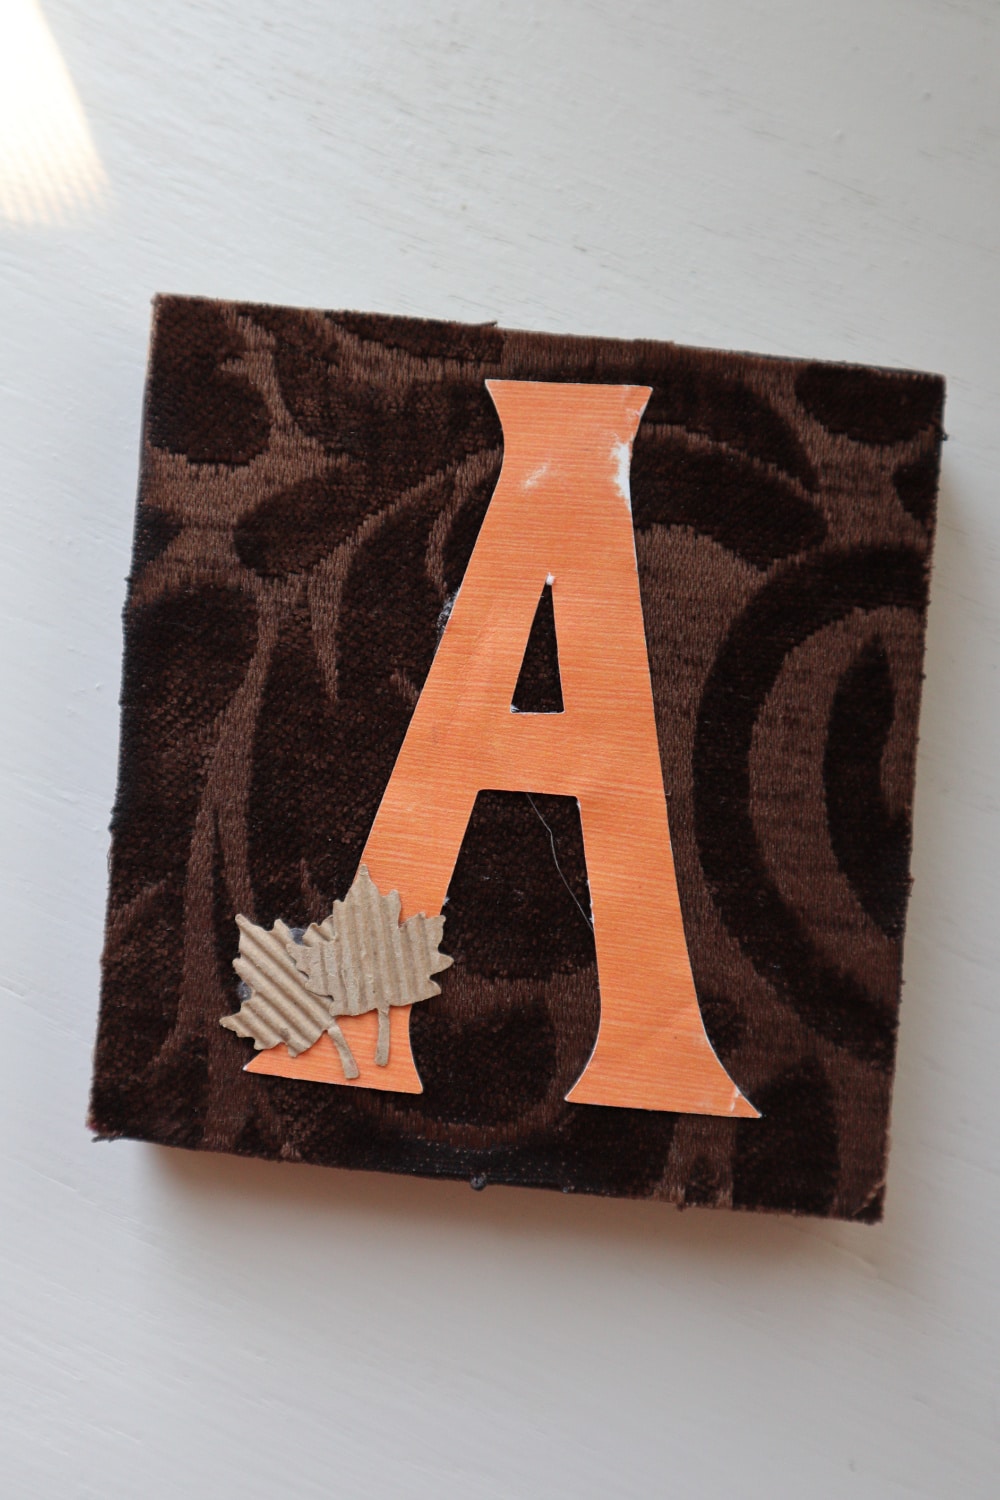
STEP SIX: Using your Cricuit machine, cut out lettering. Glue to fabric, again using the spray glue. Then embellished them using die cuts and brads.
To be on the safe side, I let them dry overnight.
Other Fall-Inspired Articles & Ideas
Fall Craft: Leaf 3D Glitter Drawings
Inexpensive Fall Decorating Tips – Make your Home Shine on a Budget
Homemade Fall Centerpiece – Decorate Your Table
This post may contain affiliate links or sponsored content. Disclosure Policy


Wow! Beautiful!
Thank you!!! 🙂
Love this easy but adorable project!