
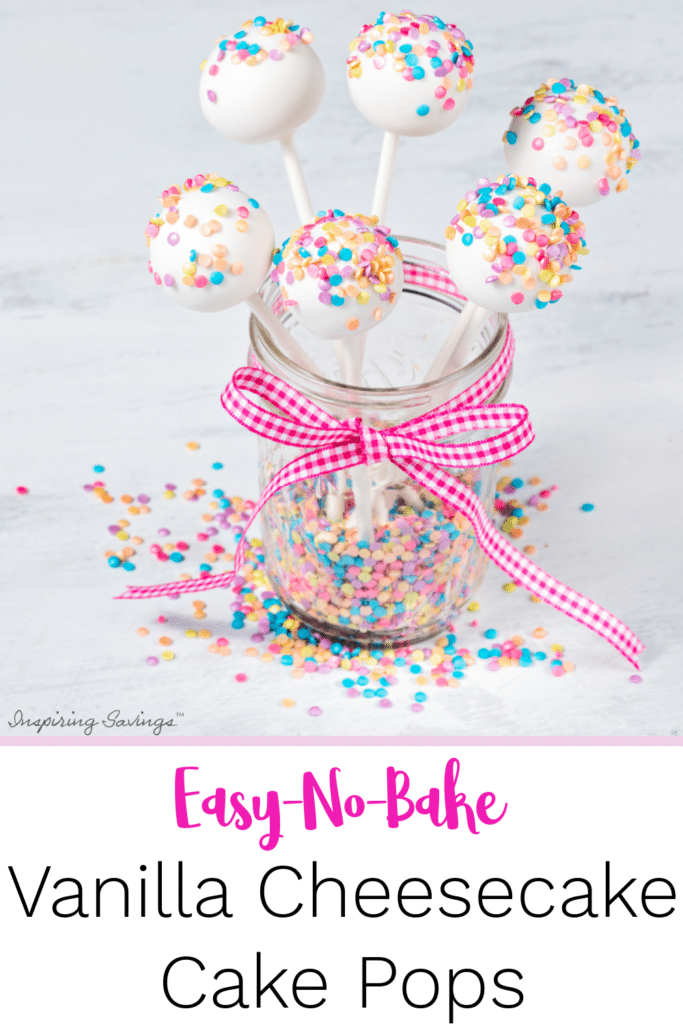
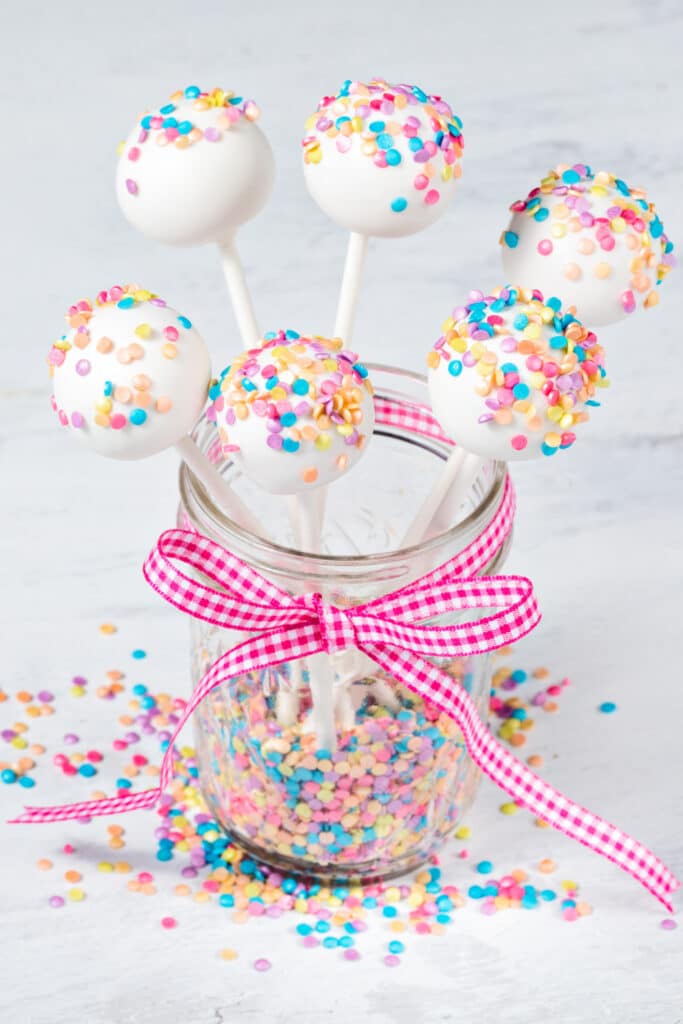
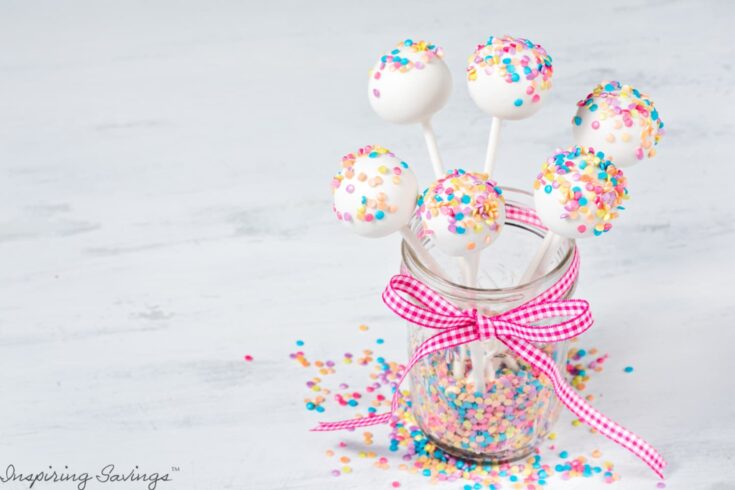
Easy No-Bake Vanilla Cheesecake Cake Pops
⭐️⭐️⭐️⭐️⭐️This recipe has been developed and tested by me and my family; it is not generated by AI.
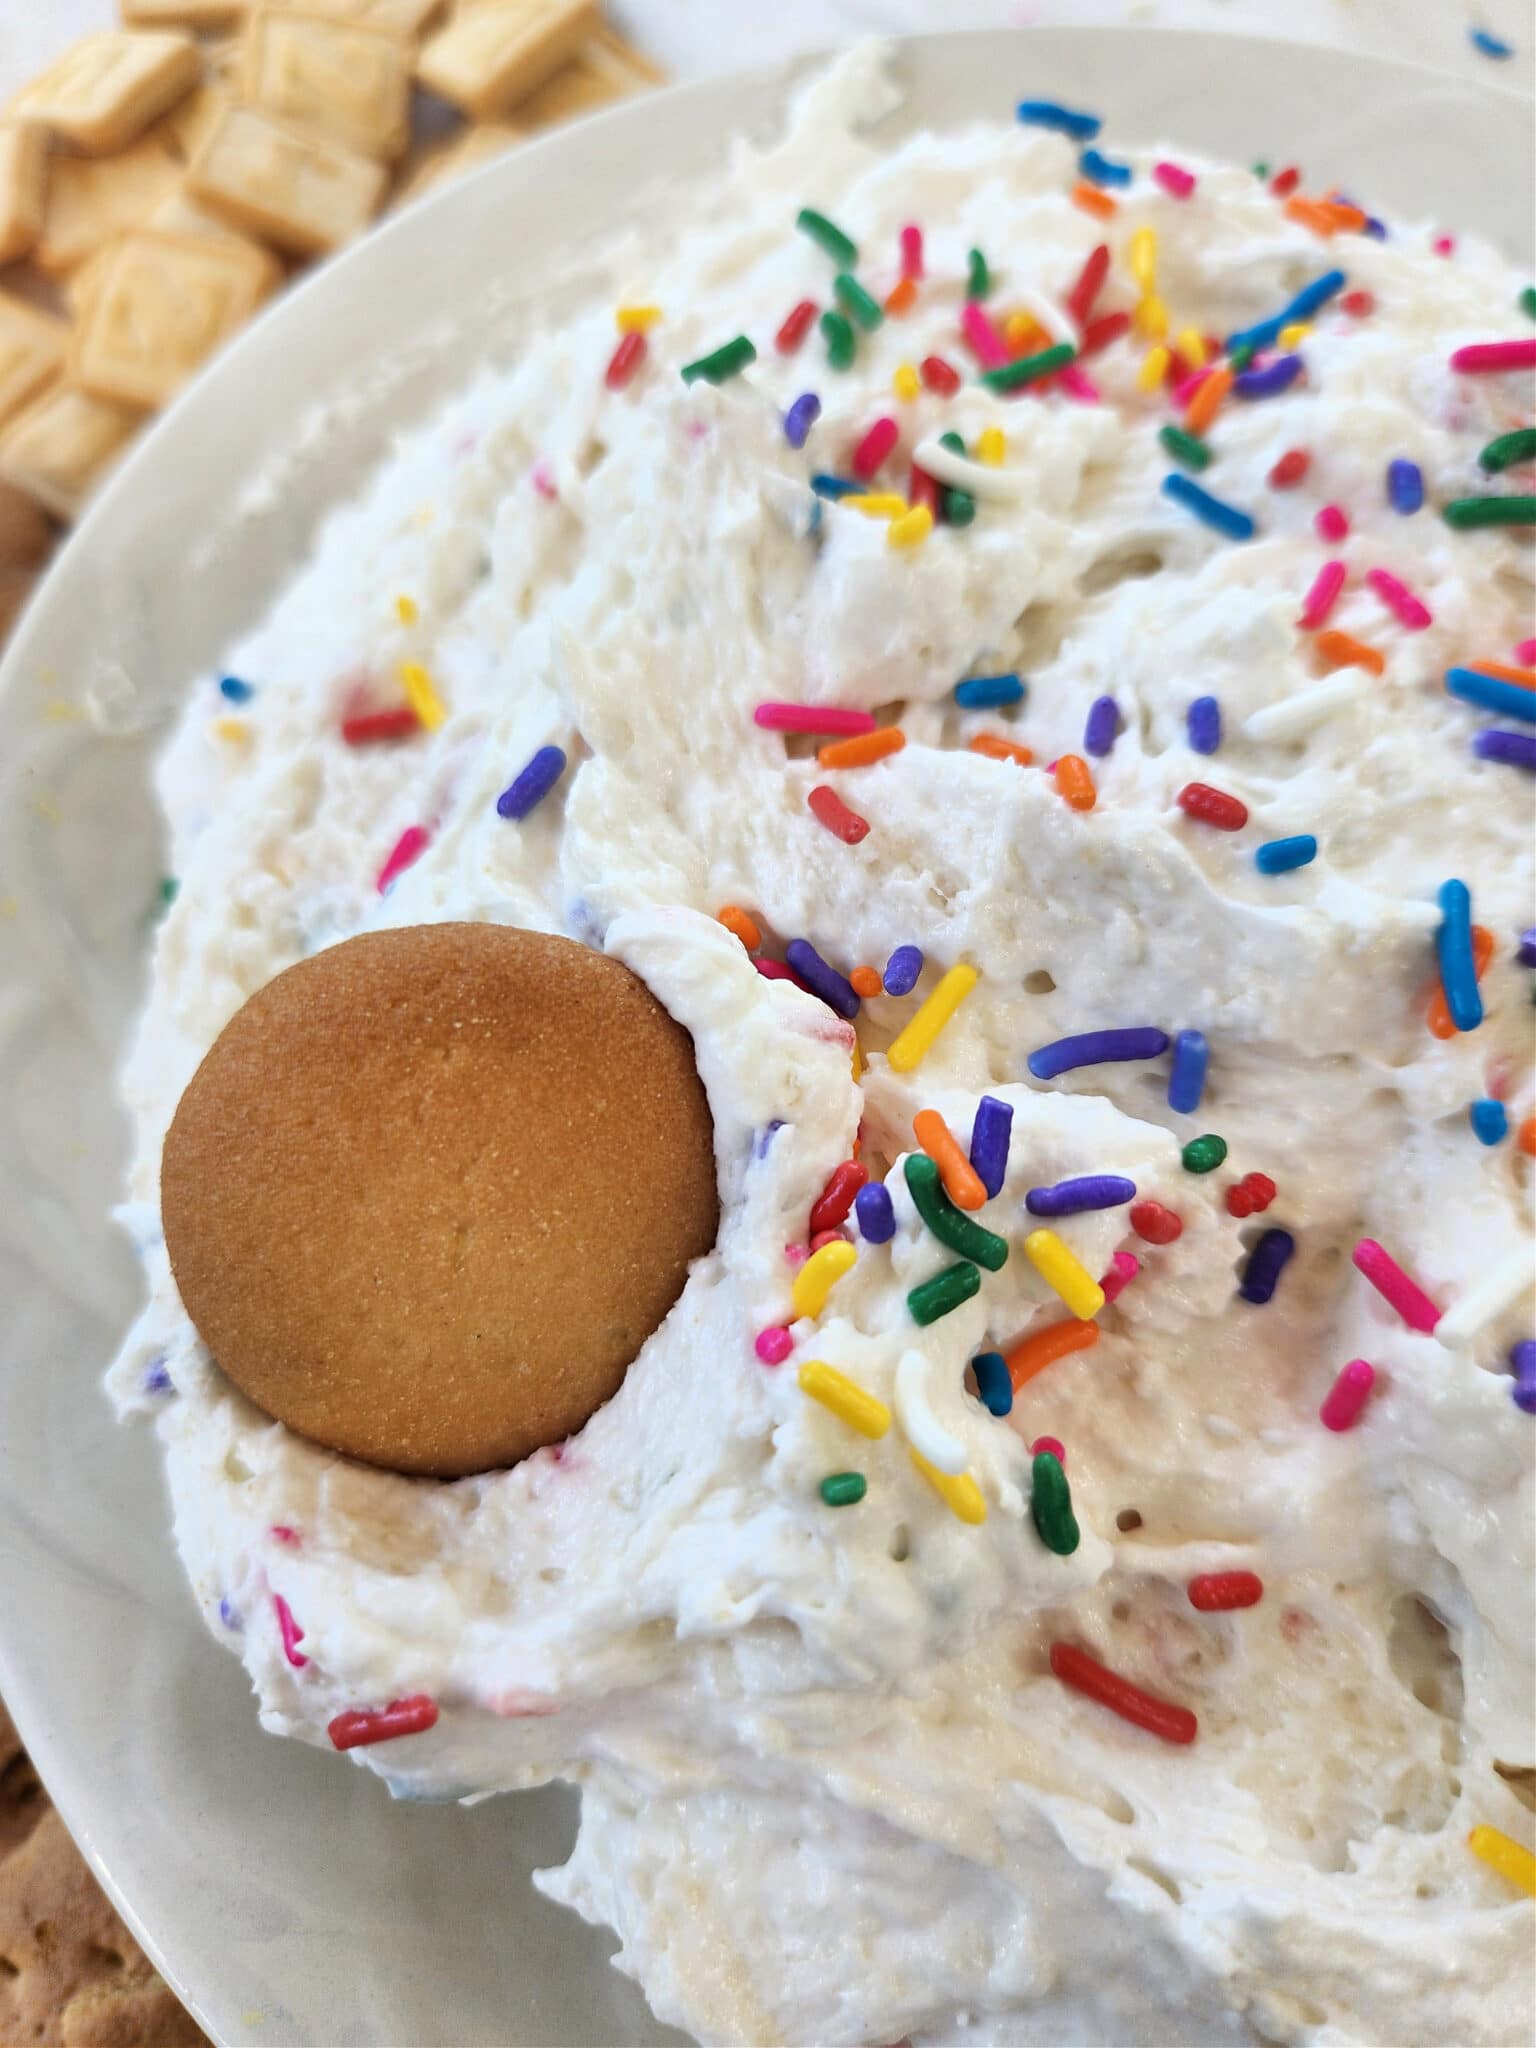
These deliciously creamy No-bake vanilla Cheesecake Cake pops are so tasty. Take these no-bake cake pops and dip them in melted chocolate, coat them in colorful sprinkles, or dress them up for Christmas. Mini desserts make the perfect portion-controlled, two-bite package.
| Prep Time: 1 Hour Cook Time: 0 Minutes Additional Time: 20 Minutes Total Time: 1 Hour, 20 Minutes Servings: 20 Cake Pops |
Who doesn’t love Cheesecake? This recipe is a pint-size version of the big thing. You can make these miniature Vanilla Cheesecake Cake Pops for your next party or get together and savor all the flavor of an indulgent dessert.
I am not going to lie. I spotted a pound cake on sale at my local grocery store. Every bone in my body tried to resist, but I just couldn’t. This was a good impulse buy.
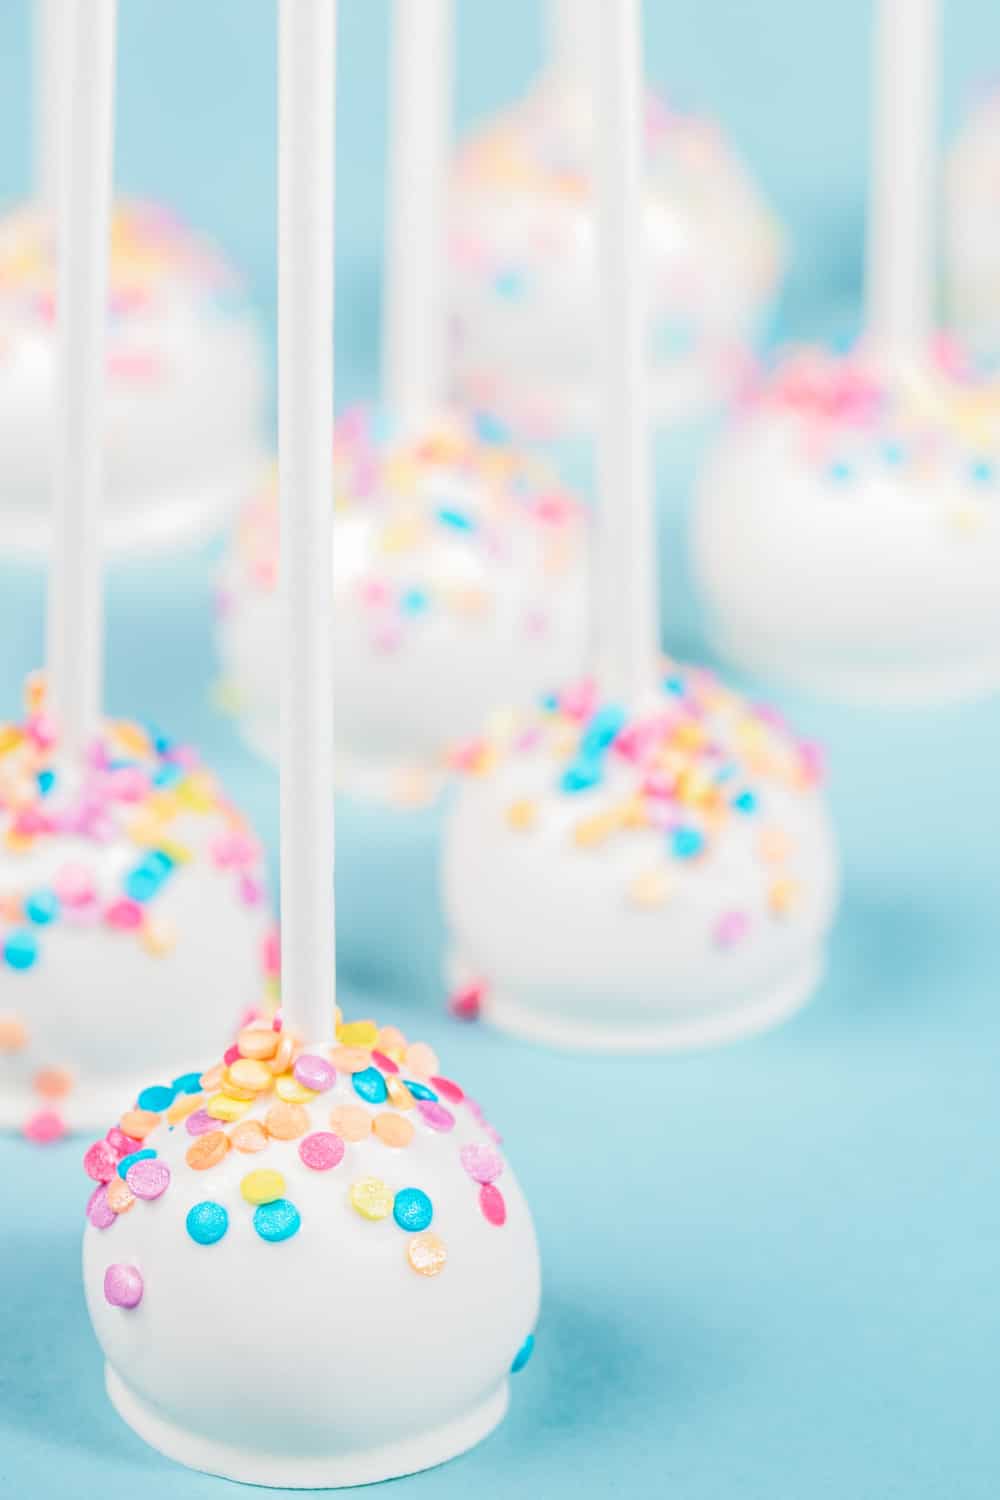
My creative side got to work. You decide what color you would like to use for your melting chocolate, for the holiday season, red and green are pretty. If serving at a Halloween party, I love using bright orange colors, and for fun, I use candy eyes instead of sprinkles.
Why You Will Love These Vanilla Cake Pops
No-bake simplicity: Skip the hassle of baking or water baths—this recipe is quick and effortless.
Fun flavor combo: Combines the creamy texture of cheesecake with the sweet taste of a store-purchased vanilla pound cake.
Perfect portions: Bite-sized mini cheesecakes are fun to eat and great for sharing.
Time-saving treat: A fast and easy dessert when you’re craving cheesecake without the effort.
Crowd-pleasing option: A playful and portable dessert everyone will love.
Ingredients Needed
For a full list of main ingredients, scroll down to the printable recipe card.
- Vanilla pound cake – This is my favorite part of this recipe. I purchased a vanilla pound cake from the grocery store. I often find them on the day-old sale cart.
- Powdered sugar – This is what is needed to sweeten up your cheesecake cake pops. It will add a nice and fluffy texture.
- Vanilla extract – Yes, I like to add a little bit more vanilla. This addition is for the cream cheese frosting mix.
- Cream cheese – For the richest creamy cheesecake filling, use full-fat cream cheese. Make sure you use room-temperature cream cheese so that your mini cheesecake bites don’t have lumps.
- Coconut oil – for coating the scoop.
- Candy melts or almond bark – If you prefer to use white or milk chocolate to coat the bites, you can melt them the same way in the microwave in place of the almond bark.
- Rainbow Sprinkles – It’s always fun to dress up desserts with rainbow sprinkles to make them look pretty.
For this recipe, I used the following helpful kitchen gadgets:
- My Cuisinart food processor
- My Dough Scoop
- And not a gadget, but my favorite candy melts
How to make these cheesecake cake pops
STEP ONE: Line a small baking sheet with parchment paper and set aside.
Step TWO: In your food processor, add cake, powdered sugar, vanilla, and cream cheese. Pulse until all ingredients are uniformly mixed. If you don’t have a food processor, you can use a large bowl and a potato masher. Combine until smooth.
STEP THREE: Before beginning the next step, coat a tablespoon scoop or cookie scooper with coconut oil so the dough doesn’t stick. Then use your scooper to portion out the dough.
STEP FOUR: Now you can gently roll all balls of cheesecake in your hands to smooth the edges. You should have about 16 cake balls.
STEP FIVE: Place the balls in the freezer or refrigerator for 20 minutes.
STEP SIX: In a microwave-safe bowl, heat the candy melts according to package directions. Then remove the balls from the freezer, and coat each ball with a light coating of melted candy. Place coated balls on parchment paper, then quickly add rainbow sprinkles and all to cool. Cover and refrigerate any leftovers.
Smart Recipe Tips
Make these cake pops extra special by using other items you may have in your pantry already. Use mini chocolate chips, toasted coconut, chopped nuts, or sprinkles, or dip the pops into caramel topping.
Store the finished cheesecake pops in an airtight container in the refrigerator for up to a week.
If you do not have a microwave, you can melt chocolate using the double boiler method. It’s the traditional stovetop method that requires a saucepan and a metal or glass bowl.
Other Great Dessert Recipes
Homemade Almond Joy Shortbread Cookies
Banana Cupcakes With Salted Caramel Frosting
No-Bake Vanilla Cheesecake Cake Pops Recipe
These deliciously creamy No-bake vanillaCheesecake pops are SO tasty. Great for any occasion and freezable until ready to serve.
Ingredients
- 8 oz vanilla pound cake, cubed
- ½ cup powdered sugar
- ½ teaspoon vanilla extract
- 4 ounces cream cheese
- coconut oil for coating scoop
- 5 ounces of candy melts or almond bark
- Rainbow sprinkles
Instructions
- Line a small pan with parchment paper.
- In your food processor, add cake, powdered sugar, vanilla, and cream cheese. Pulse until all ingredients are uniformly mixed.
- Coat a tablespoon scoop or cookie scooper with coconut oil so the dough doesn’t stick. Then use your scooper to portion out the dough.
- Next, roll each cake ball gently in your hands to smooth the edges. Makes 16 balls. Place the balls in the freezer or refrigerator for 20 minutes.
- Heat the candy melts according to the package directions, in a microwave safe bowl.
- Remove the balls from the freezer, and coat each ball with a light coating of melted candy. Place coated balls on parchment paper then quickly add rainbow sprinkles and all to cool. Cover and refrigerate any leftovers.
Notes
I like to use 2 forks to roll the balls in the coating and to then let the extra candy drip off.
Nutrition Information:
Yield:
16Serving Size:
2Amount Per Serving: Calories: 166Total Fat: 5gSaturated Fat: 3gTrans Fat: 0gUnsaturated Fat: 2gCholesterol: 15mgSodium: 67mgCarbohydrates: 21gFiber: 0gSugar: 15gProtein: 1g
This post may contain affiliate links or sponsored content. Disclosure Policy

3 Comments