
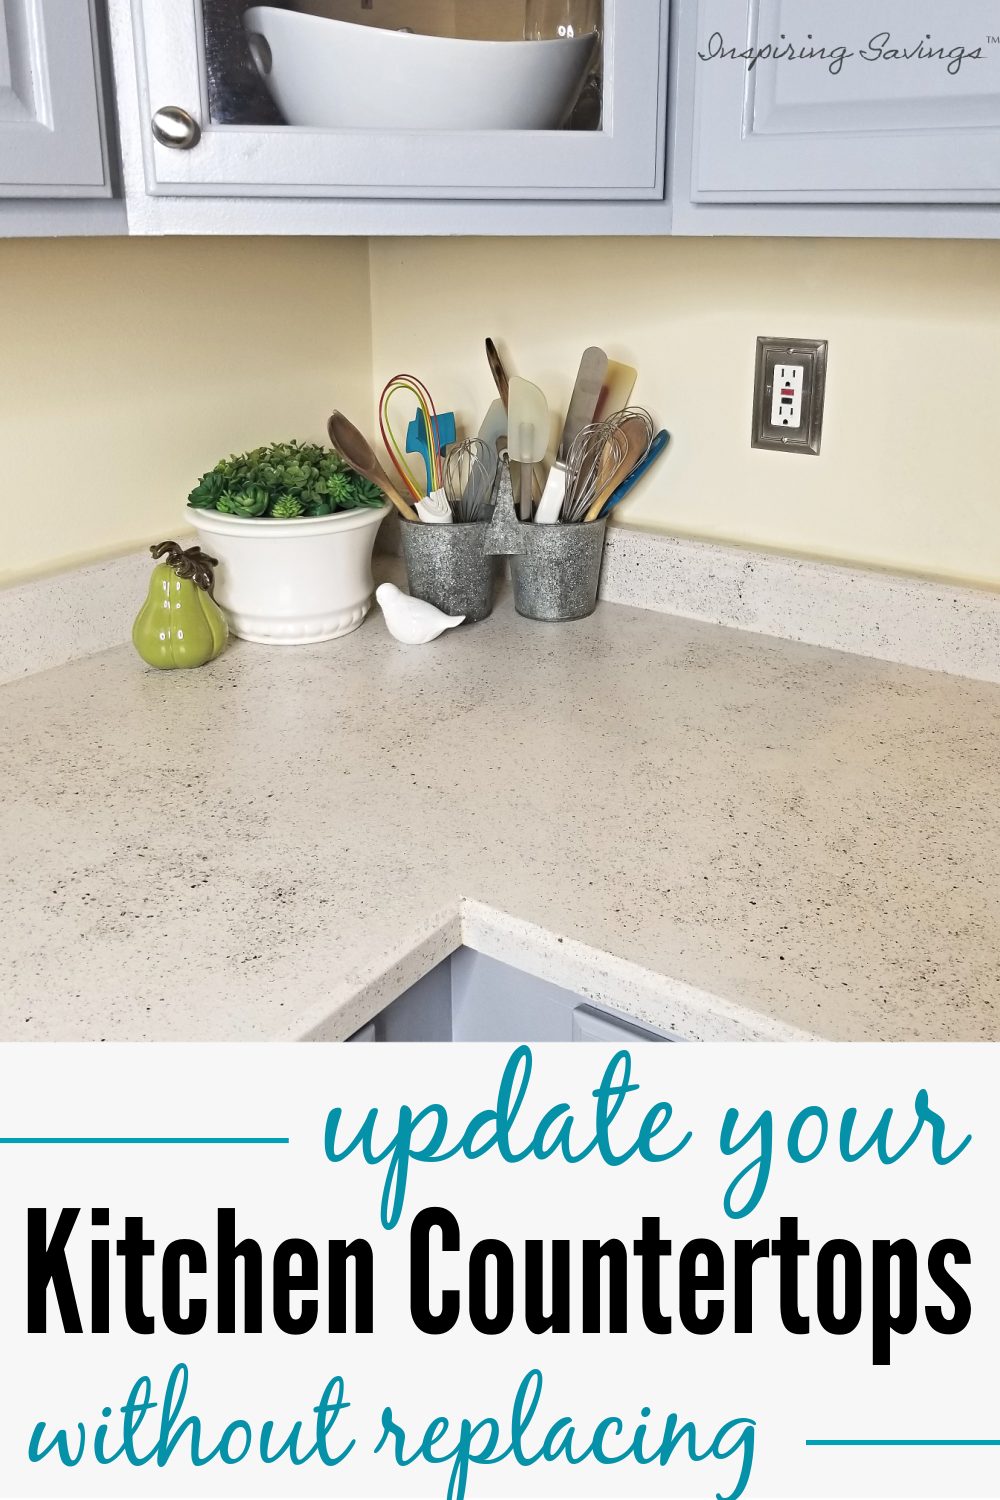
Update Your Kitchen Countertops Without Removing Them
Looking for an easy DIY countertop makeover? If you’ve got a small budget, then you can take your kitchen countertops from dated to modern beauties by using this tutorial for creating faux stone countertops!
January 2025 Update to experience after 5 years. Scroll down to FAQ at the bottom of this post.
Outdated, damaged countertops do nothing for the value of your home. I know this all too well. Older, worn-out countertops can make walking into the most-used room in your home feel unwelcoming.
Often, I feel as if my kitchen is dirty, but it isn’t.
-Do you own old laminate or Formica countertops?
-Have existing kitchen countertops that are in okay to good shape?
-Do your current countertops have dings or cracks?
-Are you working with a small budget?
If you answered “yes” to any of these questions, you can update your countertops easily without removing them. Designers will tell you natural stone is all the rage. They are beautiful, stain-resistant, scratch-resistant, and heat-resistant. What more could you ask for? Well……. It seems all your checkboxes have been marked, except for one. Right?
The price tag. What if I could tell you that you don’t have to spend thousands of dollars to update your kitchen countertops? You say: “Winner, winner chicken dinner. But what is the catch?”
Updated kitchen on a limited budget
Now it is time to add visual interest to your kitchen with this unique, effective, and beautiful product. And if you don’t already know, cost-saving measures are my favorite renovations. They’re quicker and far less painful. And a BIG plus… less expensive! But I don’t need to tell you twice.
The Cost-Effective Product
Out of all the rooms in your home, kitchens and baths get the most use. And countertops are some of the easiest parts of the room to cover or refinish (despite the rumors you may have heard). The cost will be minimal, and there will be no need to consult a professional for the work.
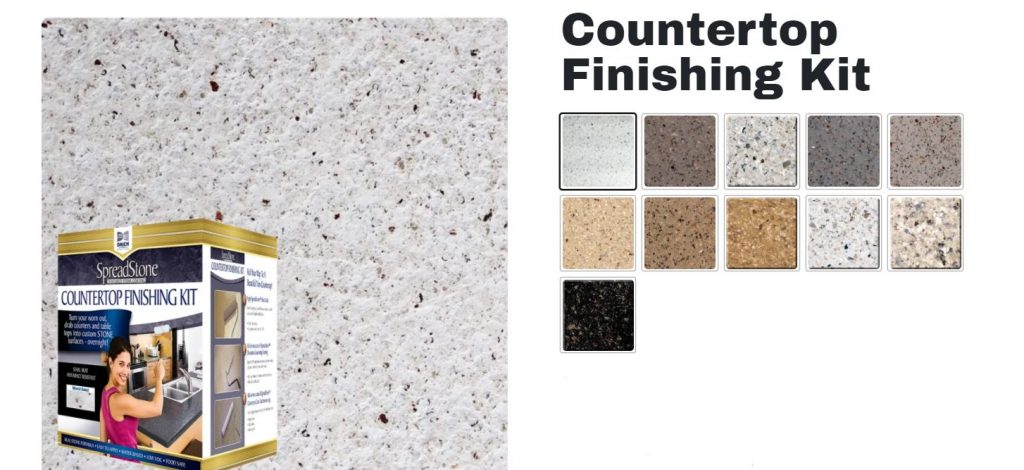
All you need to do is get your hands on the Daich Coatings Quart Spreadstone Countertop Finishing Kit. That is it! With this product, you are re-coating your existing countertop with SpreadStone – a carefully combined mix of stone products. Be prepared to be amazed by the quality of this product.
Spreadstone Countertop Finishing Kit can be purchased from either Amazon or Daich Coatings website.
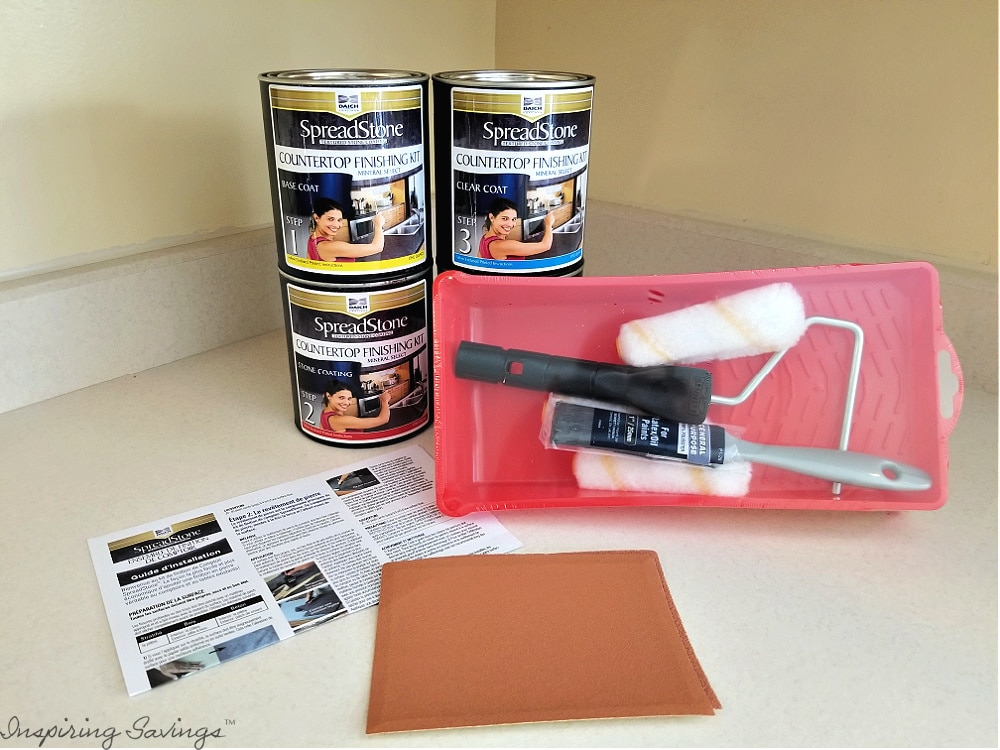
SpeadStone Countertop Finishing Kit
Each kit contains one can of base coat, two SpreadStone coat cans, one can of topcoat, a roller handle, three rollers, a small paintbrush, and a mini roller tray.
They also give you a few small pieces of sandpaper in 60, 80, and 120 grit. The kits cover 50 sq ft of countertop per the instructions (the website states 40 sq ft) each. We ordered two kits as our countertops measure 60 sq ft. The coloring finish we chose is Natural White. The SpreadStone Mineral Select kit comes in several other great options, too.
Tools & Supplies Needed:
- Sandpaper, 80 grit & 120 grit (you will need more than what they supply)
- Small Sander (optional, but will help a lot)
- Drywall knife
- Spackle
- Gloves (Latex or Latex Free)
- Painters Tape
- Daich Coatings Countertop Finishing Kit (comes with Roller Handle, Rollers, Paint Brush, and Mini Roller Tray)
- Hammer (may not be needed)
Mask for sanding
Before getting started, make sure to watch their online video tutorials. You can find them at the bottom of each product listing. I read the instruction manual completely. Very easy to understand and follow. I then spent some time reading through all the reviews on Amazon.
UPDATE: I can tell you it was an easy process, with a beautiful outcome and no complications.
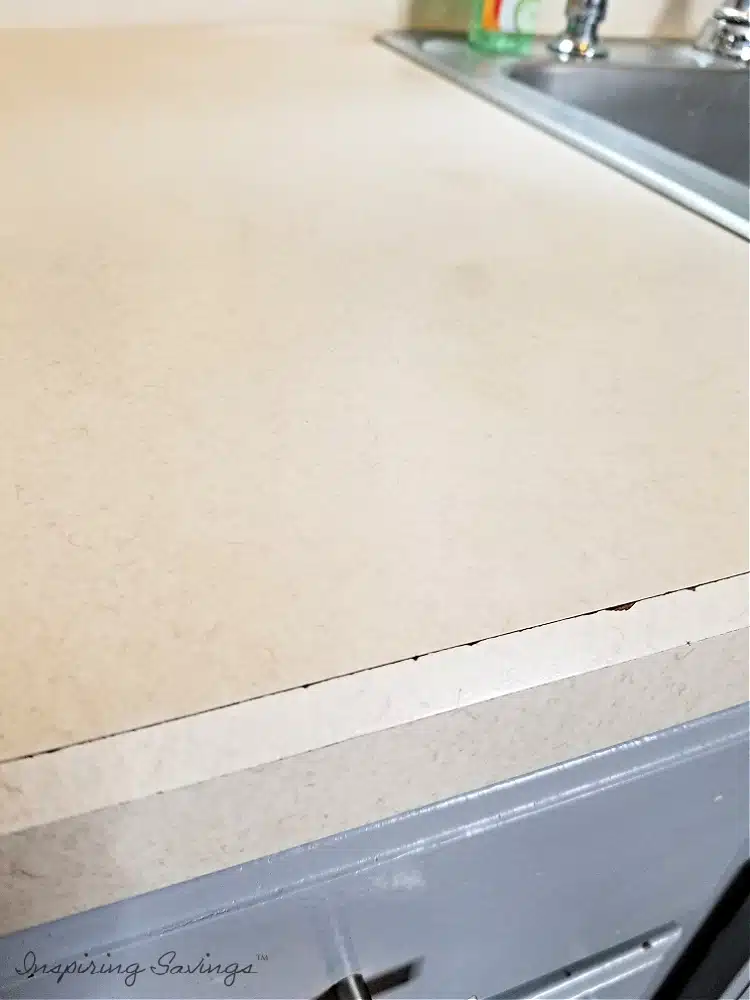
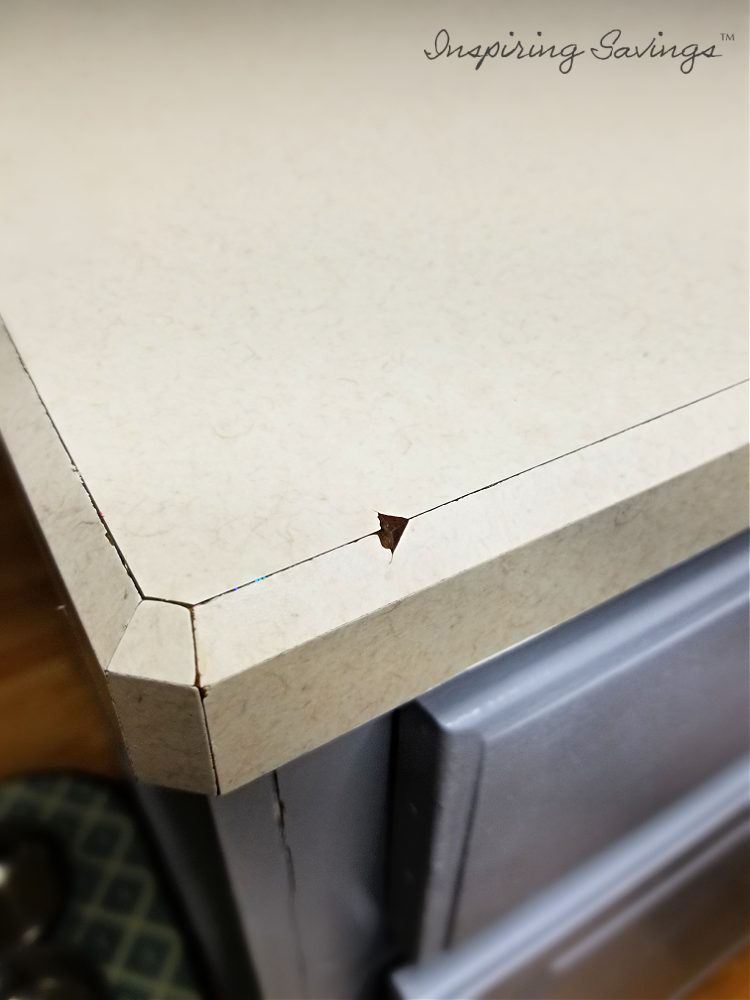
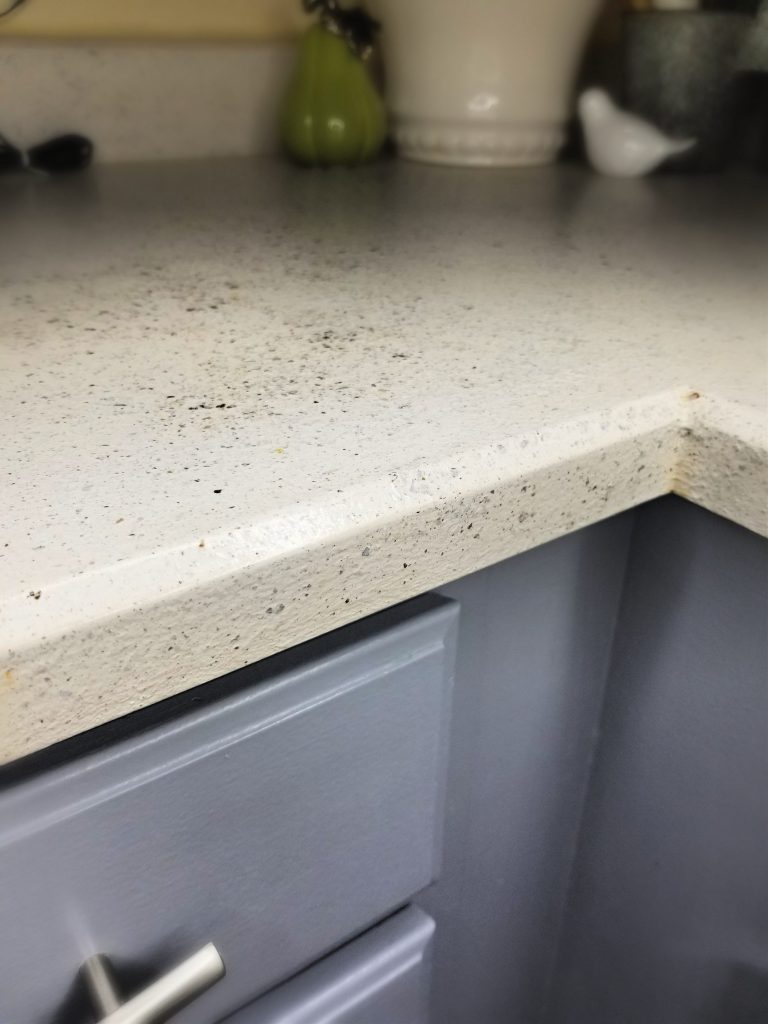
Before Photos – Old Kitchen Countertops
While we love the light color of our countertops, we do not enjoy the fact that they are very outdated. You, too, will see the look of wear, chips, dings, and water damage (last photo). While you can’t see the imperfections from afar, you can easily see them on closer inspection.
For example: Blackberry season.
While cleaning or prepping our blackberries, if one accidentally dropped out of one of the containers onto the counter and landed on our white countertop, within 5 seconds, that blackberry juice left a red mark. Guaranteed.
Some days, it was a never-ending battle to keep them white. I always need to have a 10:1 water/bleach solution on hand to remove any stains.
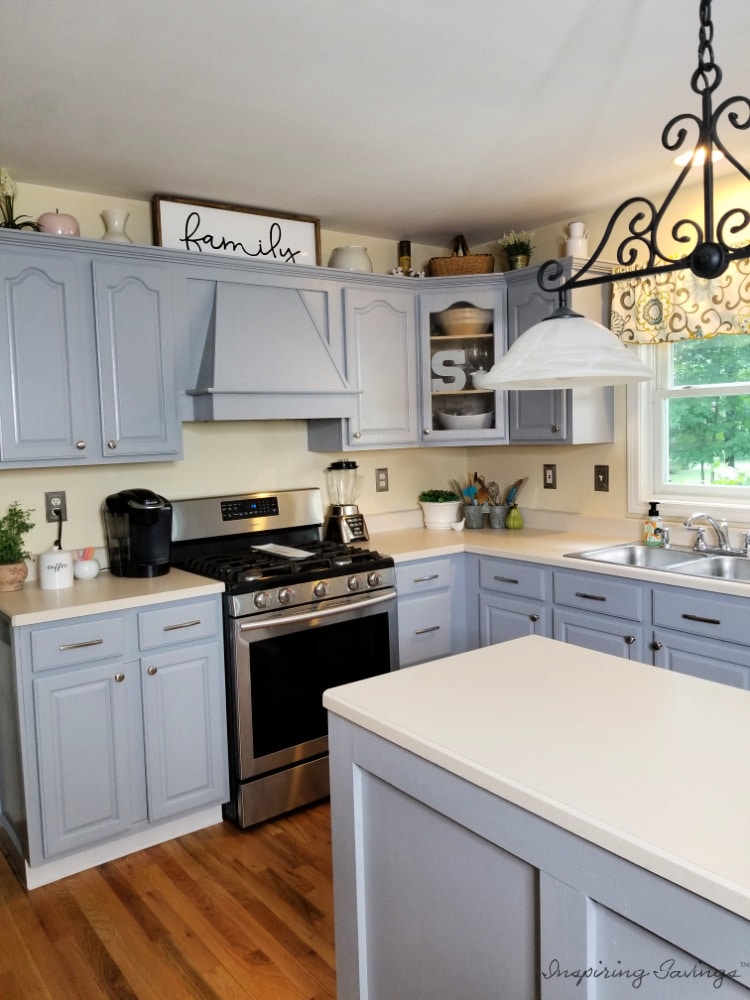
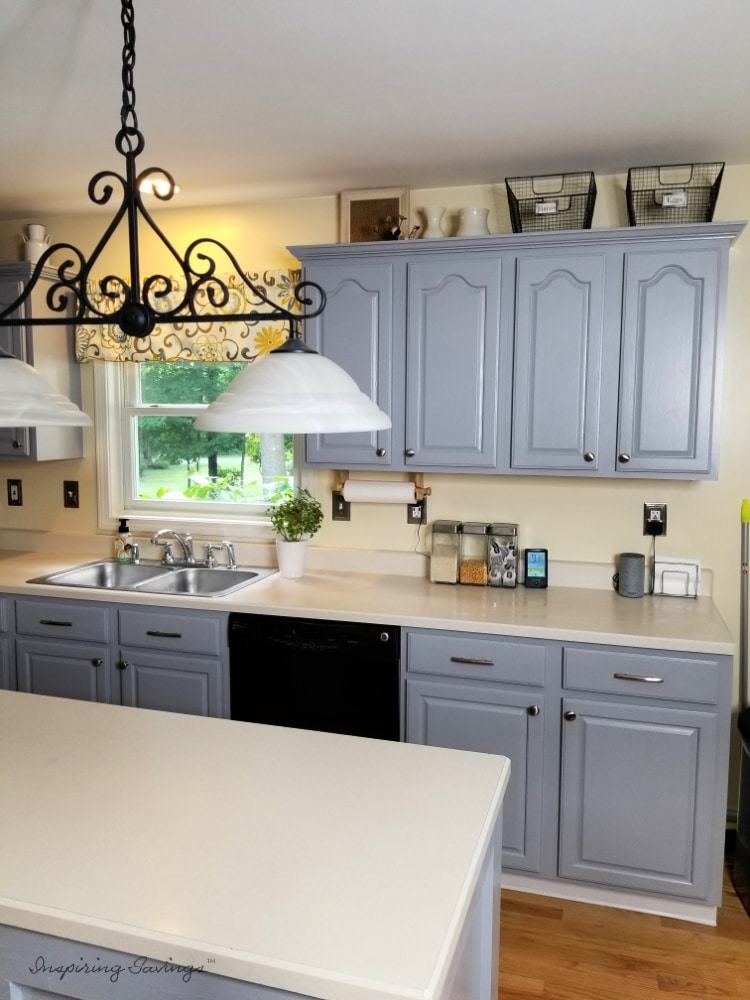
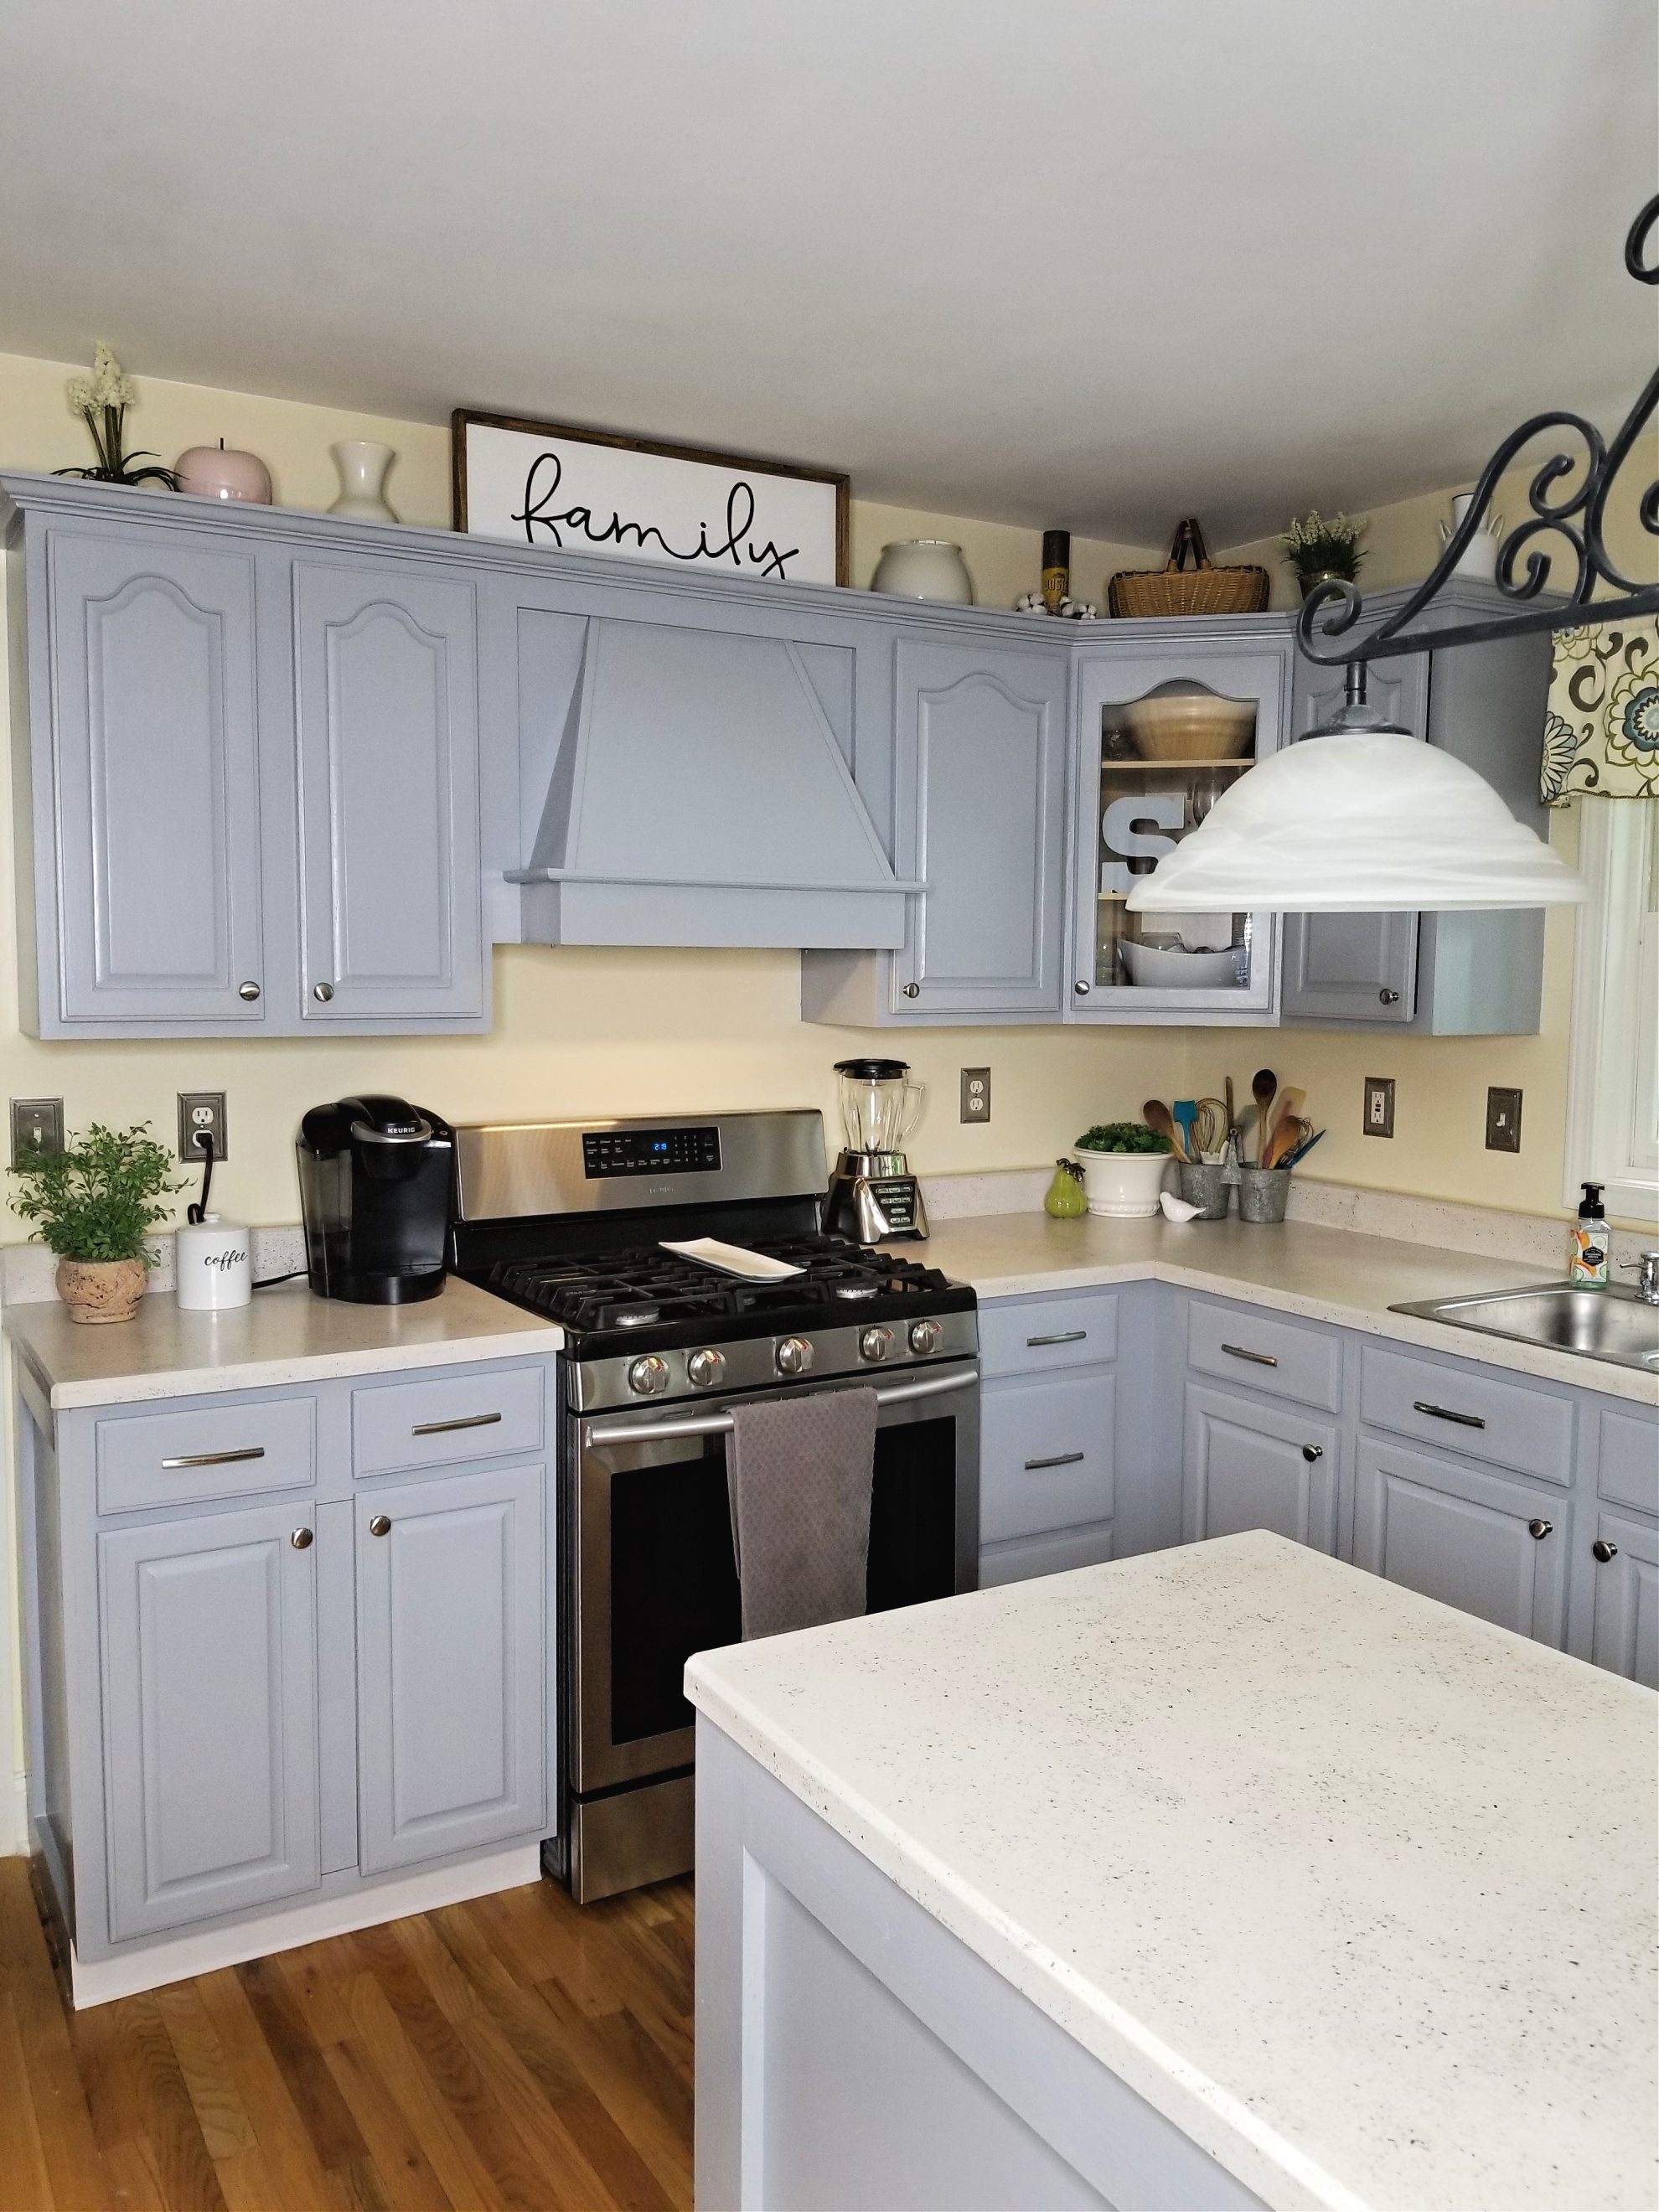
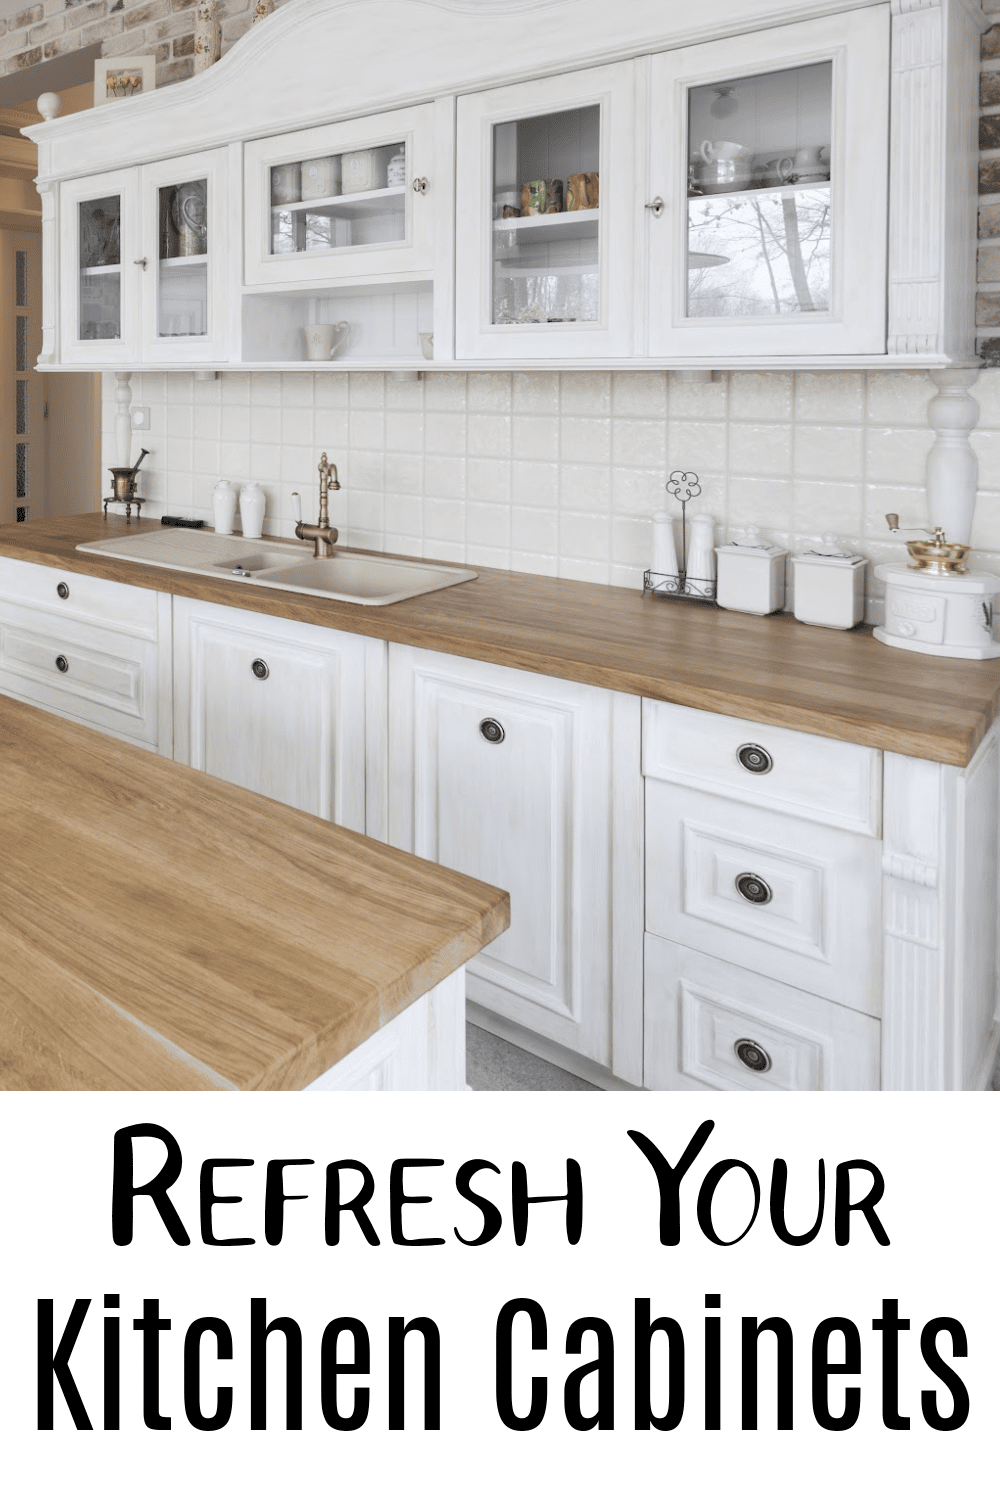
The last renovation of our kitchen was updating the color of our cabinets. We went from brown 90’s oak to this freshly colored grey. I just love the pop of this color. You can read more about that update here.
Step 1: Clean, Prep, and Sand
Our countertops, being original to our house (roughly 20 years old), are in okay condition. You can see the wear on the island area and by the sink the most. This is the area that gets the most use, and a few nicks and cuts, but mostly, those counters were in good condition.
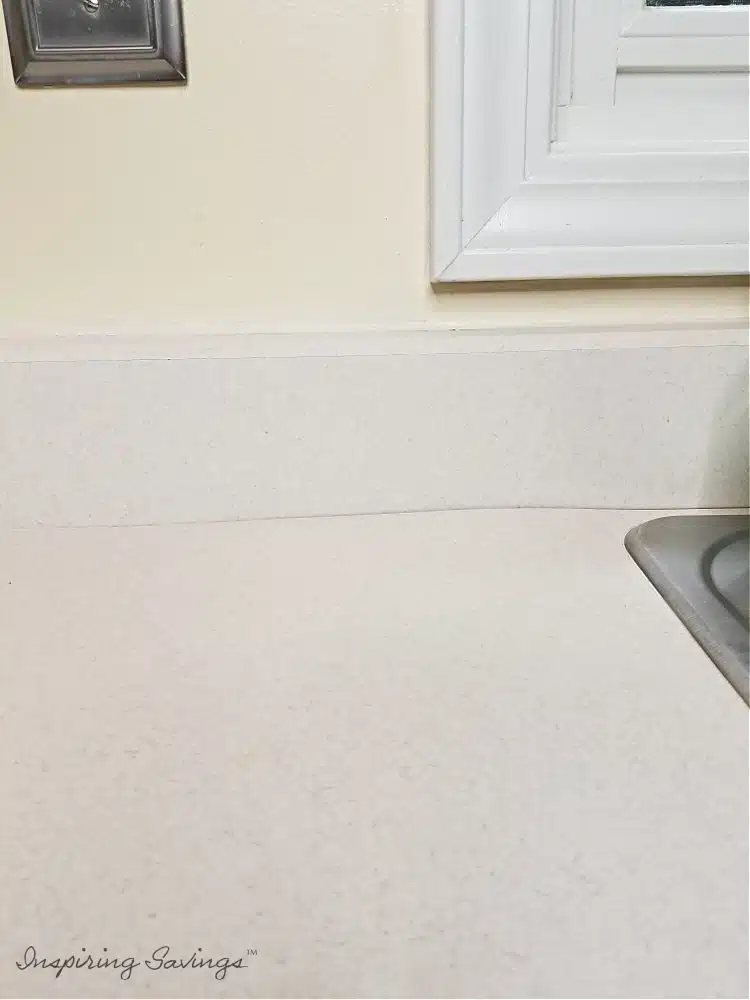
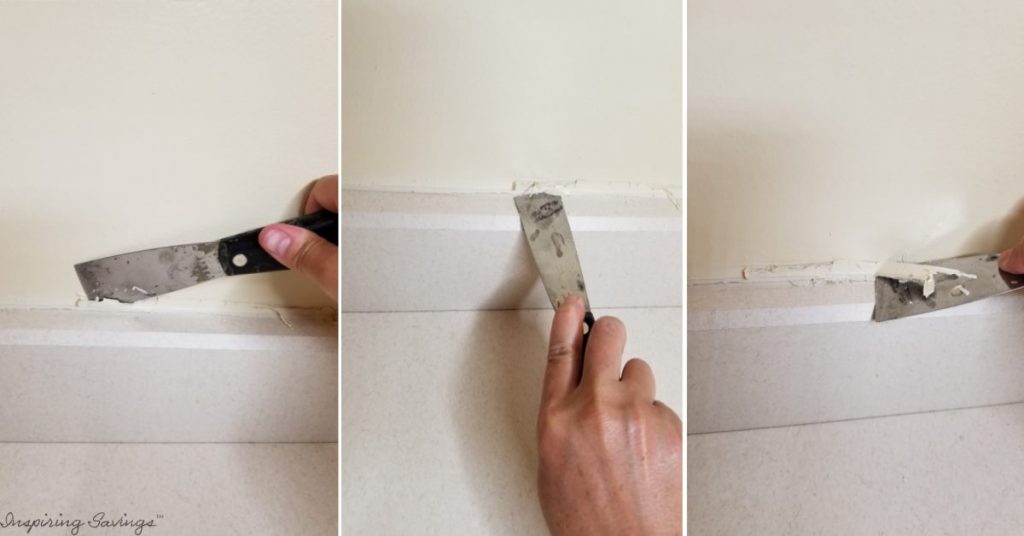
By our sink, previous to us owning the home, there was a raised area from water damage. Per the instructions, you will need to cut the damaged area(s) out, sand, and fill in with drywall spackle or joint compound. That is what I did to make the water-damaged raised area look level with the rest of the countertop.

Your first step after repairing any imperfections is important. You must clean those counters well. I used soap and water with a magic eraser. To make sure I removed all particles, I wiped over my countertops a few more times.
I did not wipe over the newly repaired sections. Doing so will remove the drywall spackle. I personally recommend removing any caulk you may have around backsplashes or your sink(s). You will need to re-caulk and possibly do some touch-ups with paint.
This will make the project look professionally complete. Straight, crisp, and clean lines.
Next, tape around the cabinets, backsplash, and sink with painter’s tape to make sure you don’t get any of the product on any of those surfaces.
The hardest part was covering up around the window trim and the sink area since these are small, tight spaces. It took me longer than I would have liked. But it is all about the details in the prep work. Again, you don’t want to skip any of these steps.
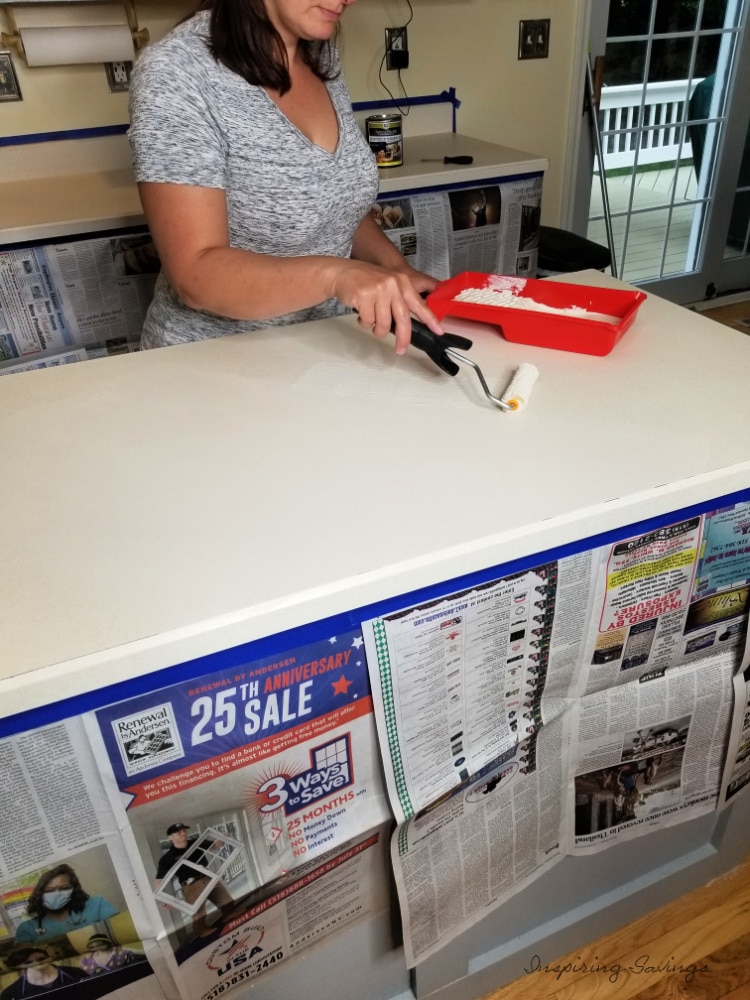
Step 2: Apply Base Coat
Applying the base coat is simple. If you know how to paint, you’ve got this. Don’t be alarmed if the base coat seems like it barely covers at all on the first coat. It’s not meant to cover completely. It’s like a primer. The base coat is NOT the color of your countertops.
To help with dry time in between coats, we used a fan to circulate the air, and it helped each coat of product to dry more quickly. Do not move on to a new coating until the first is completely dry. Waiting at least 1 hour in between coats.
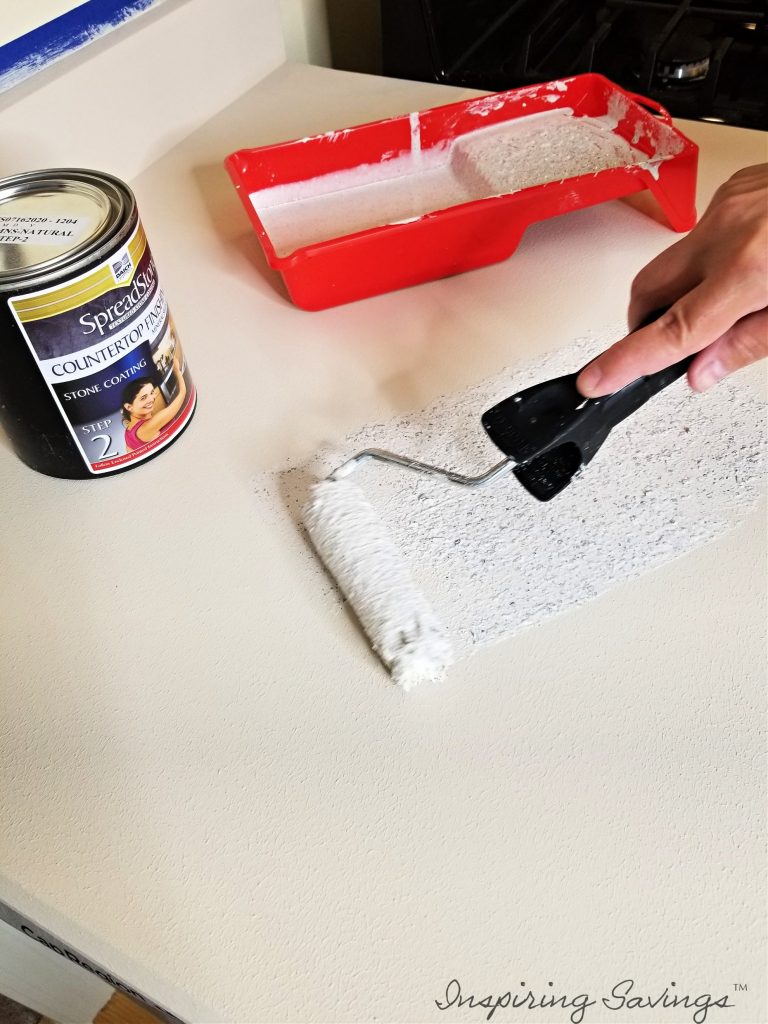
Step 3: Apply SpreadStone Coat
This step is much different from applying the base coat. Make sure you stir the “stone” paint well before starting. The product does settle in the can, and you have to stir it with a paint stick to get it mixed. In the instructions, it does state to use the roller that is included to apply this coating.
When I applied it with the roller, it applied unevenly (see the image above). I decided it was best to paint it with a brush. This technique allowed me to dab areas that seemed to have fewer stone flakes in them. I liked that it gave me more control.
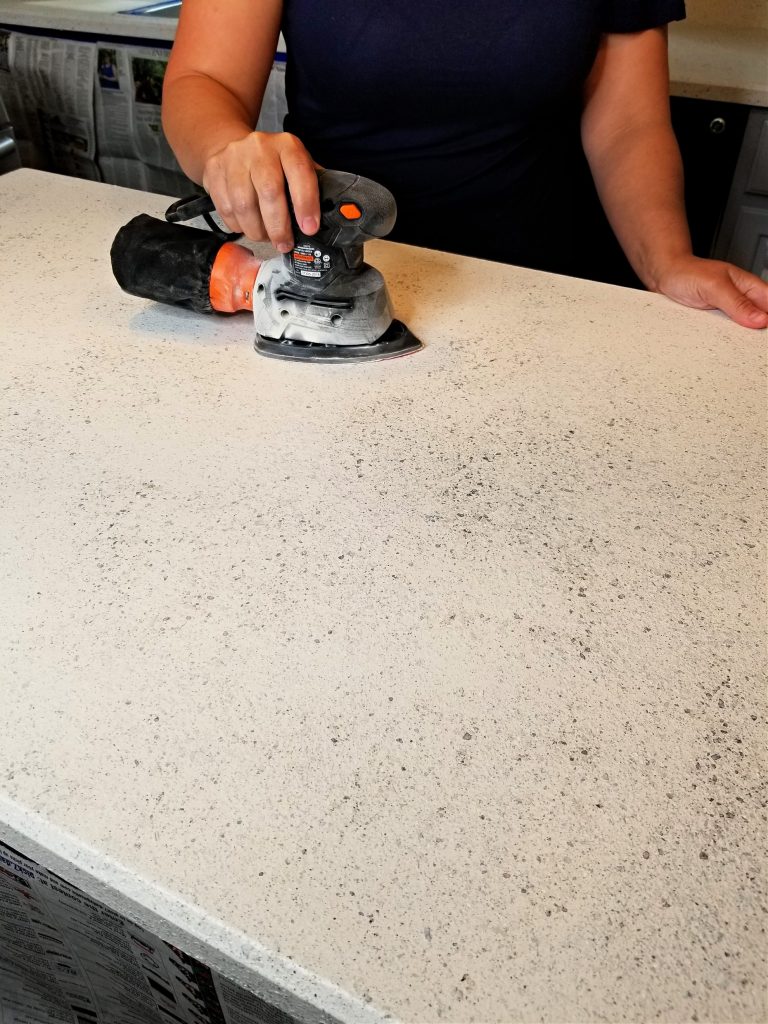
After your last coat of SpreadStone (Step 2) is completely dry, you will need to sand over your countertops. I applied the last coat before heading to bed and began sanding the following afternoon.
I wanted to give it as much dry time as possible. Again, attention to detail. I sanded first, using the orbital hand sander with 80 grit for my first pass. Then followed up with a second pass using 120 grit. ***IMPORTANT*** lesson learned.
The Orbital sander is great, but use a piece of sandpaper and hand-sand on the fronts of your counters. Otherwise, you may sand the finish right off and have to do that part over again. (Which is what I had to do.)
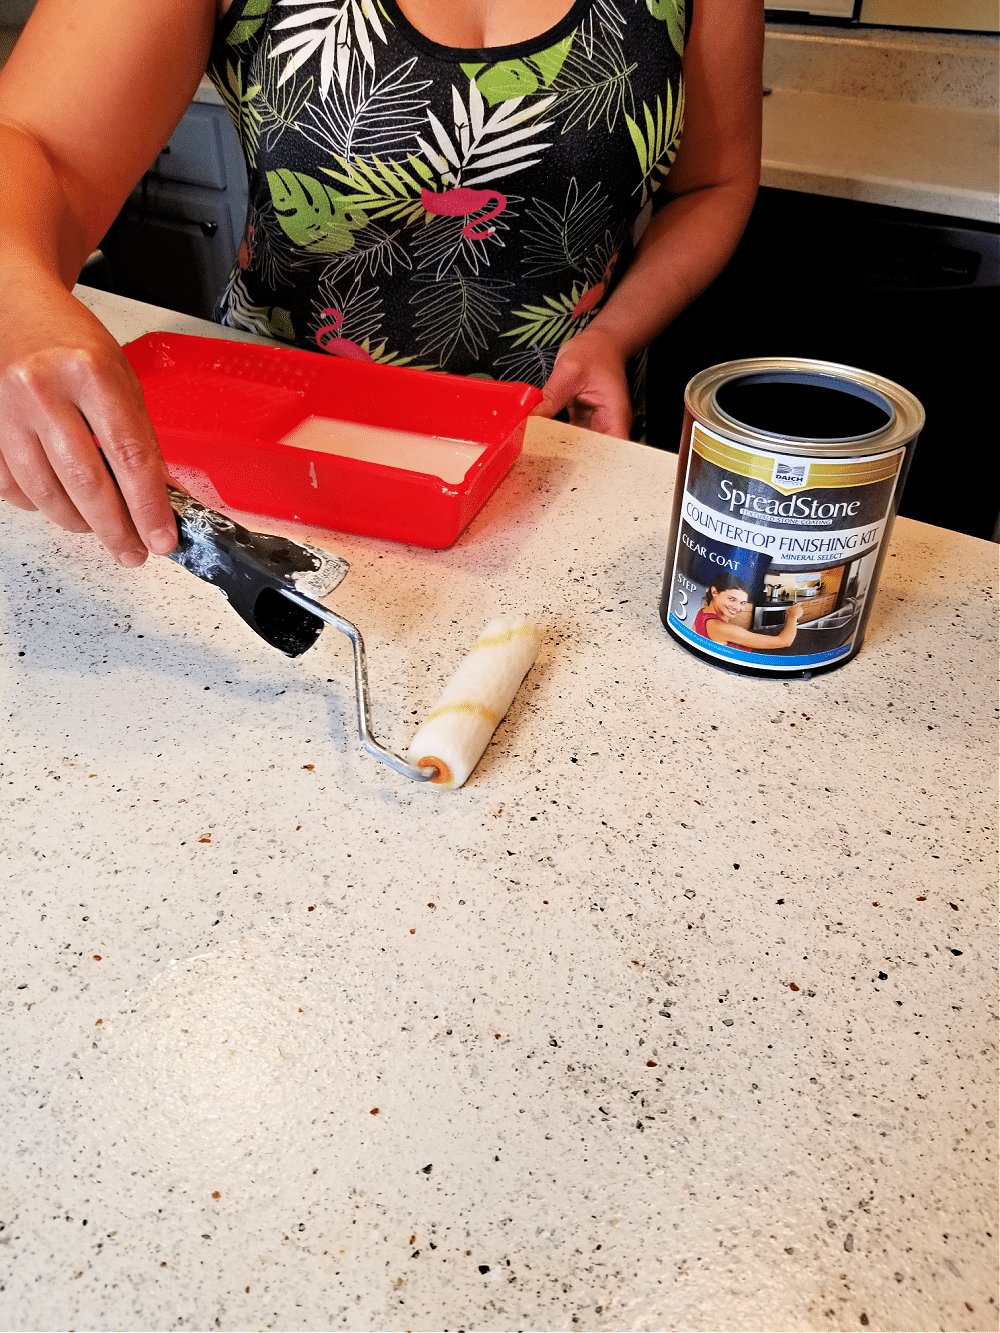
Step 4: Apply Clear Coat & Cure
You apply the clear coat just like the base coat, but this is where you do not want any paint lines. It dries with a sheen, and you will see those lines once it dries. The instructions state to lightly go over with the roller multiple times in different directions to prevent this. This tip worked great.
The last coat of the clear is what makes the countertops pop. Once the clear coat is on, it needs to cure for 24 hours before light use. This is an important step!
Most important note – DO NOT cut or use your countertops as normal until this product has been 100% cured. This typically takes one week. It is worth the wait. And you will be facepalming yourself if you don’t and end up with a ding on your new “stone” countertops.
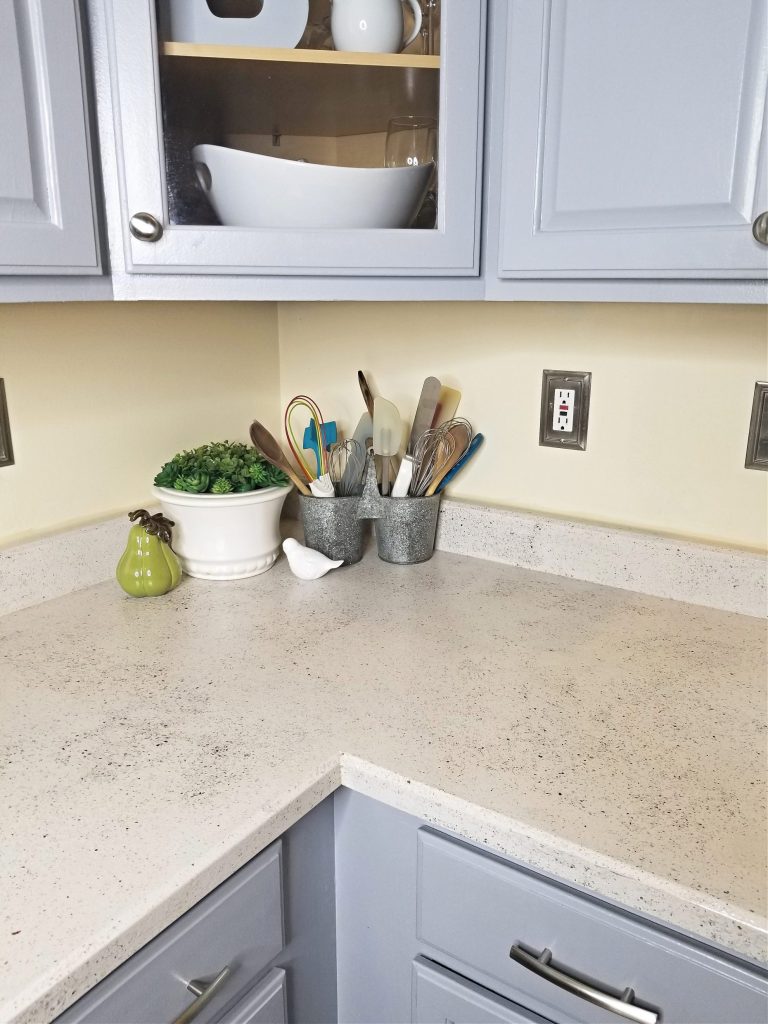
After Photos of Kitchen Renovation

Questions and Answers About Our DIY Faux Stone Countertops
Should I Remove My Sink While Refinishing My Countertops?
There is no need to complete any extra work. As suggested by the instructions. We used painter’s tape to mask over our sink’s edges to prevent the product from adhering. I removed the tape once the product was 100% dry.
Does it smell?
I didn’t smell ANYTHING until I got to the clear coat. Even then, it was very minimal. I did this project with my kids and pets in the house and didn’t have any issues.
Could I put food directly on my kitchen countertops?
Once your last clear coat is completely dry (24 hours), YES!!! But just like your other countertops, I do not advise cutting food directly on them. Always use a cutting board.
How have your countertops held up after a few years?
It has been 5 years since this project! I can tell you I have had to use the last step in the process at least twice. The most used areas of our countertops have worn down the semi-gloss finish. To make it new again. I lightly resanded the area and applied the top coat to dry. Back to looking brand new again.
To my surprise, they have held up pretty well. This has been a good short-term fix (although 5 years later) until we can get new stone countertops.
See More Inspiring Savings Kitchen Ideas
The Best Way to Paint Kitchen Cabinets – Affordable Update
How To Clean Kitchen Cabinets And Degrease All Naturally
Budget-Friendly Farmhouse Home Decor
Elevate Your Range Hood: Add A Customized Wood Accent
This post may contain affiliate links or sponsored content. Disclosure Policy


Who knew transforming countertops could be as fun as a DIY spa day? Thanks for the step-by-step guide, Jen! My counters now look so fab, even my blackberry stains are jealous. 🍇🛠️ #CountertopMakeoverMagic #NoMoreStains
Looks amazing. I don’t see the original post date, just the last update date. When did you do this project and how is it holding up so far?
Hi Swagata,
You are right! I should post an update. We are two years out and it has held up well. I should mention that my highest traffic area near my stove the countertop became dull. I had some extra glaze (top coat) and reapplied probably about a week ago and we are back to our original finish. Other than this… great product.
Beautiful Review, thanks for posting !!
Thank you, Jimmy!