
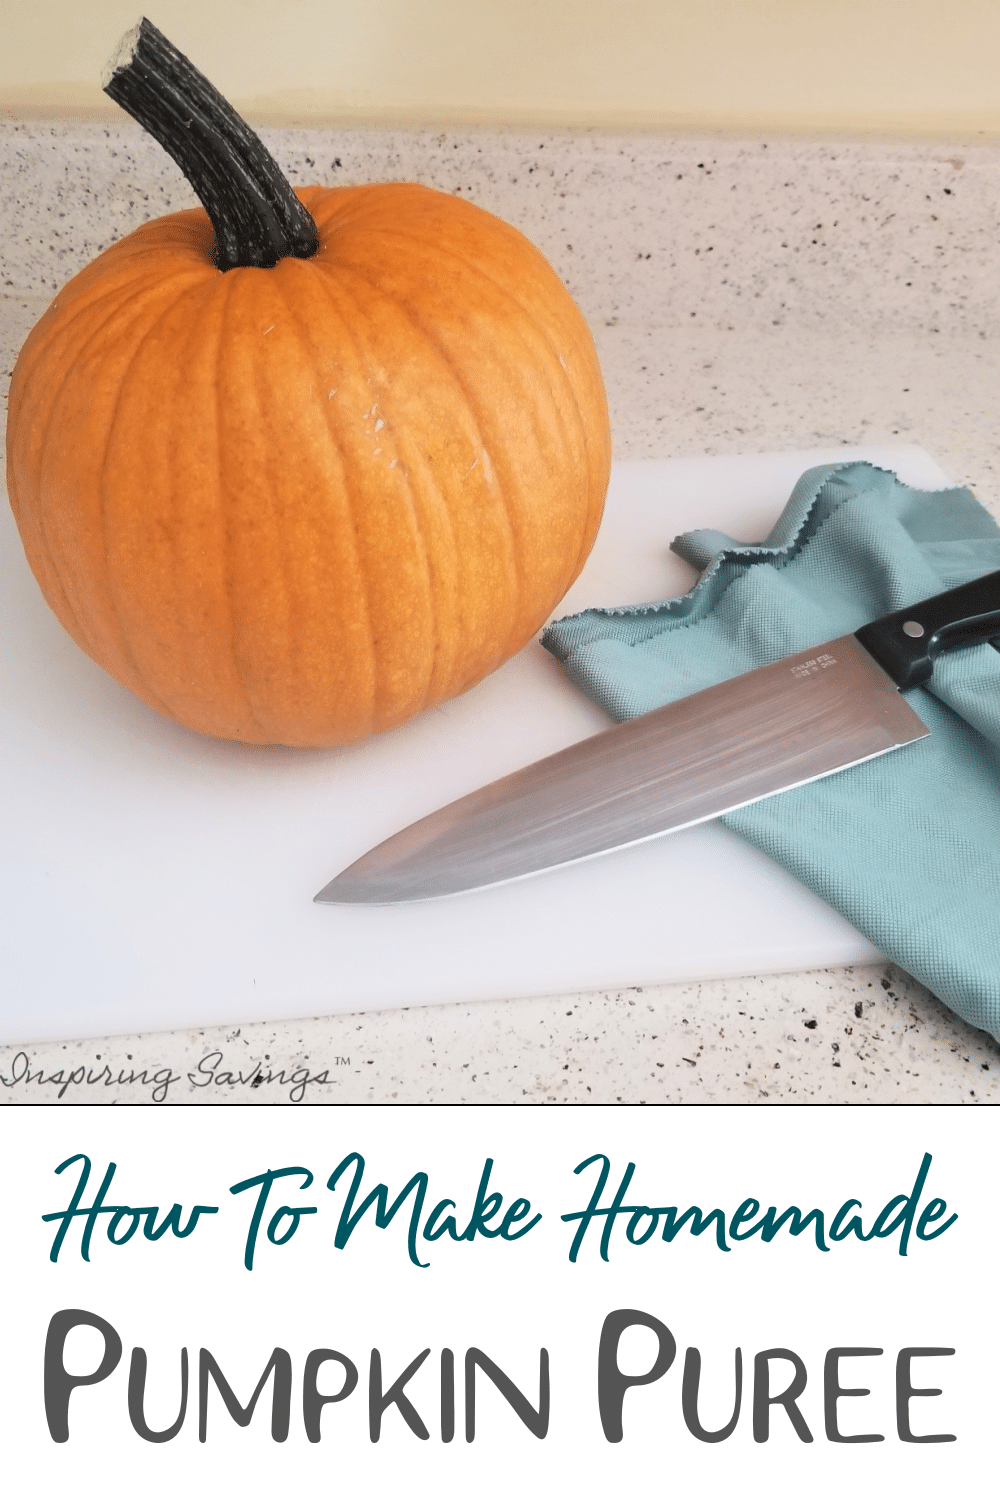
How to Make Pumpkin Puree Like a Pro
⭐️⭐️⭐️⭐️⭐️This recipe has been developed and tested by me and my family; it is not generated by AI.
Follow these simple steps to make pumpkin puree to use in your favorite pumpkin recipes. Made from fresh pumpkin and is much healthier than the canned version. Easy to make from scratch.
| Prep Time: 15 Minutes Cook Time: 1 Hour Total Time: 1 Hour, 15 Minutes Servings: Will Vary |
Making homemade pumpkin puree is simple and can be added to your favorite recipes that call for pumpkin. Fresh Pumpkins are a yummy and tasting alternative to canned pumpkins. ‘Tis the season to be baking and cooking with pumpkin. Most stay away from preparing it themselves because of the so-called difficulty level.
Aside from the obvious use in pumpkin pie, it comes in handy for pumpkin bread, pumpkin muffins, pumpkin dip, pumpkin bread pudding, pumpkin cookies, and pumpkin doughnuts.
I even mix the puree with butter and maple syrup for a ridiculously sinful fall side dish. While it is easy to buy canned pumpkin, the taste of fresh pureed pumpkin is sweeter and more delicate.
How to Use Pumpkin Puree
Once you’ve made your puree, there are tons of ways to use it! Here are a few ideas to get you started:
- Make these delicious cinnamon rolls.
- Whisk it into savory porridge or risotto.
- Try it in these doughnuts or this bread pudding.
- Make pancakes next Saturday.
- Create this delicious no-bake cheesecake dip.
- Make pie!
Freeze Pumpkin – Don’t Can
Important not to Keep in mind — For safety reasons, you can not process pumpkin using the canning method. The safest way to save your pumpkin is to cut it into chunks and freeze it. After it is defrosted, I place it in my food processor and puree it for recipes.
It is not recommended that you water bath can or pressure cook pureed pumpkin for three specific reasons:
Ph Level – Pumpkin puree, once made, carries a very low Ph level. Low-acid-type food should not be considered for canning purposes, as it can enhance the growth of Clostridium botulinum. This is the bacteria that can cause botulism.
Water – Squashes, including pumpkin, have varying degrees of water within the fruit itself. Because of this wide variety, it is hard to calculate a precise canning time.
The thickness of the puree – Again, this stems from how much water is in the pumpkin. I have made some pumpkin puree that has turned out like applesauce, and others have come out quite thick. This thickness makes it difficult for temperatures to penetrate, especially if your puree is without a lot of water (and much thicker).
Ingredients Needed
Making pumpkin puree requires only one ingredient.
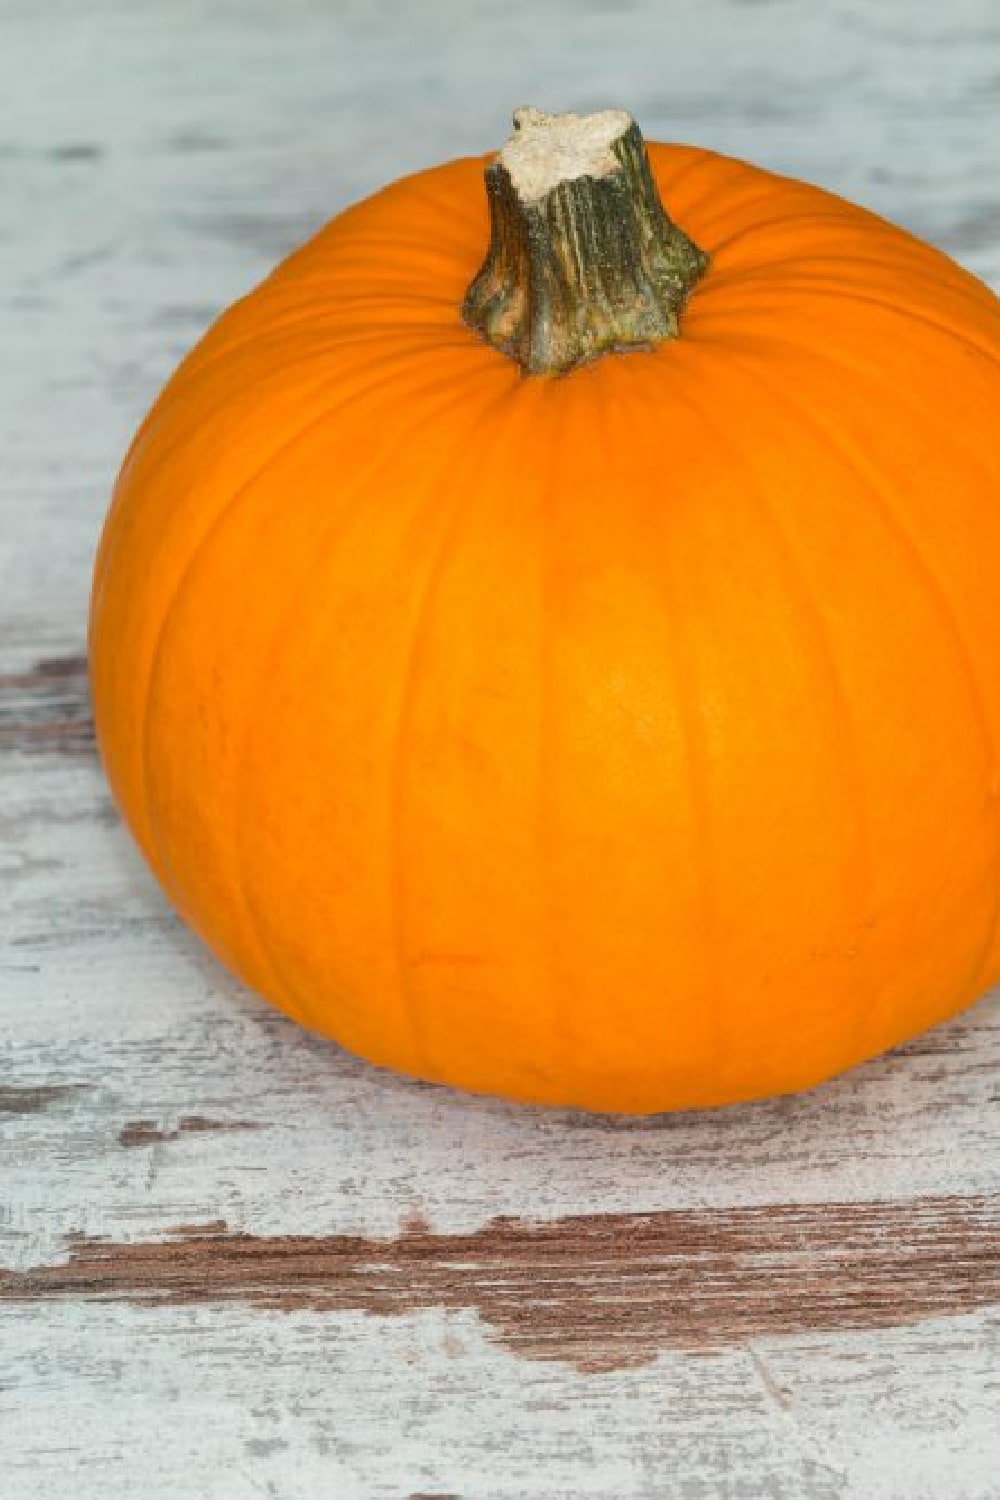
- Your handpicked pumpkin.
How To Make Homemade Pumpkin Puree
STEP ONE: Then preheat your oven to 375 degrees.
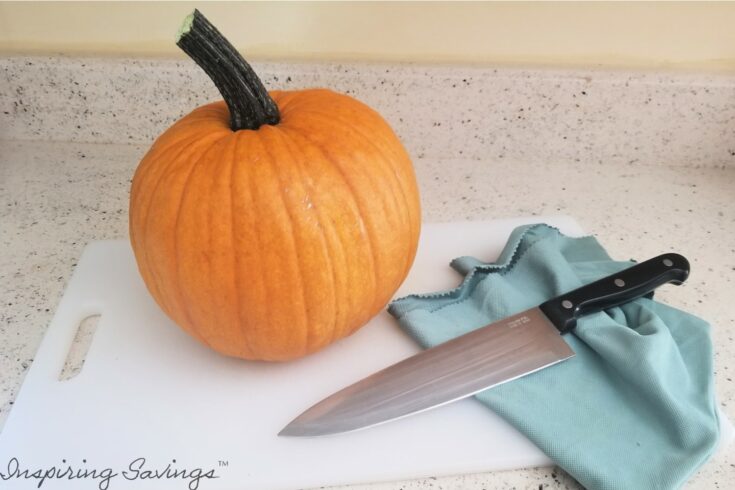
STEP TWO: As your oven is coming up to temperature, it is time to cut your pumpkin. The first cut you will need to make is to take the top off.
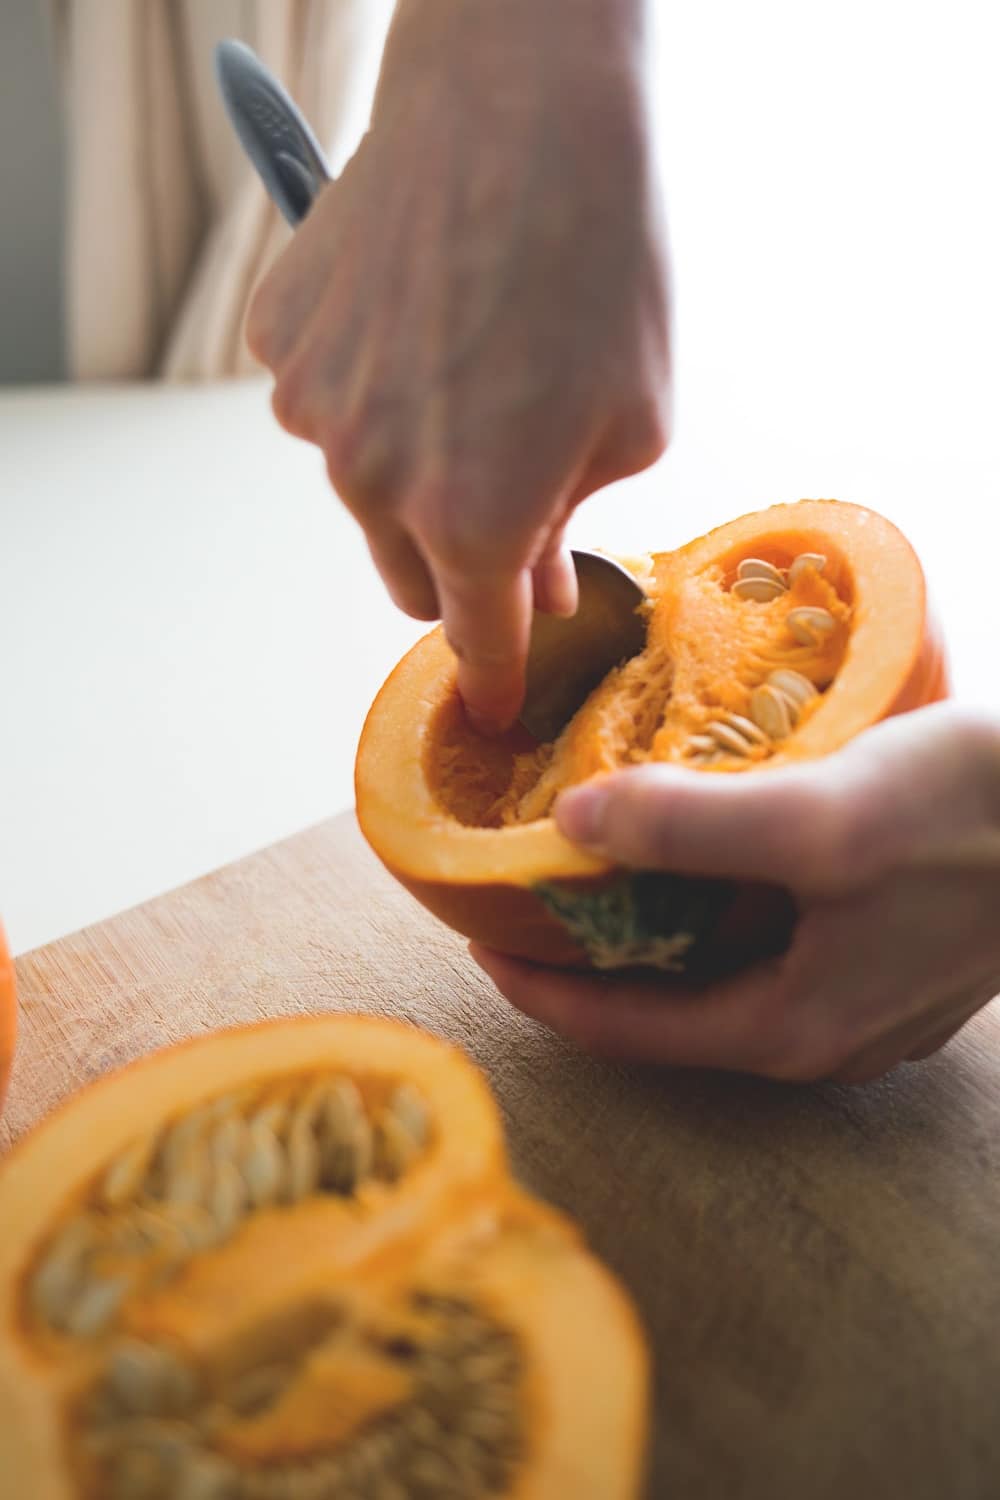
STEP THREE: Then cut the pumpkin in half. Remove the pulp and the seeds by scraping the insides with a metal spoon. (Place the seeds in a colander and reserve for making roasted pumpkin seeds, nothing goes to waste)
STEP FOUR: Put the two halves, cut side down, in a roasting pan or a casserole dish. Add enough water to cover the first 1/4 inch of the pumpkin.
STEP FIVE: Cook for about 60 minutes or until the pumpkin flesh is tender enough to pierce with a knife. Remove the pumpkin halves. Cool.
STEP SIX: Once cooked, scoop out the flesh with a spoon. After you have scooped out your pumpkin, you can place it in a food processor until completely pureed. The next is to divide them into zipper freezer bags. Make sure you label the date, and freeze it for future use.
Other Fun Fall Time Recipes
Homemade Gingerbread Coffee Syrup Recipe
Mini Pumpkin Pies – Made with Cheese & Crackers
Brown Butter & Maple Sweet Potato Hasselback
Pumpkin Spice Mini Cake Doughnuts with Pumpkin Spice Glaze
Homemade Pumpkin Puree Recipe
Follow these simple steps for how to make pumpkin puree to use in your favorite pumpkin recipes. Made from fresh pumpkin and much healthier than the canned version. Easy to make from scratch.
Ingredients
- 1 baking pumpkin, 4 to 6 pounds
- Fine sea salt, optional
Instructions
- First, preheat oven to 375 degrees
- Next rinse/wash the pumpkin under cold water. Ensure all dirt or debris is removed from the outside and wipe dry with paper towels.
- Cut the pumpkin in half. Remove the pulp and the seeds by scraping the insides with a metal spoon.
- (Place the seeds in a colander and reserve for making roasted pumpkin seeds, nothing goes to waste)
- Put the two halves cut side down in a roasting pan or a casserole dish. Add enough water to cover the first 1/4 inch of pumpkin.
- Cook for about 60 minutes or until the pumpkin flesh is tender enough to pierce with a knife.
- Remove the pumpkin halves. Cool
- Once cook scoop out the flesh with a spoon
- Using mixer puree until smooth
- Place into zipper bags label with date and freeze.
Nutrition Information:
Yield:
6Serving Size:
1 cupAmount Per Serving: Calories: 8Total Fat: 0gSaturated Fat: 0gTrans Fat: 0gUnsaturated Fat: 0gCholesterol: 0mgSodium: 0mgCarbohydrates: 2gFiber: 0gSugar: 1gProtein: 0g
This post may contain affiliate links or sponsored content. Disclosure Policy

2 Comments