
Create Your Own Lush-Inspired Shower Jelly at Home
Love Homemade DIY beauty ideas? Learn how to create your own luxurious Lush-inspired shower jelly at home with this easy-to-follow guide! Get a spa experience at home! It is the perfect gift for moms, teachers, or just pamper yourself.

It is almost impossible to walk by your favorite cosmetic or bath & body store and not be drawn into purchasing Shower Jelly.
They are pretty, smell wonderful, and make you almost imagine yourself having a mini spa day at home. I came up with this Easy Homemade Shower Jelly Recipe.
Turning your shower into an at-home day spa experience. You can make your own Shower Jelly for super cheap. If you have ever visited a Lush store, they sell a small version of these for $10 or a larger version for $20. Did your mouth just drop?
Find More Homemade Beauty Recipes From Inspiring Savings
Create Your Own Lush-Inspired Shower Jelly at Home
Shower Jelly Ingredients:
- Body wash – Don’t use cheap body wash. It typically contains more water, and this will throw off the balance of your shower jelly. Meaning it will not set. I have used Bath & Body Works and Dove Body Wash.
- Boiling water – Will be needed to dissolve the gelatin.
- Unflavored gelatin – This recipe does use regular gelatin. If you are a vegetarian or vegan, then you can switch out the gelatin for a vegan-friendly version, such as Bakol.
- Soap colorant – This is an optional ingredient. If your body wash already contains color it will tint your shower jelly.
Tools Needed
- Large bowl
- Measuring cups
- Whisk
- Silicone molds – I prefer the smaller-sized molds, as each jelly can then be used in one shower or bath. Otherwise, you’ll need to break or cut a piece off. Or you can use something you have on hand, like an ice cube.
- A small spray bottle of rubbing alcohol – this is to help with extra bubbles. It will prevent them from setting.
Watch How to Make Your Homemade Shower Jelly
Before making your own, you can watch the video below and see how easy it is to make. Then grab the directions below. I also have included a printable version.
How to Make Your Shower Jellies:
STEP ONE: Combine the boiling water and gelatin in a bowl and whisk until smooth, with no lumps remaining.
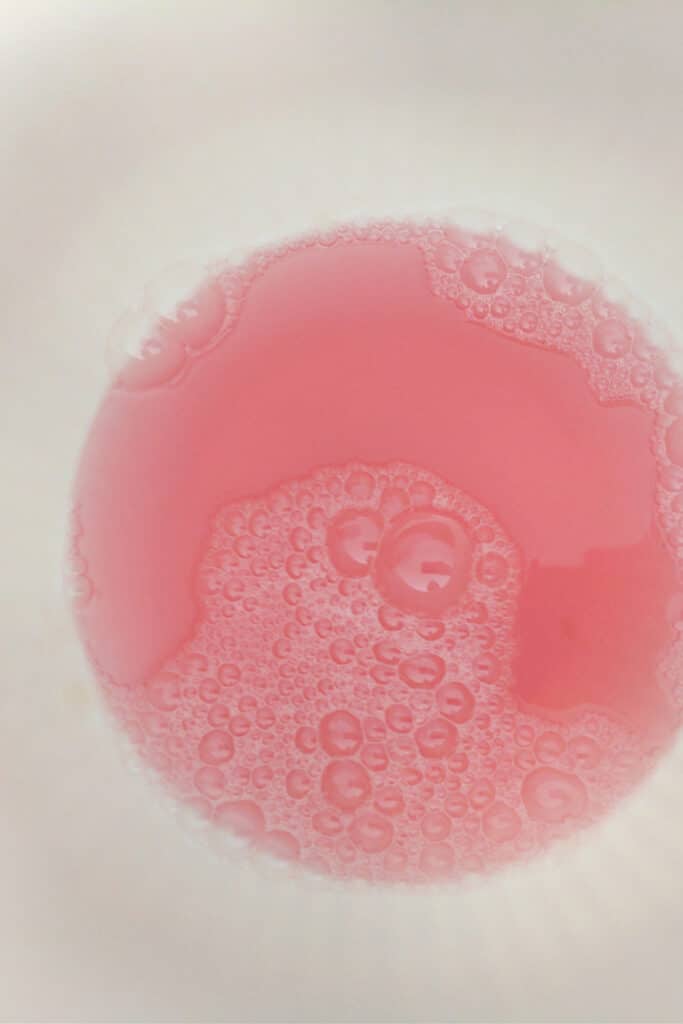
STEP TWO: Add your favorite body wash and mix gently to avoid creating excessive bubbles. If your body wash isn’t dyed, you may add some soap colorant for color. I used a red body wash, and it turned out this pretty pink.
STEP THREE: Pour your mixture into molds. Fill the liquid to the top of the mold and place it in the fridge for at least eight hours. I left mine in overnight and set it up well.
OPTIONAL STEP: After you are done with your pour, you will notice air bubbles. You can either leave them as is or spray the surface of the mixture with a spray bottle of rubbing alcohol. The alcohol will eliminate the bubbles and leave you with a smoother finished product.
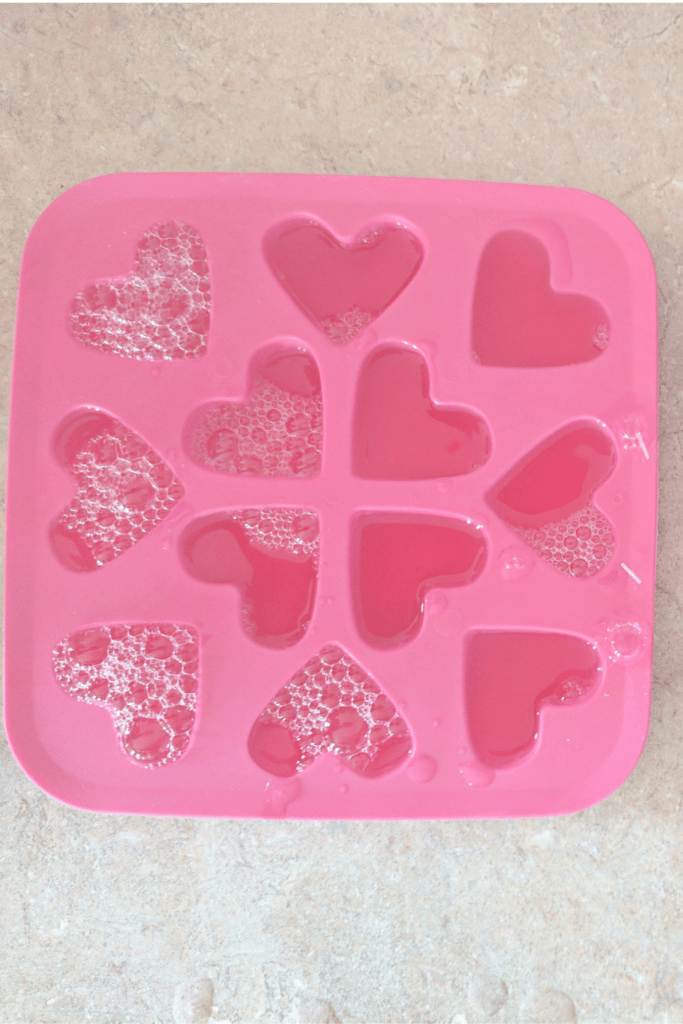
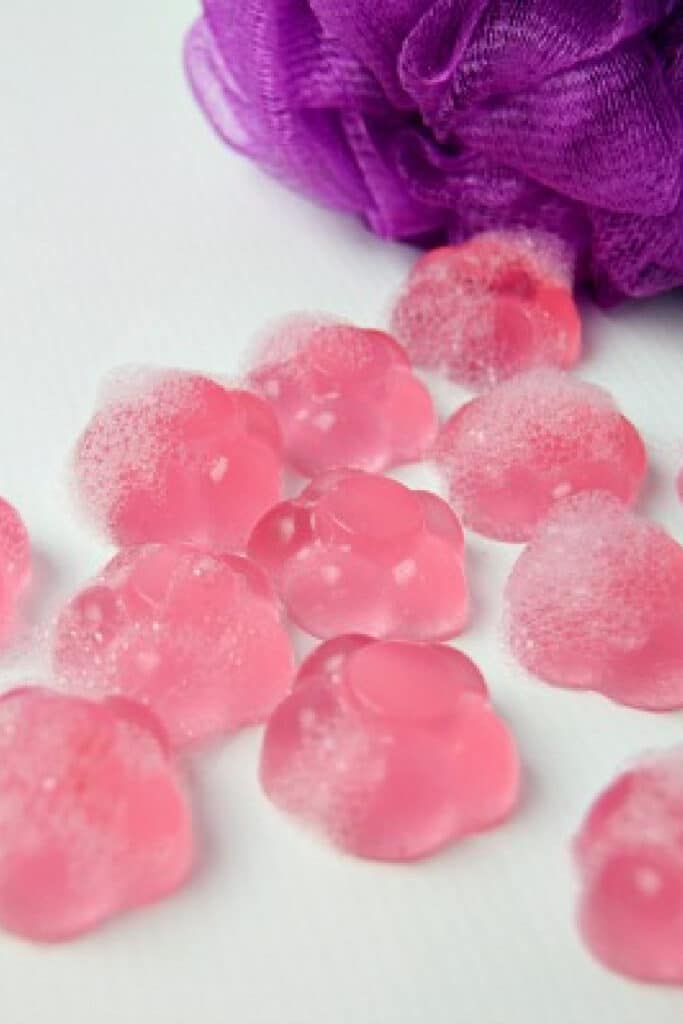
STEP FOUR: Once firm, remove your molds from the fridge. Then gently pull the silicone mold away from each shower cube. Keep your jellies fridge until you need them.
How to Store Your DIY Shower Jellies
Store your Shower Gels in a cool, dry place and use them within three months. If you are going to be storing them in the fridge, take care to label them accordingly, so no one mistakes them for jello. These are not edible.
More Homemade Beauty Recipes
Combat Dry Hair from Hard Water With Apple Cider Vinegar
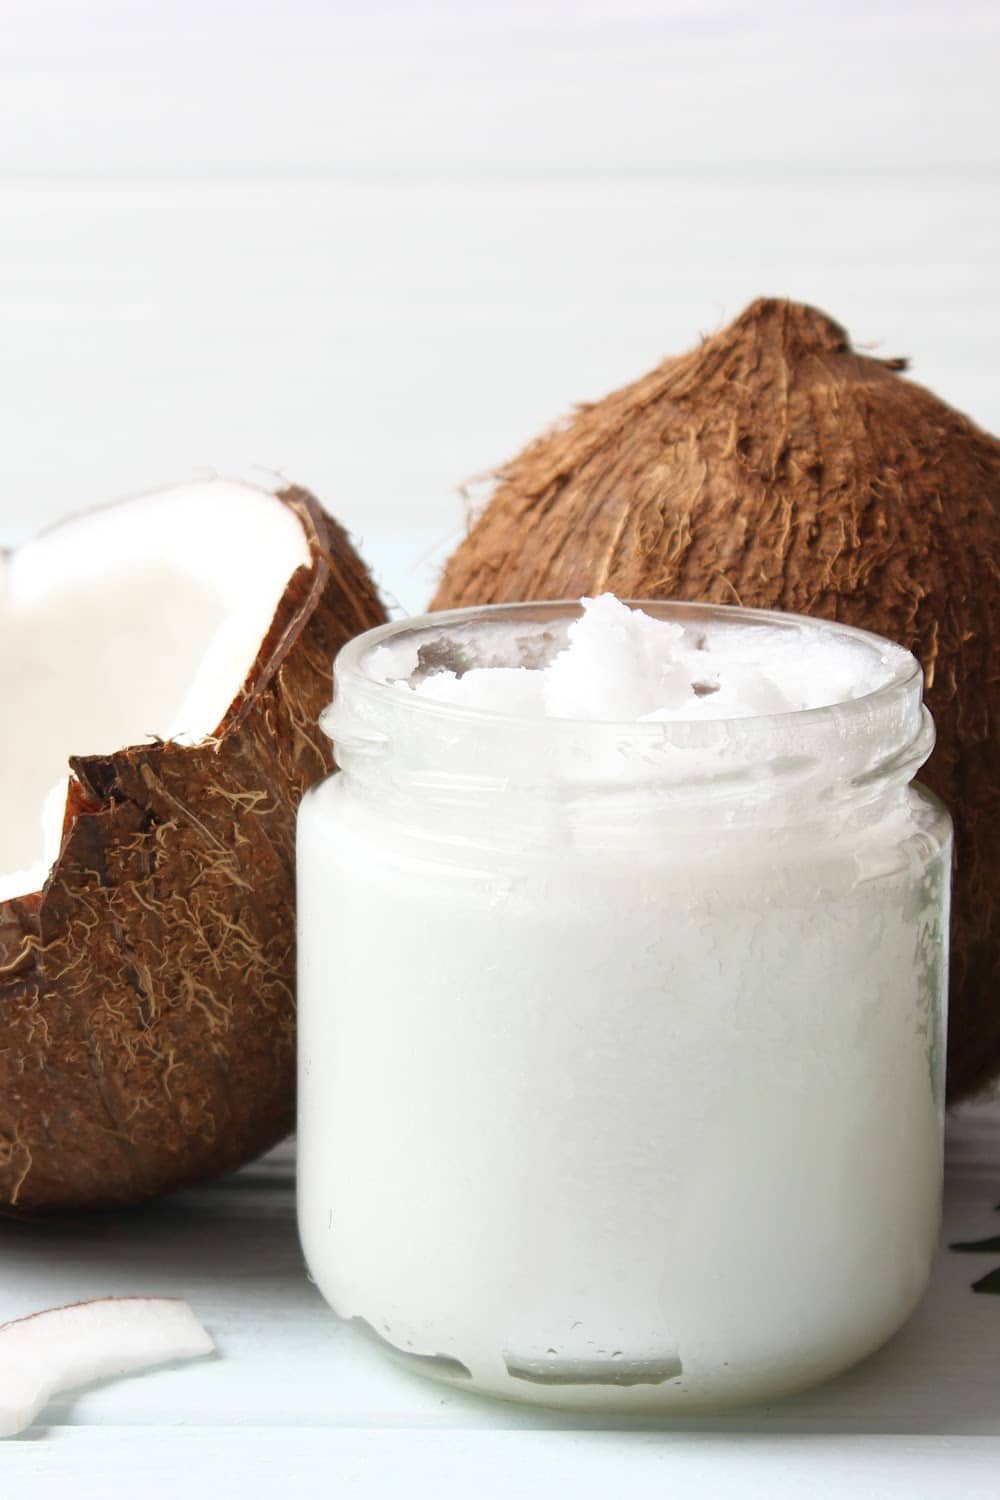
Homemade Coconut Oil and Honey Face Wash Cleanser
Soothing Oatmeal Bath Bomb Recipe for Dry Skin
The Best Natural Moisturizer For Glowing Skin
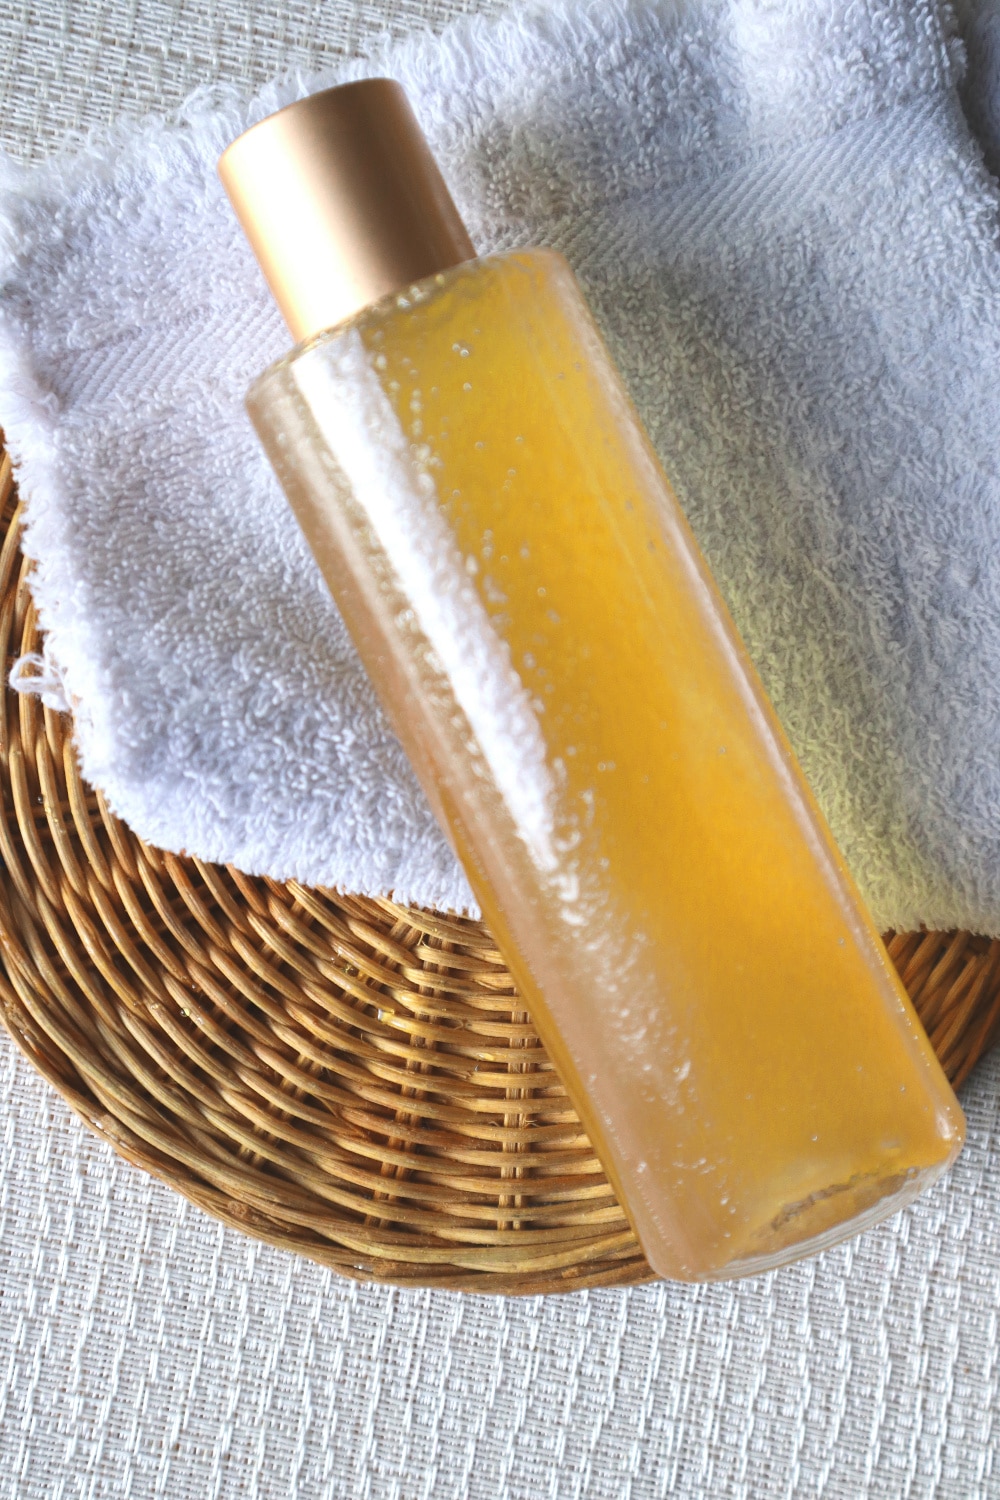
Homemade Shower Jelly Recipe
Shower jellies are the best smelling body washes you'll ever use! They are fun and easy to make.
Materials
- 1 cup boiling water
- ½ cup body wash
- 2 packets of unflavored gelatin
- Soap colorant (optional)
Tools
- Silicone molds of your choice
- Large bowl
- Whisk
- Measuring cups
Instructions
- Combine the boiling water and the gelatin in a bowl with a whisk, until there are no lumps.
- Add the body wash, and mix gently so as not to create a lot of bubbles.
- If your body wash isn’t dyed, you may add some soap colorant for color. This step is optional.
- Pour your mixture into molds.
- Fill the molds to the top, and place in the fridge for 8 or more hours or until set.
OPTIONAL STEP: After you are done with your pour, you will notice air bubbles. You can either leave them as is or spray the surface of the mixture with a spray bottle of rubbing alcohol. The alcohol will eliminate the bubbles and leave you with a smoother finished product.
Notes
Gelatin can be found in the baking section at the grocery store. Lush uses vegetarian products that are organic. If you prefer to use a vegetarian product instead, Agar powder is a great substitute
This post may contain affiliate links or sponsored content. Disclosure Policy


What is the shelf time for those? Can I add a preservative for them to last longer?
Hi Joanna, Once this mixture is made, due to containing gelatin and lack of preservatives, it will need to be refrigerated in between uses. Cooked gelatin will give away to bacteria growth if left at room temperature. Because we are not eating this, but using it as a shower jelly. It can be stored in the fridge for up to one month.
I am trying this for gifts this year!! How should these be stored?
Hi Coco, My daughter and I have used mason jars for storage. We found that they work well. So glad you are trying these out.
I tried this same flower mold and a different heart mold. What is the trick to get them to release from the mold? I had maybe two good ones that came out perfectly. Want to make these for a bridal shower next month.
I am so sorry to hear that you are having problems with it. If the texture is not right you are correct they will not pop out easily. You may on your next batch add in more gelatin. We may have a difference of simply altitude. I would also allow them to sit long before popping out. I do hope this helps. and Congratulations to the bride 🙂
This looks very interesting. I have to try this.