
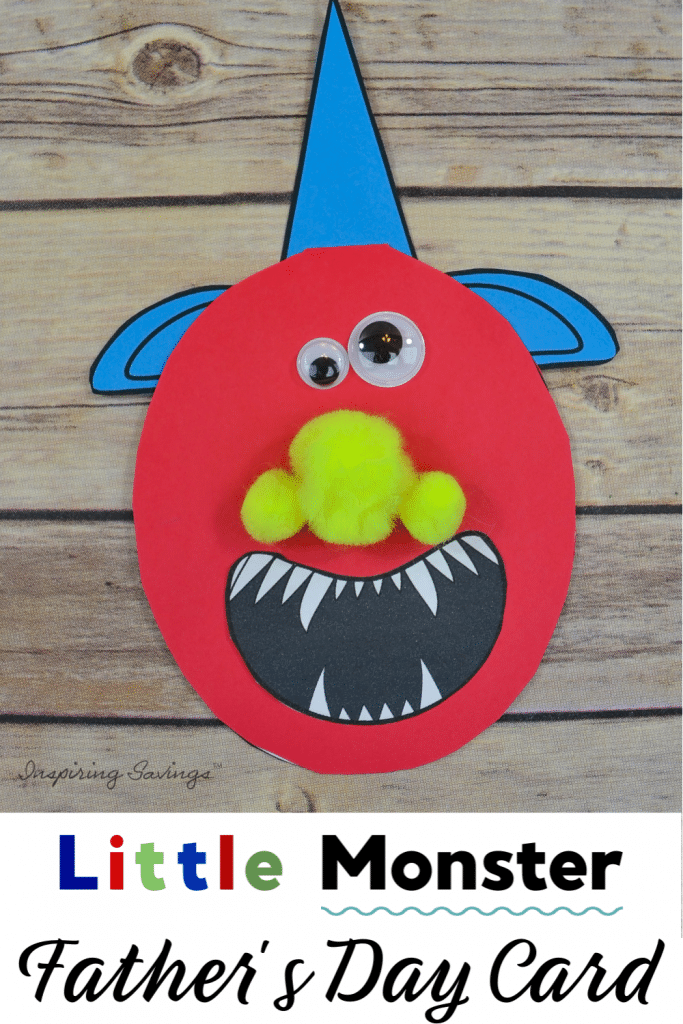
Homemade Father’s Day Card – Monster Card Template
Father’s Day is coming up! Let your kids show him how much he’s loved. Help the kids make dad something special this Father’s Day with an easy, mess-free craft. Go ahead and make Dad smile with this Easy DIY Father’s Day Monster Card.
Father’s Day is fast approaching! Let your kids show Dad how much he is loved. You don’t need to be a master crafter to create this card.
Making this Father’s Day Monster Card Craft is a fun and easy way to keep your kids happy while showering Dad with love.
The results look amazing, and the process is scary cool but super-easy. This makes this a great Father’s Day craft for toddlers, preschoolers, and older kids. When you are making cards, don’t forget about grandpa, uncles, and any other important guys in your child’s life.
They will love to make some pretty scary monsters. Here’s a step-by-step for making this Father’s Day Monster card. It’s not hard – I promise!

Father’s Day Monster Card Supplies
All supplies can be found in your craft closet or pick them up from your local craft store.
- Father’s Day Monster Card Craft Template – PDF Template (Click to print)
- Cardstock 2 pieces: Red and Blue
- Scissors
- Googly eyes
- Pompoms – yellow
- Glue stick or School Glue
How to Make Your Father’s Day Monster Card Craft
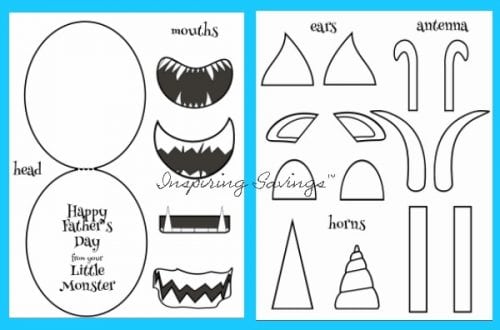
Step 1 – Begin by printing out your Monster card Card Template – Click to Print.
Print On:
White cardstock – ‘head with print & mouths’
Red cardstock – ‘head without print”
Blue cardstock – horns, ears & antenna’ (or print horns on orange as pictured below)
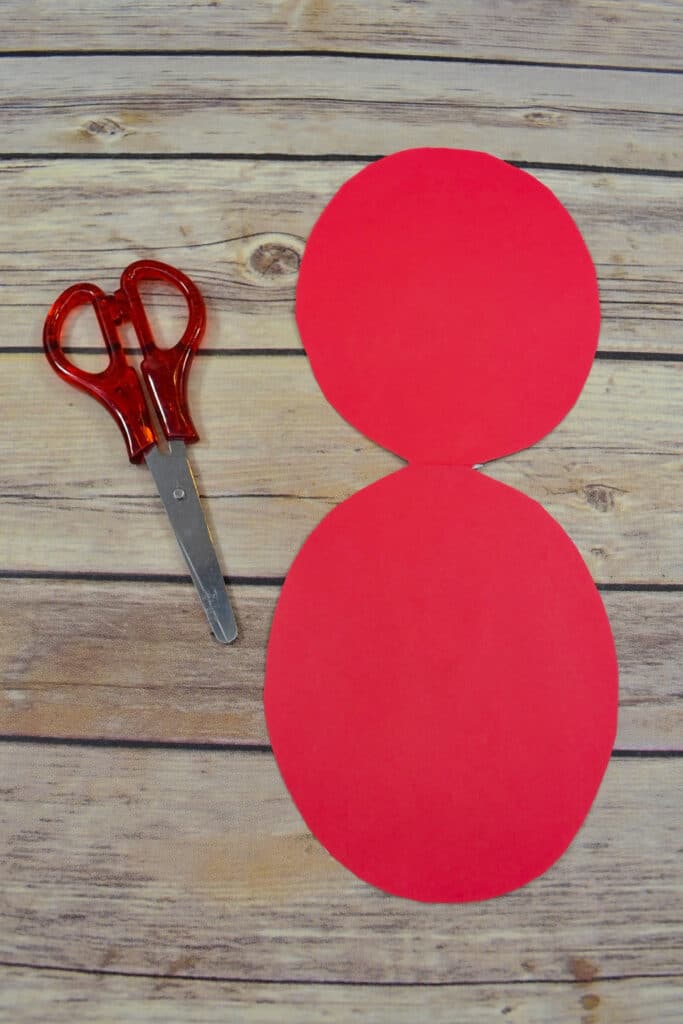
Step 2 – It is time to do some cutting. Depending on the age of your child, they may need to lend a helping hand.

Step 3 – Now that every piece has been cut out, it is time to put your card together. Start by gluing the inside print head to the red cardstock head. Fold the headpiece in half so the inside is white, and the outside is red.
If using a glue stick, you can move on to the next step quite quickly. If using school clue, you will need to wait until the inside is completely dry. Otherwise, your card will be glued shut.
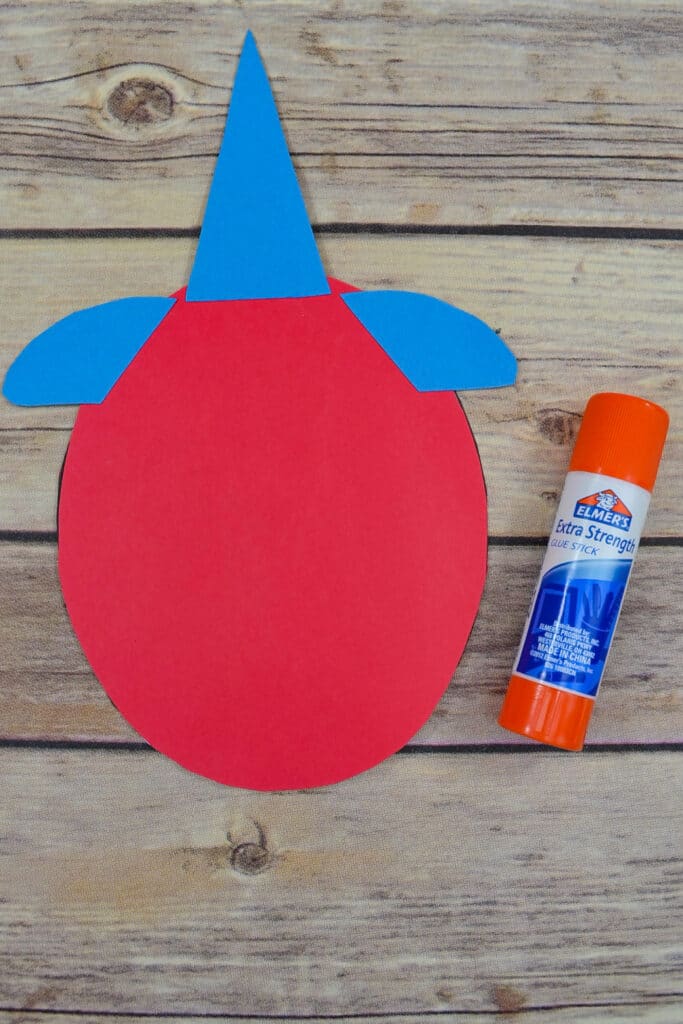
Step 4 – Glue the mouth, ears, antenna, and horns onto the back or front of the card, whichever you prefer.
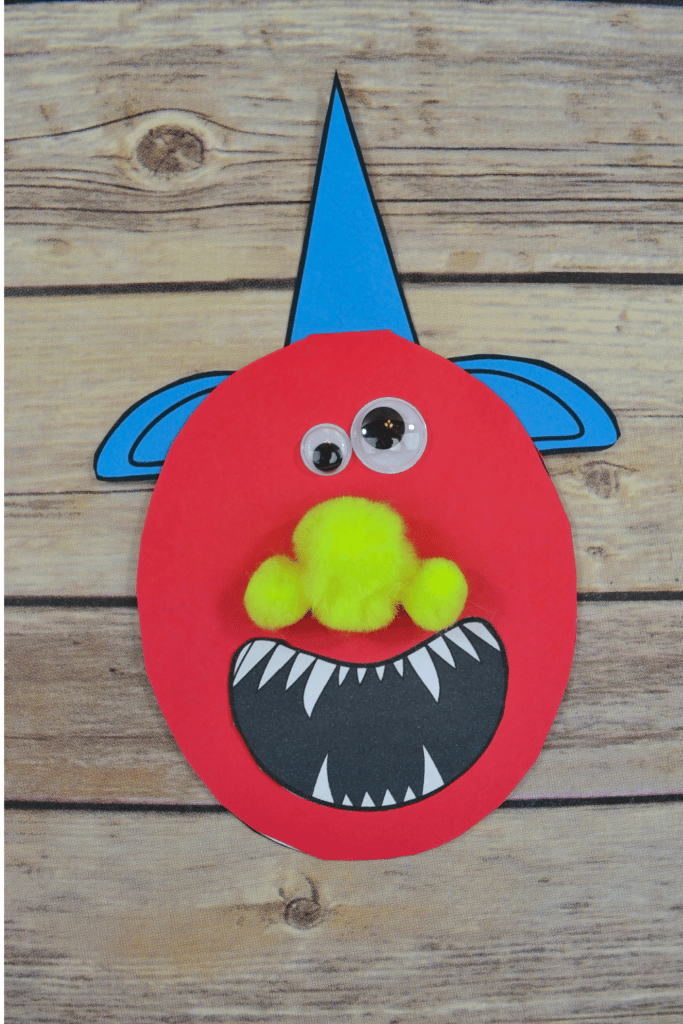
Step 5 – This is the step in which your Monster card comes to life. Now it is time to attach a pompom or a few for the nose & googly eyes.
If you have extra horns, antennae, and ears from previously printed pages, you can create a monster with many horns or ears. You’re all done! Dad will treasure this Father’s Day Monster Card Craft card because it was made with love!
Other Fun Children’s Craft Ideas
Fun Birthday Party Game – Painted Rock Outdoor Tic Tac Toe Set
Mickey Mouse Mason Jars – Perfect for Holding Treats, Pencils or Supplies
Adorable Floral Dreamcatcher Craft
This post may contain affiliate links or sponsored content. Disclosure Policy

That’s such a cute DIY craft. We love making things for Father’s Day.
Wow, this is the cutest card ever. Fathers will be happy if they will receive cards like this.
Thank you!!!
How fun to make cards. For me, cards are the best gift that you can give to Fathers. Love this DIY card!
This is interesting, It’s easy and yet looks cool. I love doing cards and building something. I will try this idea. Thank you for sharing!
Every dad I know would love this one. Super cute. Homemade is the best.
really good timing becuase I was just looking on pInterest for ideas on a card for my husband!
AAhhh I do love this it’s such a fun idea. My son loves arts and crafts so he would enjoy making one of these.
Such a great DIY card for our Dad. Perfect for this Father’s day celebration. Our Dad will definitely love this and will put a smile on their face.
That’s too cute! It will really brighten up my day if I receive a monster card this coming Father’s Day.
This is the cutest thing I’ve seen today. And thank you for the idea and the printable. It would be so fun making this.
Awe. Thank you, Alita!
Hhhhmmmm….this is an easy one to make, I agree. Thanks for sharing the steps to follow making one.
This looks like fun! Father’s Day cards- and other greeting cards- are so much better when they are custom- designed.
How cute! This card is adorable and looks very easy to make!
Thank you, Kelly!
What a fun card for kids to make for Father’s Day. Dads will like these.
A monster card from their little monsters.. 😉
That is absolutely the cutest thing! These are the kinds of gifts that dads treasure forever.