Top Mistakes That Are Ruining Your Nonstick Pans
Discover the common mistakes that could be damaging your nonstick pans and learn how to protect them! This guide offers practical tips to extend the life of your cookware, ensuring perfect meals every time. Say goodbye to scratched and ruined pans for good!
Top Mistakes That Are Ruining Your Nonstick Pans (And How to Avoid Them!)
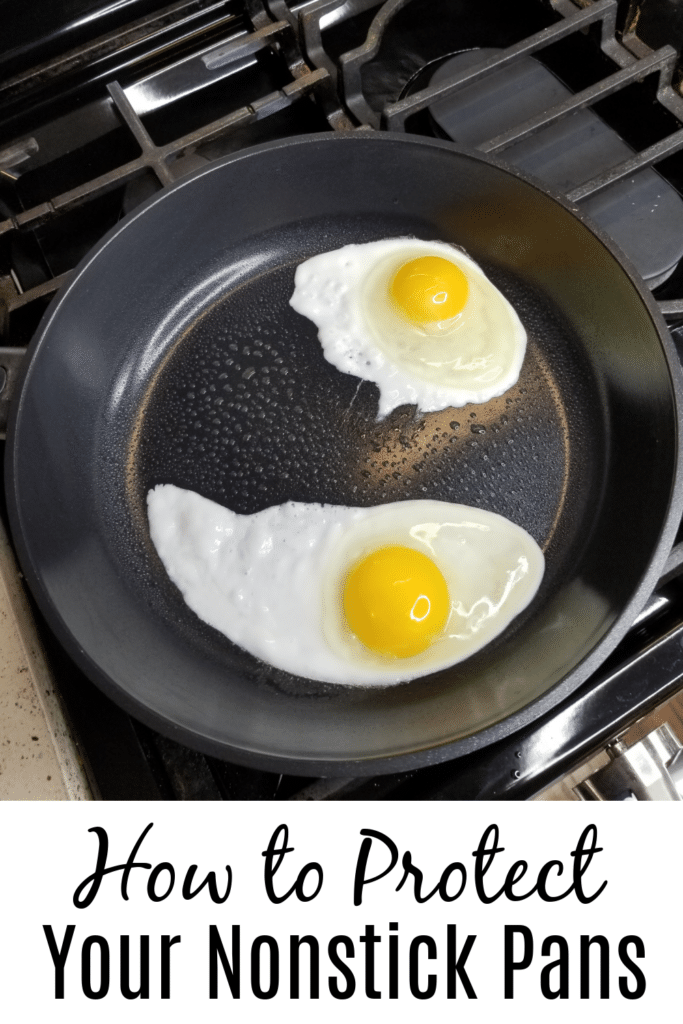
There is one surefire way to ensure you get crisp round edges on your easy-over eggs it is using a nonstick pan. And we all love using our nonstick pans, especially at breakfast time. Who doesn’t love seeing their perfectly cooked eggs and pancakes slide right out of the pan and onto the plate?
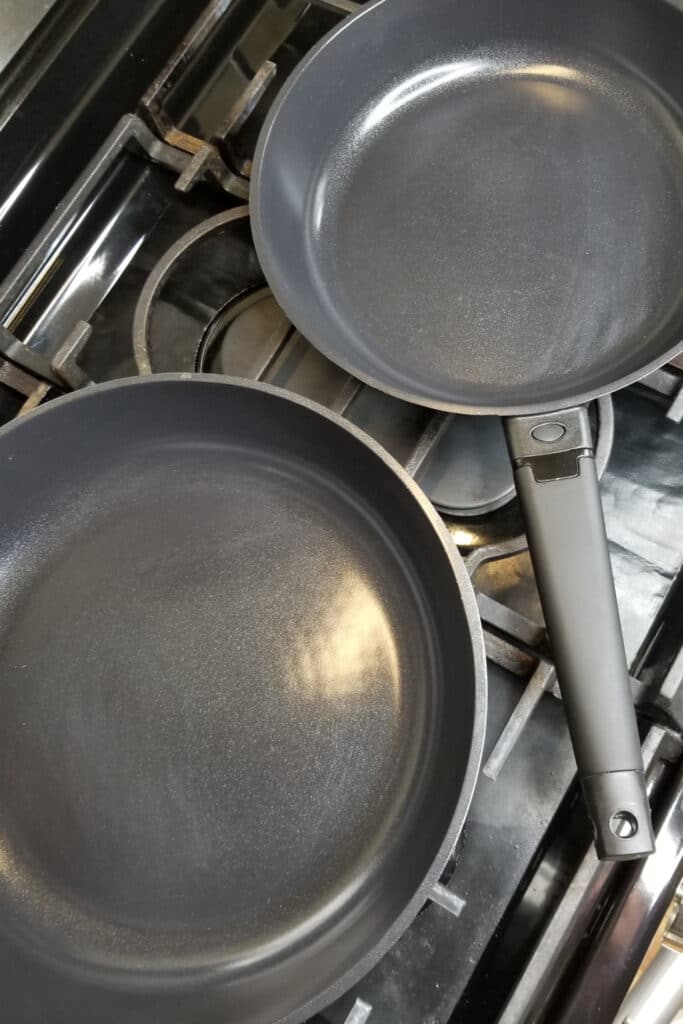
Gone are the days when we could only purchase one type of nonstick pan. Nowadays, there is a wide range of brands, and with different types of coatings. Some may think the only care this pan needs is a good cleaning after it is used.
But this would be incorrect! You do have to care for your coated pans properly, though, or you’ll ruin them and they will no longer be nonstick pans. So let’s talk about how you might be ruining your nonstick pans and how you can save them.
Read More Home Keeping Tips & Tricks on Inspiring Savings
Using Nonstick Spray
We all reach for it, and I, for one, have been guilty of using it too. Nonstick cooking spray! Yep, it’s true! It is not compatible with this type of cookware. Using a spray, like Pam, on your nonstick pan will cause them to develop a sticky film that can be nearly impossible to remove without further damaging your pan.
If you need to add fat to the pan, use a small amount of canola, vegetable, olive, or avocado oil instead, or better yet, invest in an oil sprayer, like a Misto. I have one and like it. It does require annual cleaning.
Using the Wrong Utensils
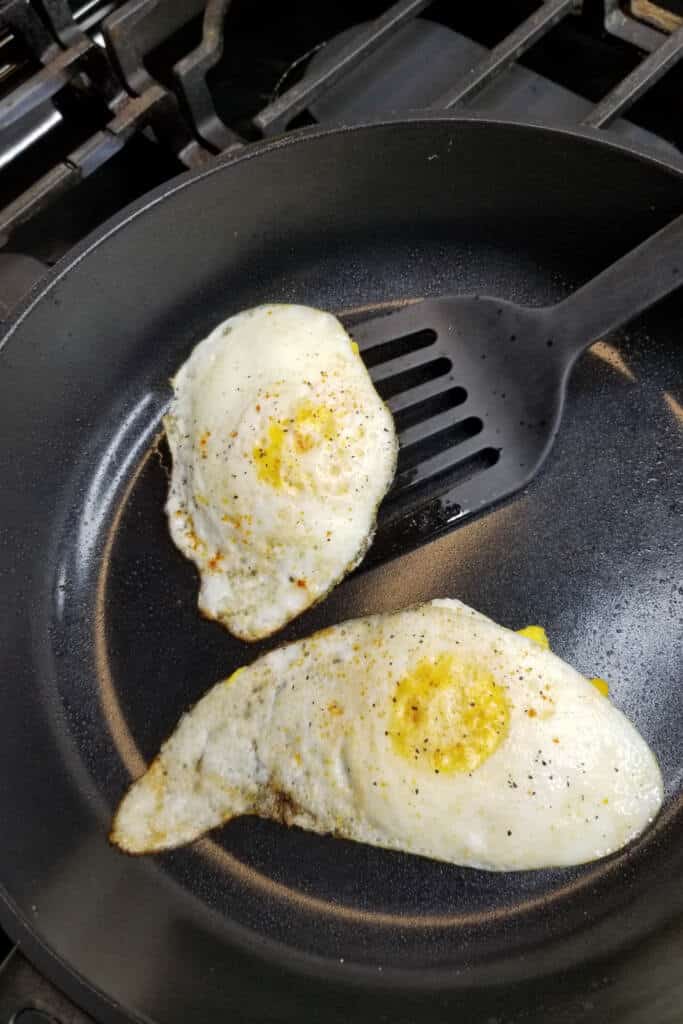
Using the wrong utensils on your nonstick pans can ruin the finish and shorten the life of your pans. Metal utensils should never be used on a nonstick pan.
If you use these, you will scrape, scratch, and nick the nonstick coating right off of your pans. Instead, only use plastic or wooden utensils in your pans. Purchasing high-quality pots and pans like those made by Zavor can ensure nonstick cooking for a long time to come.
Adding Fat at the Wrong Time
For most stovetops, cookware butter or oil is added once the pan has been heated, and then you add the food that needs to be cooked.
This is not the best cooking practice. Instead, for a nonstick pan, you need to add the fat to a cold pan before heating. This helps to strengthen the capabilities of your nonstick pans and will help them to last longer.
Cleaning the Pan Too Harshly
Cleaning any pan with harsh chemicals or the wrong type of cleaning materials, like a metal scrubber, can ruin your pan. The best way to clean your nonstick pan is by hand washing it with a soapy cloth or soft sponge.
Honestly, you shouldn’t need much more than this. Nonstick pans are made for easy cleaning up.
If you find you do have a little residual food that is stuck on, make a paste of baking soda and water to scrub off unwanted particles. Many manufacturers claim that their nonstick pans are dishwasher safe, however, best practices suggest that the chemicals and temperature variations in the dishwasher may cause the coating to flake off.
Storing Your Pans Improperly
Did you know that storing your nonstick pans improperly can cause them to lose some of their nonstick capability?
When you stack nonstick pans on top of each other, they can get nicks in the nonstick coating. If this is how you prefer to store your pans, make sure you have placed either a paper towel or a paper plate in between.
If you are storing using an Adjustable Pan Organizer, this will help prevent scratches. Maybe you don’t have enough room in your cabinet for one due to the pan size and length. A new and different option is to purchase Zavor pans.
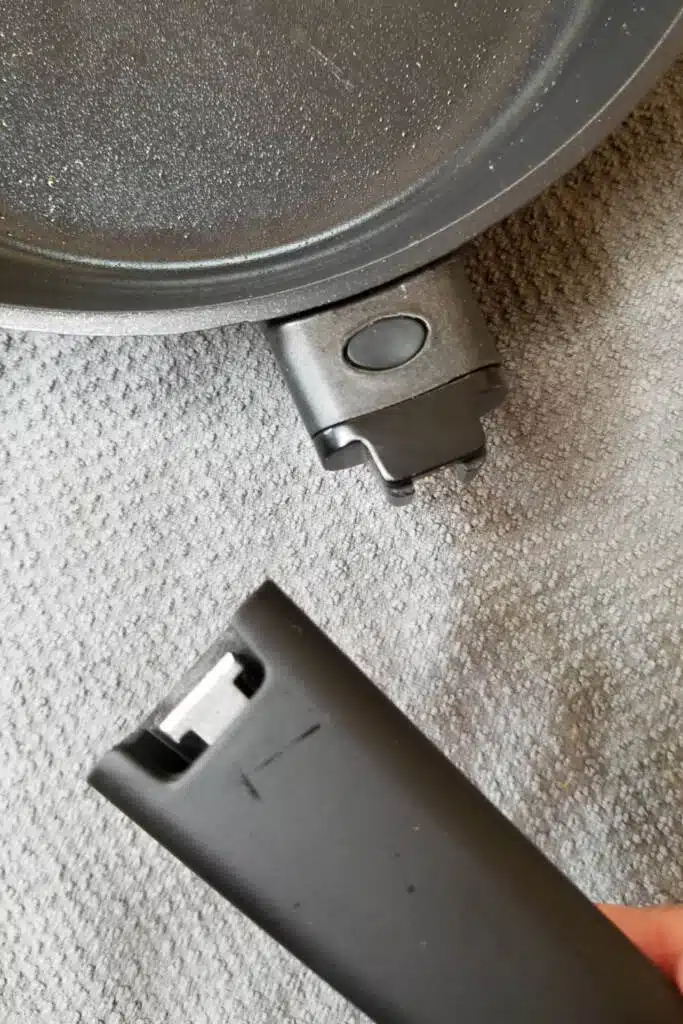
They make stacking and storing your pans easier with their easily removable handles, plus it is perfect for stovetop to oven cooking.
Kitchen Hack for Sticky Pans
Do you have a nonstick pan that has become sticky? Here is a quick troubleshooting trick that may bring your pan back to life. Just don’t toss it just yet! Place your pan on the burner over low heat for 30 seconds and then add a teaspoon of vegetable oil.
Take a paper towel, wipe the oil all over the inside of the pan, and wipe out any excess oil. You can repeat this process anytime you notice your nonstick pan beginning to stick to give it a longer life.
Now you know all about the ways that you may be ruining your pans and how you might be able to save them. You’re well-equipped to avoid making any of these non-stick pan mistakes.
Other Frugal Kitchen Cooking Tips
Amazing Mason Jar Lid Kitchen Hack You Need to Try
Kitchen Tip: How to Clean Grapes – Protecting Your Fresh Produce
Make Meal Prep Easier With These Must-Have Kitchen Tools
This post may contain affiliate links or sponsored content. Disclosure Policy

