
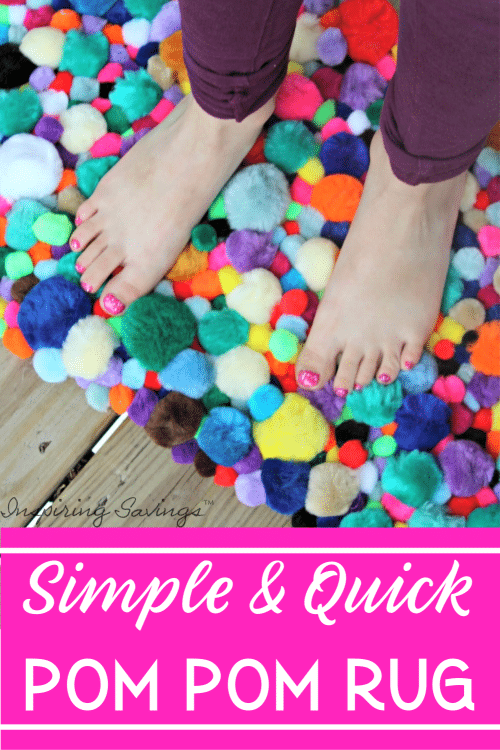
Make a DIY Pom Pom Rug in No Time
Transform your space with our quick and easy DIY Pom Pom Rug tutorial! In just a few simple steps, you’ll learn how to create a cozy and colorful rug that adds warmth and style to any room. Perfect for beginners, this project is both fun and functional. Grab your materials and let’s get crafting!
Make a DIY Pom Pom Rug in No Time
This DIY pom pom rug is a fun gift that the kids can make for a friend or their room. And let’s just admit that a handmade pom pom rug is just as much a gift for your feet and eyes as it is for your floors.
Your kids will have so much fun helping you make this rug. It is time to make your room cooler with more creative colors and this fun craft that you made yourself.
This rug is just that, SIMPLE! All the items can be purchased from your local craft store or online. Just double-check to make sure you don’t already own some of the items listed below.
DIY Pom Pom Rug Supplies
Please note that you can print the complete supply list and instructions below.
- Plastic Canvas – You can use any size you wish, but I used a 12×18.
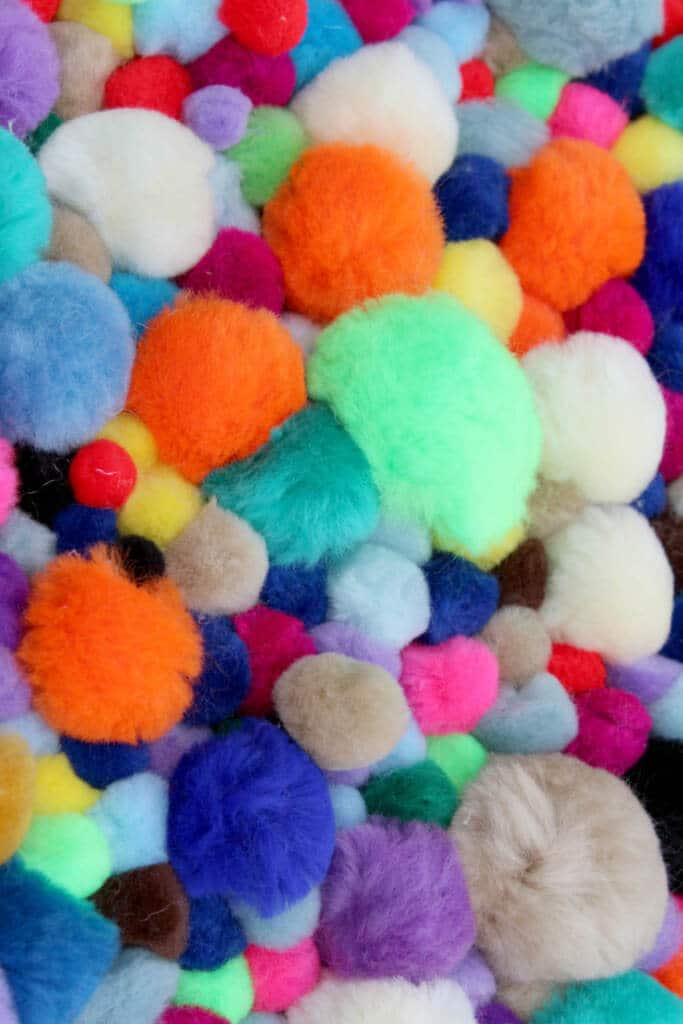
- Pom Poms – I used packs of assorted sizes and colors.
- Hot Glue Gun
- Hot Glue Sticks
- Wax Paper
- Nonslip Rug pad (optional)
If you have any leftover pom poms you can make this adorable love bug craft with the kids. We like to do this one around Valentine’s Day, but you can make them anytime.
HOW TO MAKE THIS DIY POM POM RUG
STEP ONE: First, you will begin by covering your workstation with wax paper. Hot glue will fall through the plastic canvas, and you don’t want it sticking to your table! Make sure you cover your entire workspace.
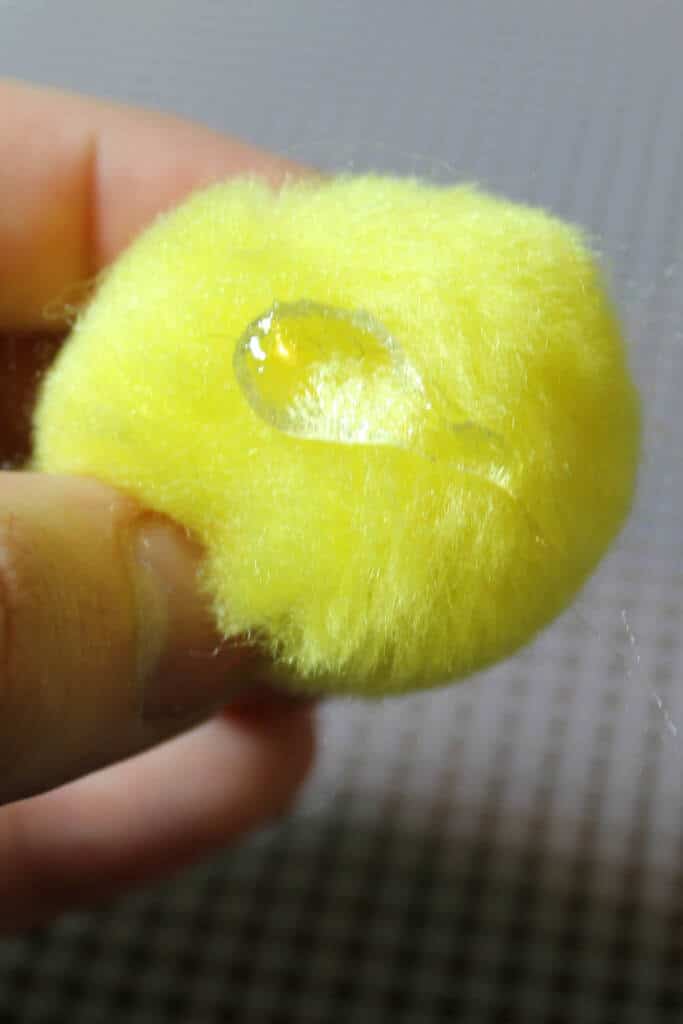
STEP TWO: Now you can begin the real fun. Pull out those pom-poms. You are going to need a lot of them. Grab your first one and put a drop of hot glue on the pom-pom. Now stick to your very first one onto your plastic canvas.
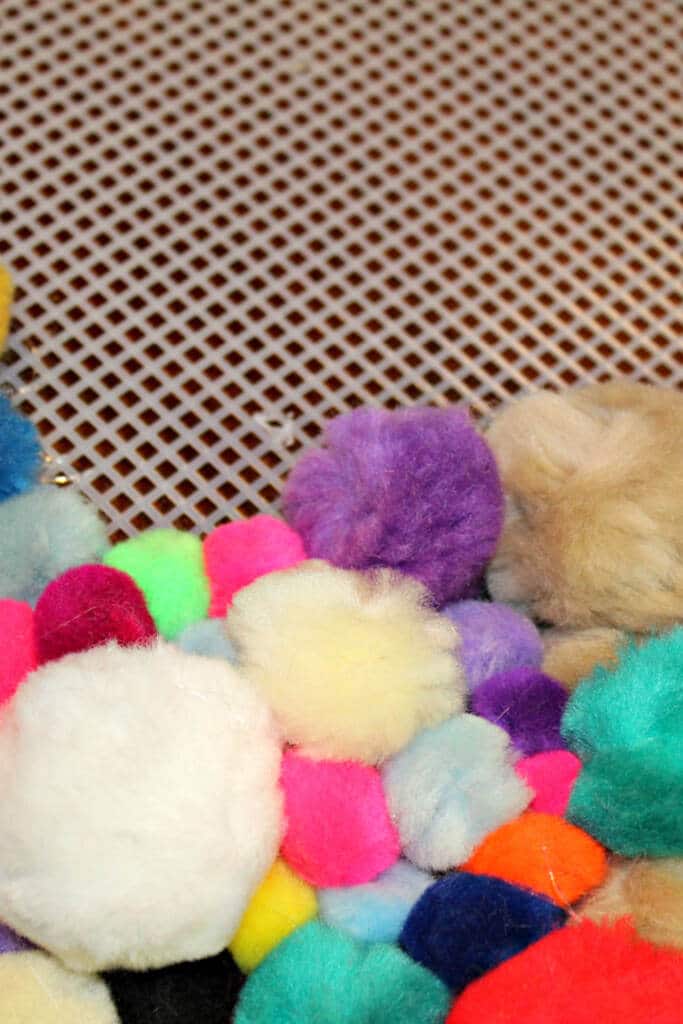
You don’t need to start in the center unless you are creating a special pattern. I started at the corner and worked my way across my canvas. I used different-sized pom-poms as I went along.
Colors, Colors, Colors
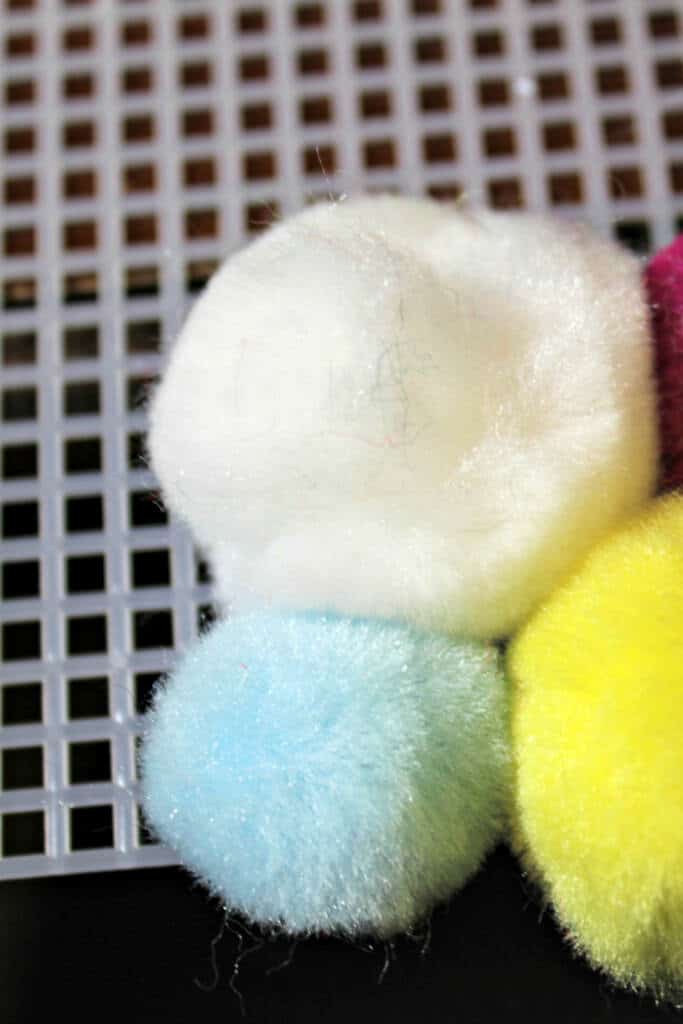
STEP THREE: Alternate colors and sizes, gluing the pom-poms to the canvas until completely covered. You can certainly pick out your creative pattern, do a solid color pattern, create an ombre effect, or use all the colors as I did.
Make sure you are placing the pom-poms close to the next.
STEP FOUR: You can remove any loose glue strands as you go or leave this job until the end. It is easier to pull them off once the glue is completely dry.
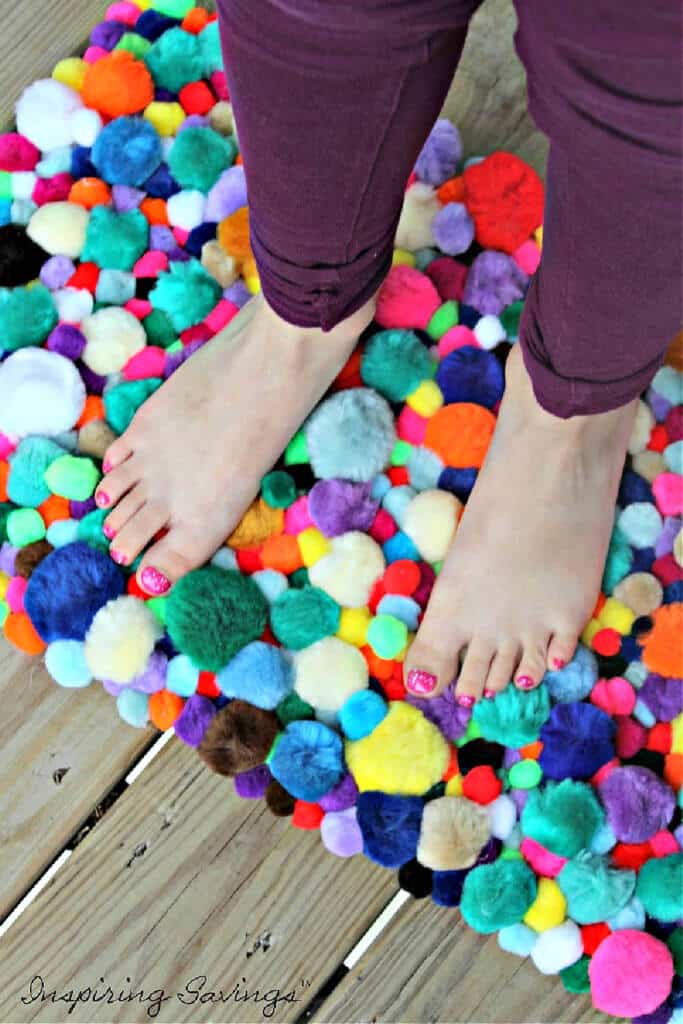
STEP FIVE: Lastly, and if you want, you can cut a piece of nonslip rug padding to fit and glue it to the back of your canvas.
I would highly suggest doing this next step. The plastic canvas is seemingly slippery on a hardwood floor. I imagine it would be the same for tile.
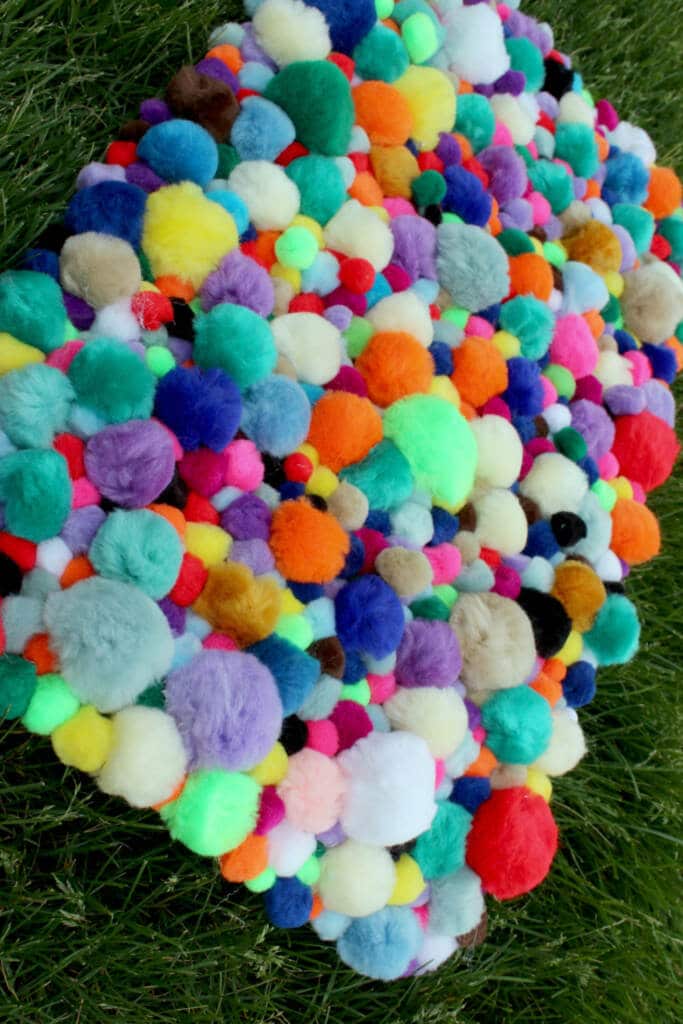
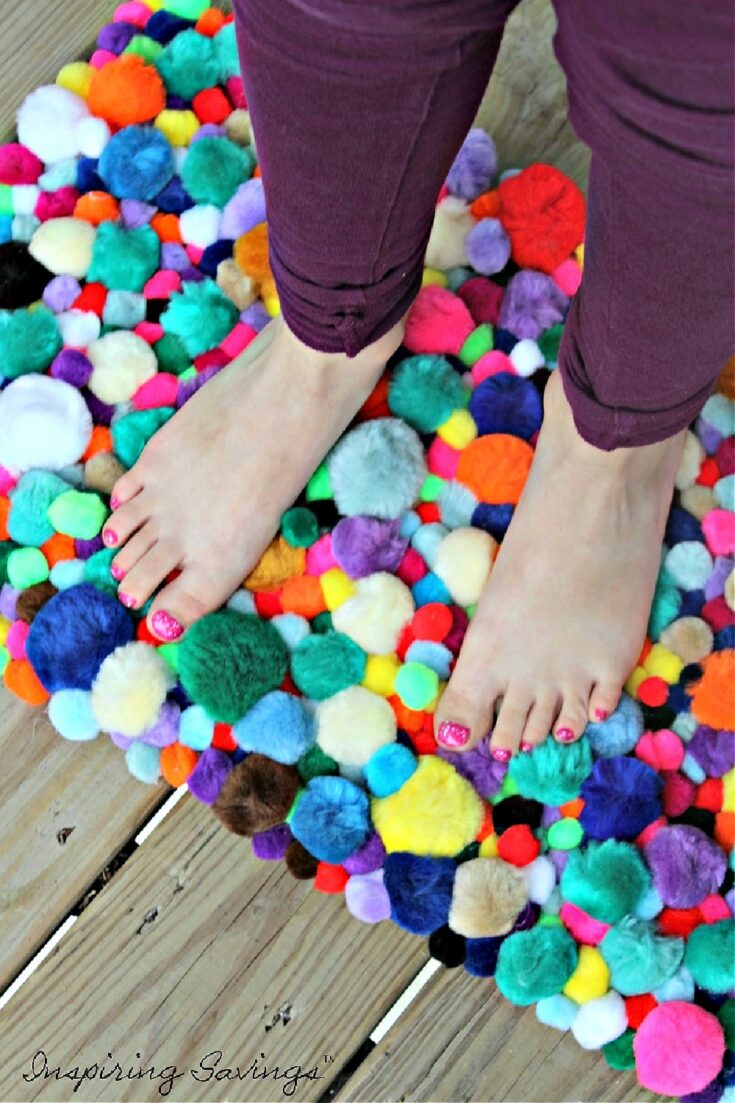
Now you have a beautiful, fun, and colorful rug for your living room, bedroom, or anywhere else you can think of!
Super Fast & Easy DIY Pom Pom Rug - Made From Ready Made Pom Poms
Easily create a pom pom rug for any room without the hassle and extra time. This super simple run is made with store purchase pom poms.
Materials
- Plastic Canvas – You can use any size you wish, but I used a 12×18.
- Pom Poms
- Glue Sticks
- Wax Paper
- Nonslip Rug pad (optional)
Tools
- Glue Gun
Instructions
- Cover your work station in wax paper. Hot glue will fall through the plastic canvas and you don’t want it sticking to your table!
- Put a drop of hot glue on a pom-pom and stick to your plastic canvas. Be careful of your fingers!
- Alternate colors and sizes, gluing the pom poms to the canvas until completely covered.
- Remove any loose glue strands.
- If you want, you can cut a piece of nonslip rug padding to fit and glue to the back of your canvas.
- Now you have a beautiful fun and colorful rug for your living room, bedroom or anywhere else you can think of!
Other DIY home decor ideas
DIY No Sew Outdoor Tassel Pillows – 6 Step Project
Homemade Fall Decoration: Altered Wood Block Letters
Homemade Fall Centerpiece – Decorate Your Table
This post may contain affiliate links or sponsored content. Disclosure Policy


2 Comments