Elevate Your Range Hood: Add A Customized Wood Accent
How to build a DIY range hood cover for less than $30! This designer-style hood range cover creates character and a beautiful focal point for any kitchen! It’s perfect for a DIY kitchen makeover!
No matter how nice a kitchen is, we usually find ways of wanting it to look better, whether it is cabinet hardware, paints, pendant lighting, appliances, rugs, island upgrades, or, for me, a $30 vent cover hood upgrade.
It isn’t in the card right now for us to replace the whole vent, so instead, we quickly customized our existing hood range. Only purchasing the wood we needed. Everything else we had on hand. Below, you will find step-by-step instructions, the materials we used, and the tools needed to complete this project.
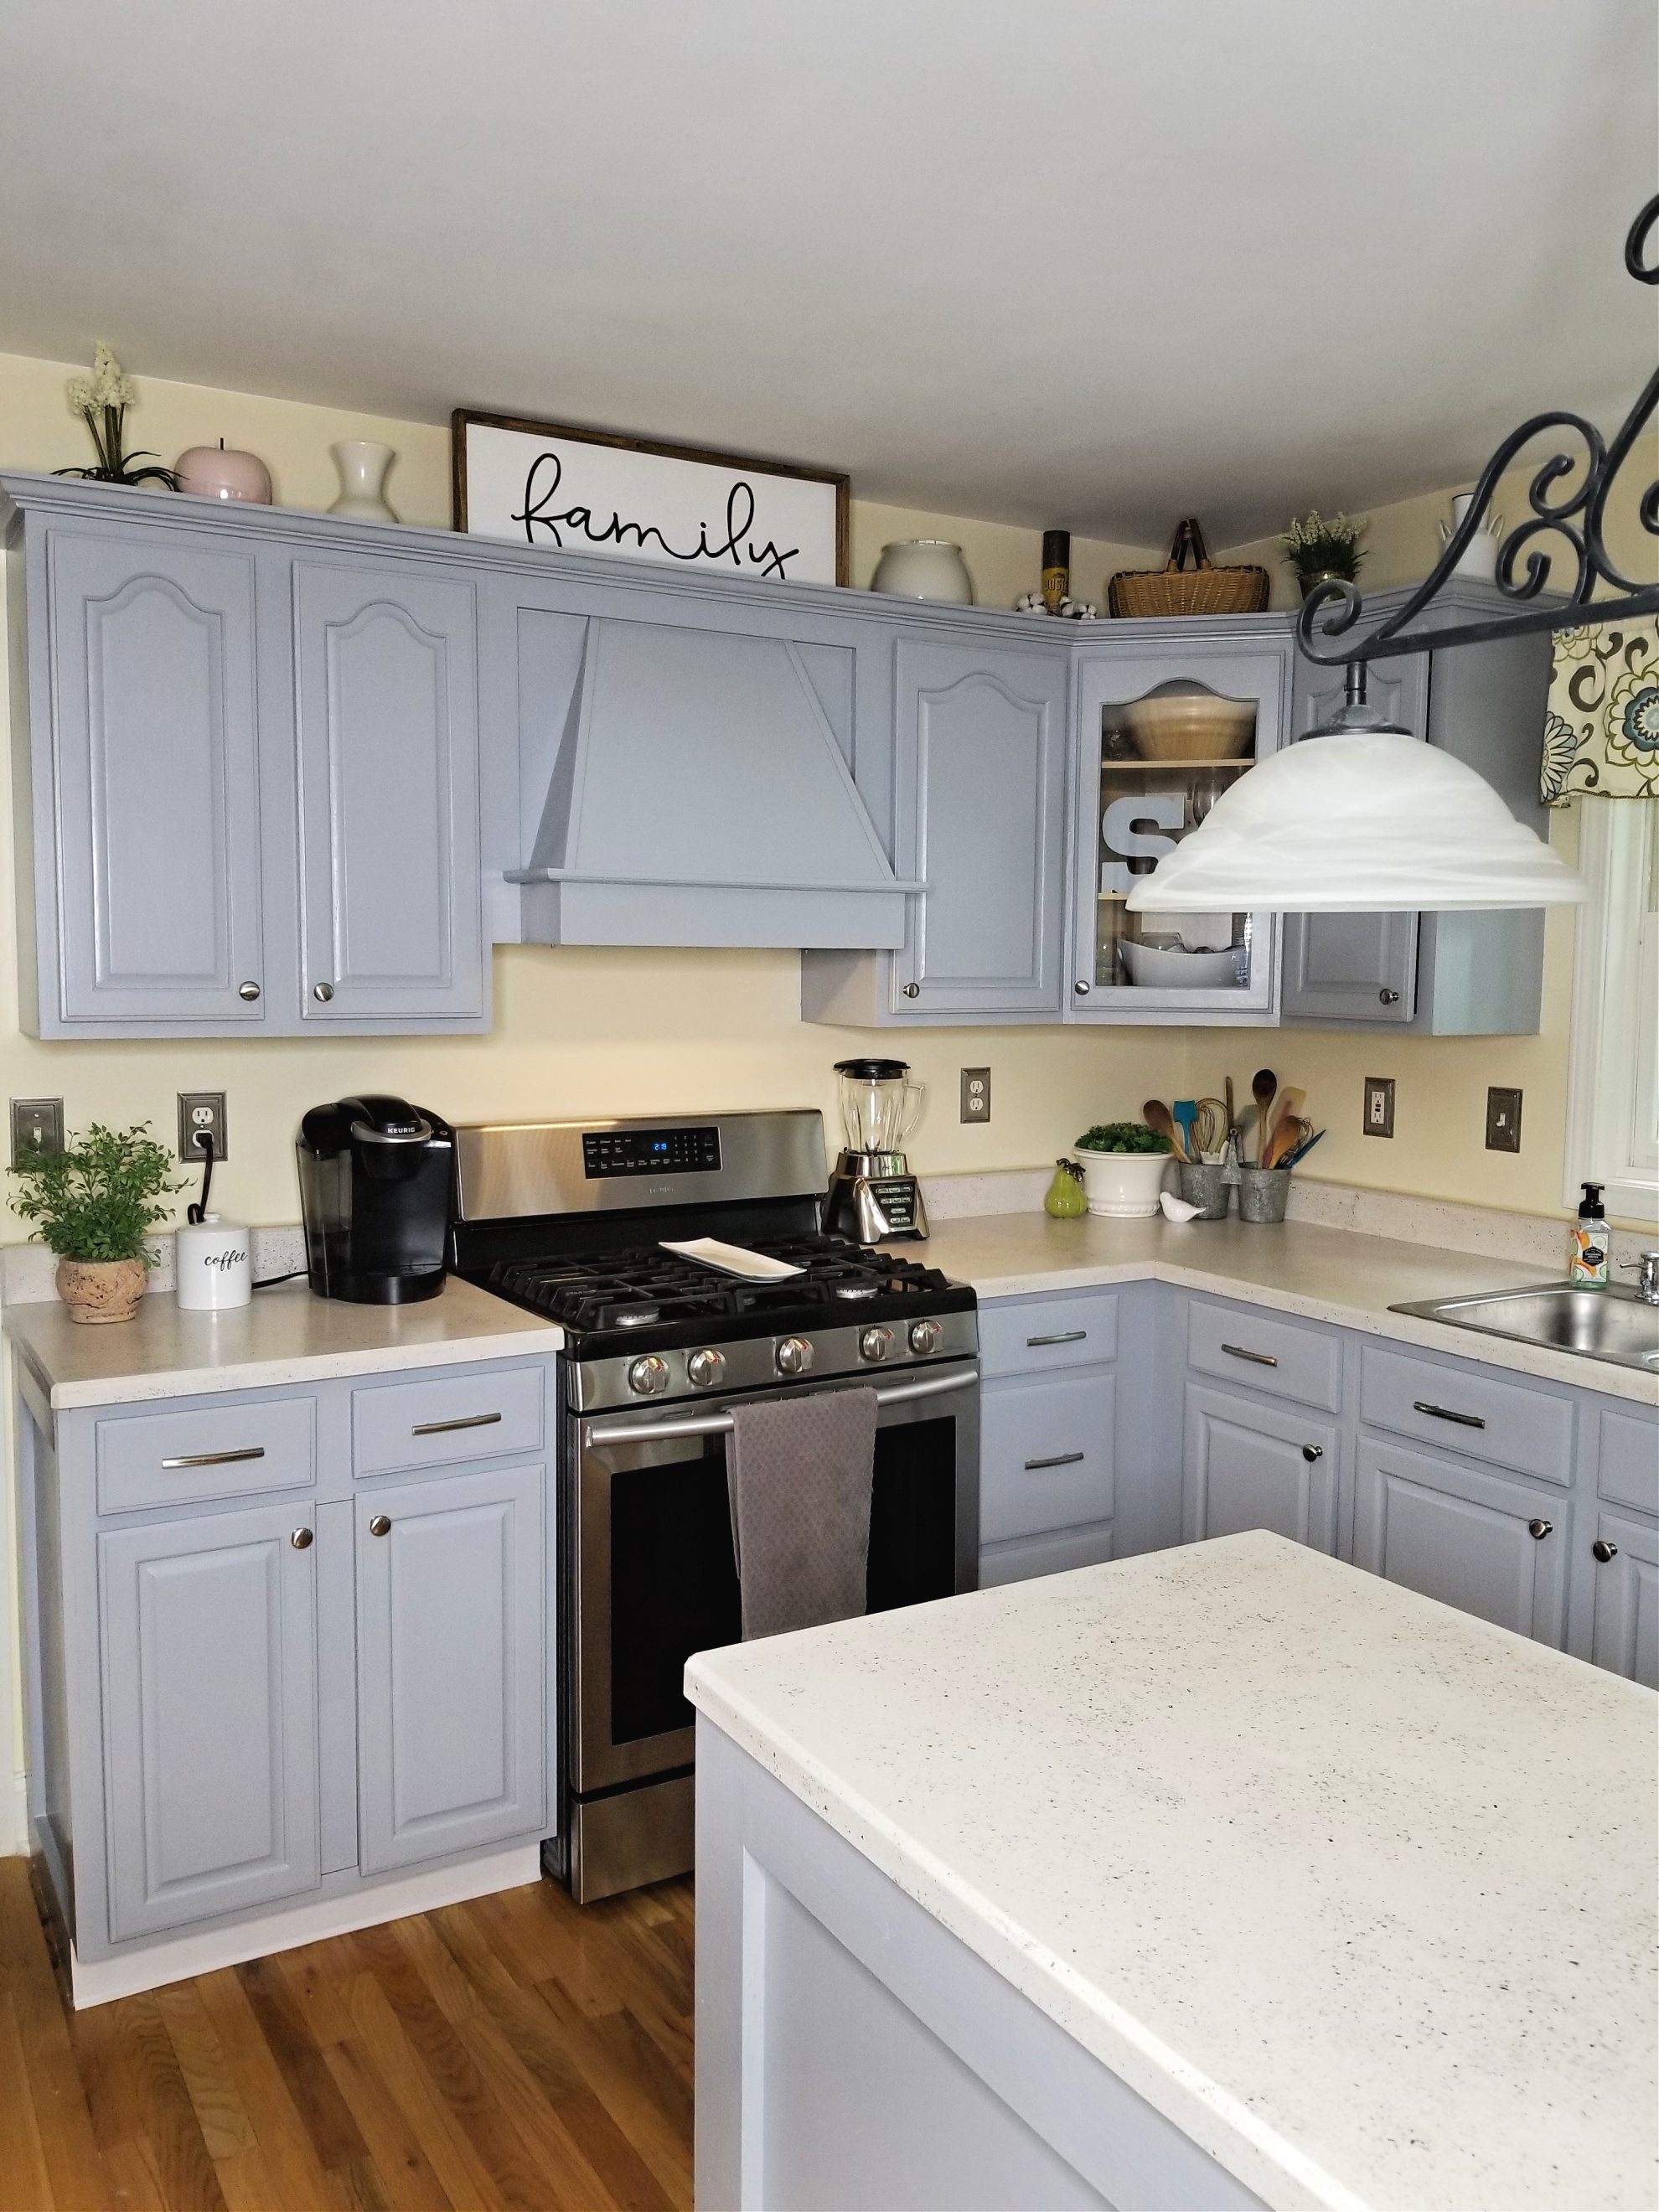
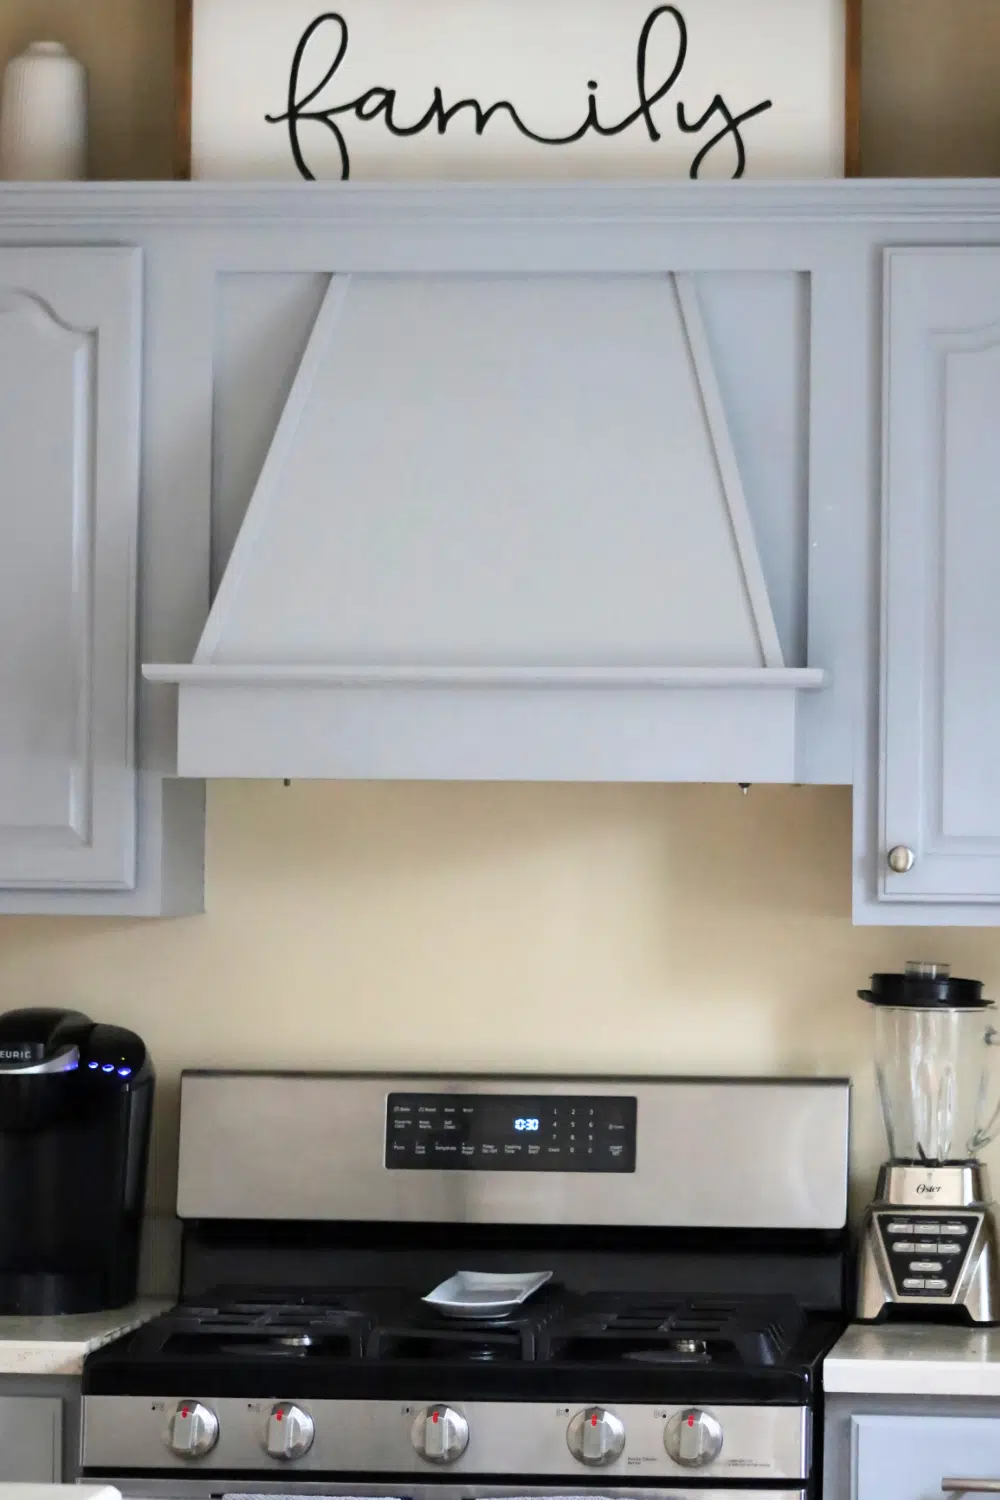
Our range hood went from an eyesore to a beautiful focal point of the kitchen.
Adding A Customized Wood Accent To Your Hood Range
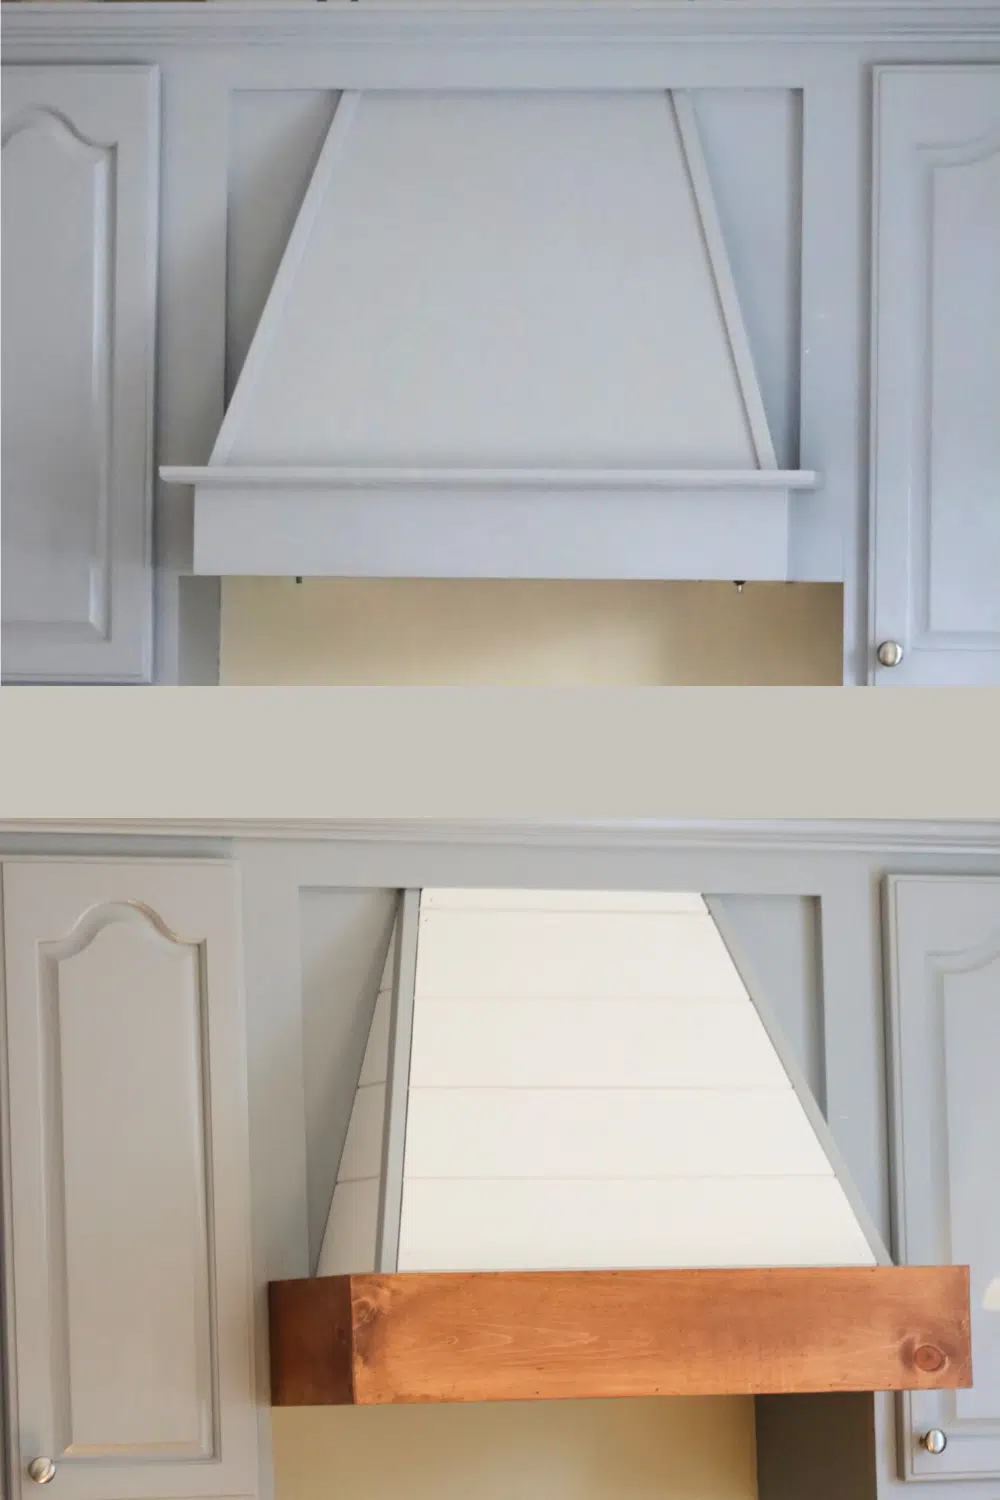
Before and After Our Vent Hood Customization
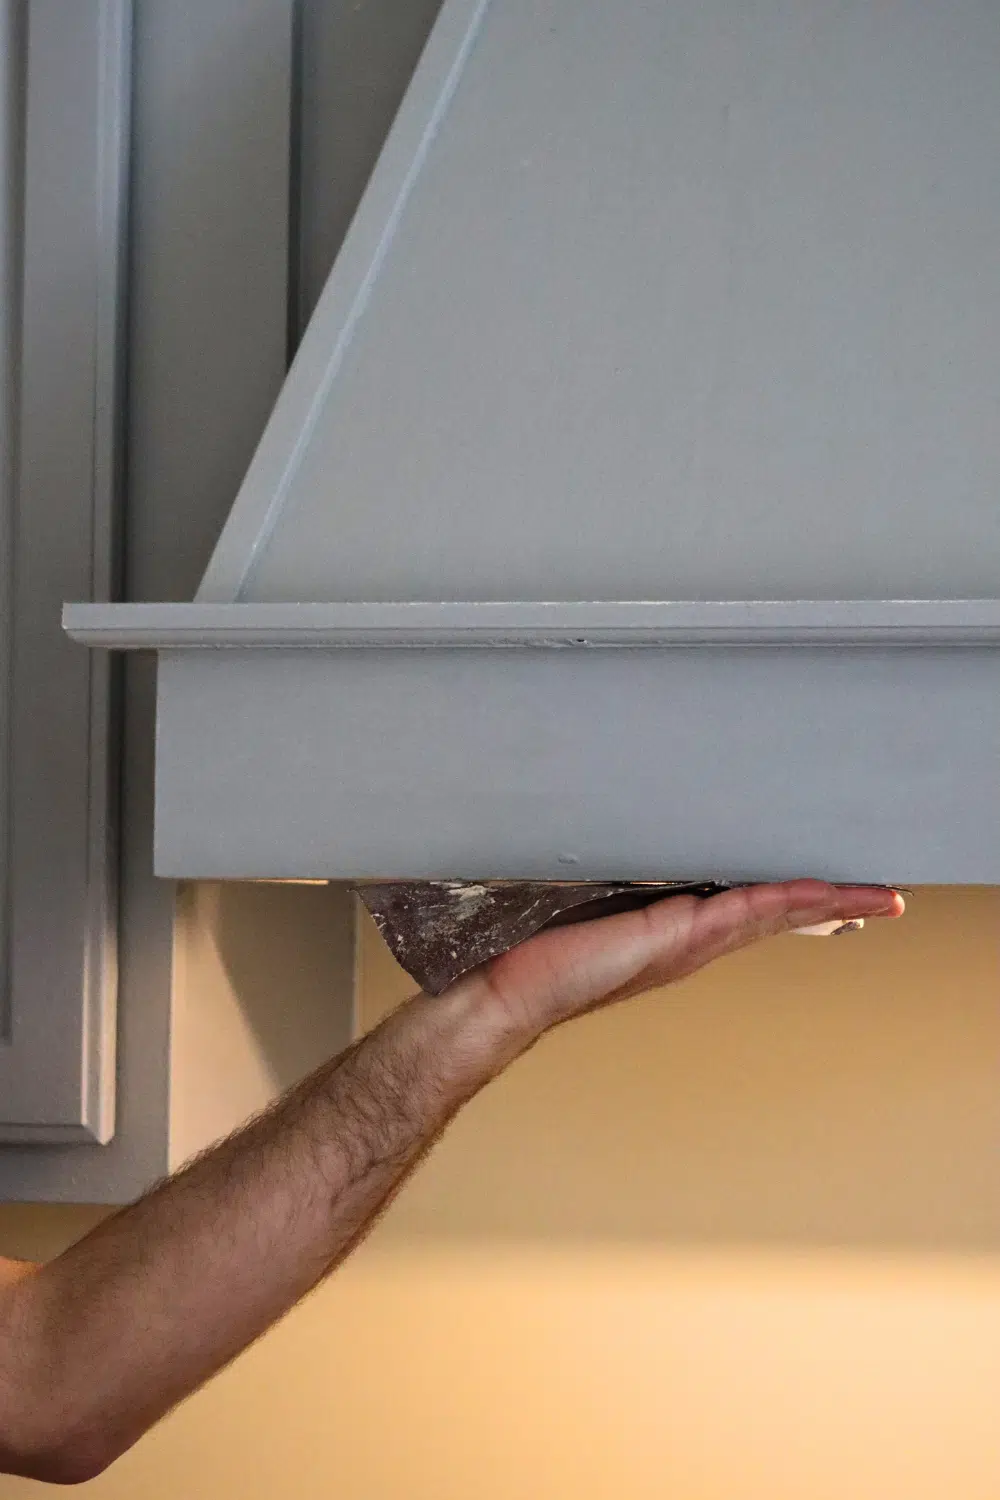
Our current vent is about 20 years old. It seems we have reached that point when everything is starting to go. After replacing our water heater, roof, furnace, etc. We just don’t have it in the budget to do the things we really want to do.
But, using some creativity and our low budget, we were able to upgrade the look of our vent hood. Below is a picture of our “before.”
Items Needed
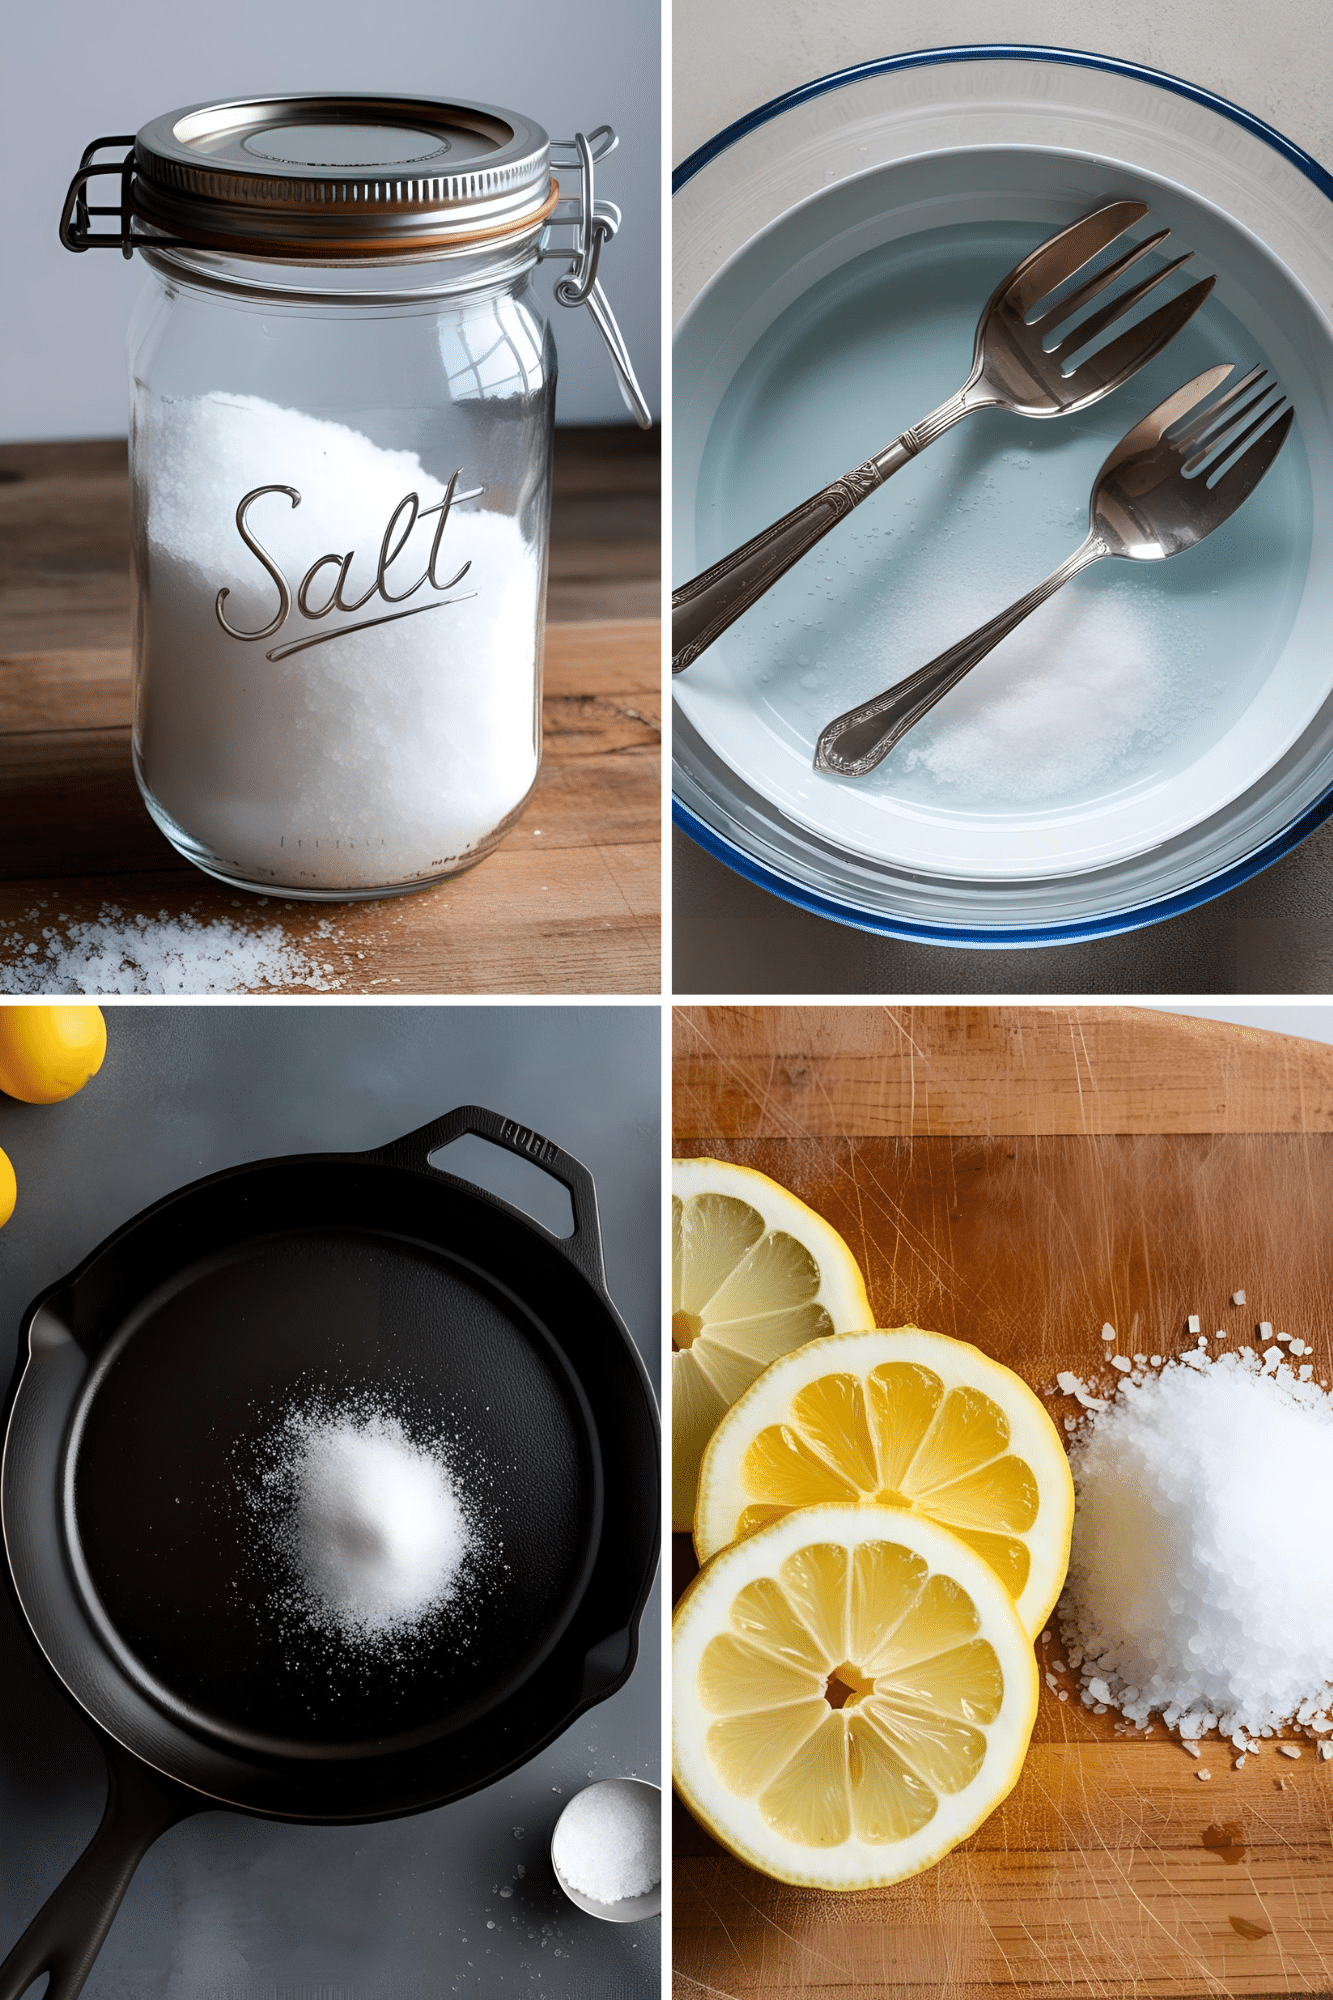
- All-Natural Cleaning Solution
- Sandpaper – 100 grit/220 grit
- 1 1/4 Nails – for nail gun
- 8-ft piece of 1″ X 6″ pine – Size we needed for our hood
- 8-ft piece 1″ x 3″ pine -Size we needed for our hood
- Wood Filler
- Pre-Stain Conditioner
- Wood Stain – We chose Red Chestnut
- Polyurethane – We chose Satin Finish
Tools Need
- Circular Saw
- Miter Saw
- Speed square
- Level
- Nail gun
- Tape Measure
- Bar Clamp
How To Create This Customized Wood Accent
STEP ONE: Roughly measure your area to create your shopping list and amount of pine wood needed. You can certainly upgrade to a hardwood, such as oak.
STEP TWO: Prepare your current wood hood by cleaning it with this solution to remove all the grease. Then, lightly sand the area with 100 grit to remove any big imperfections, then sand with 220 grit to smooth.
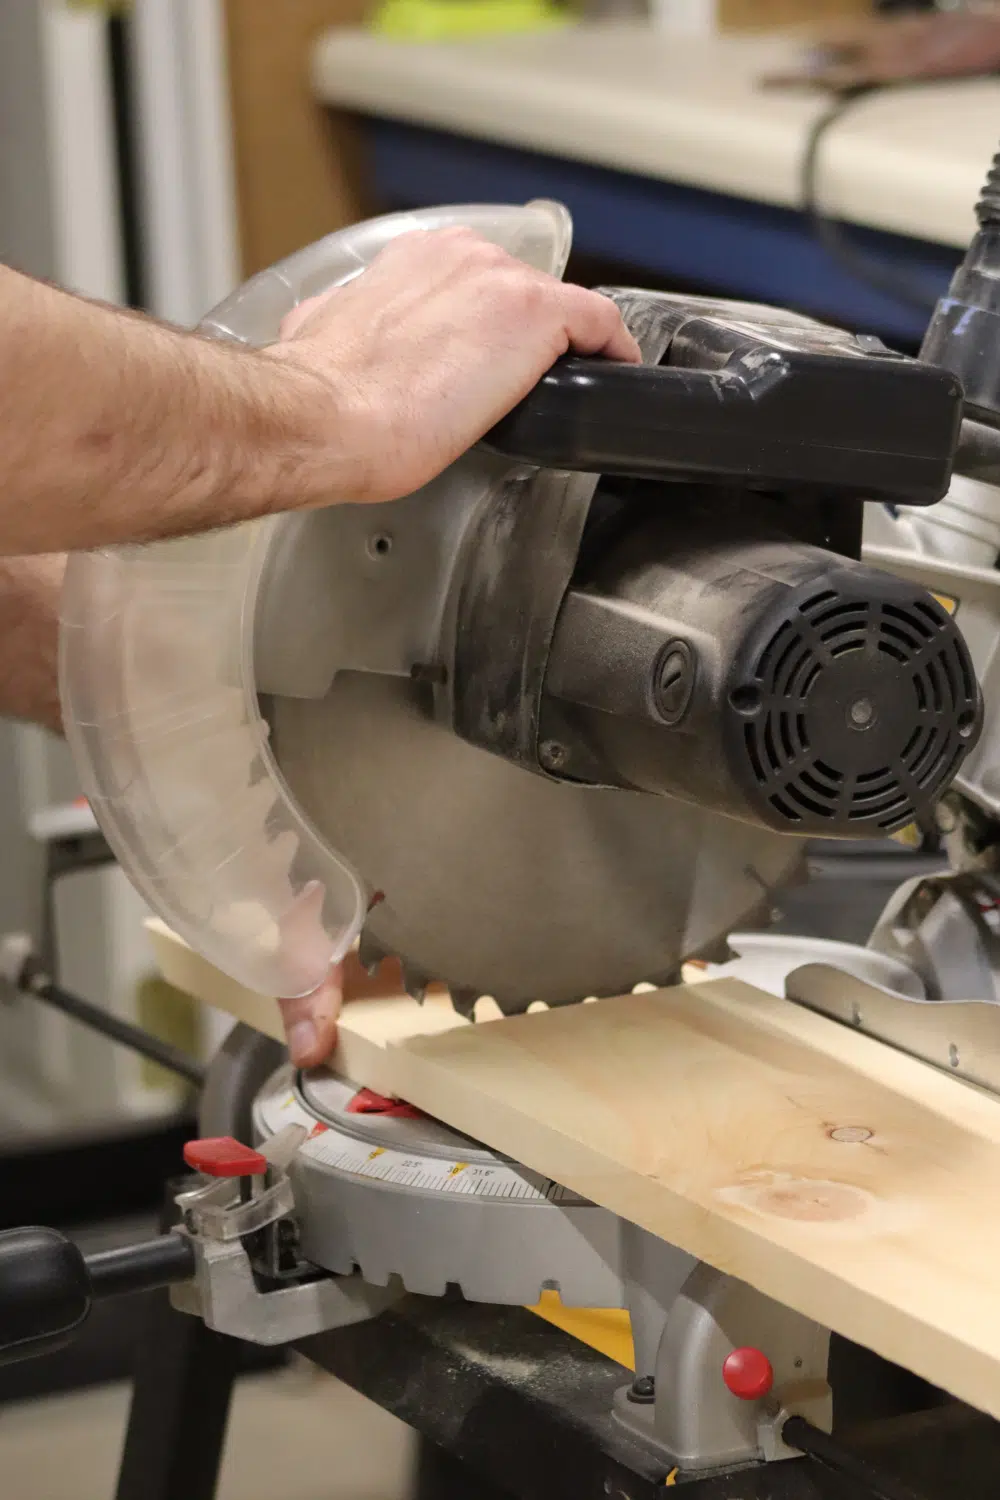
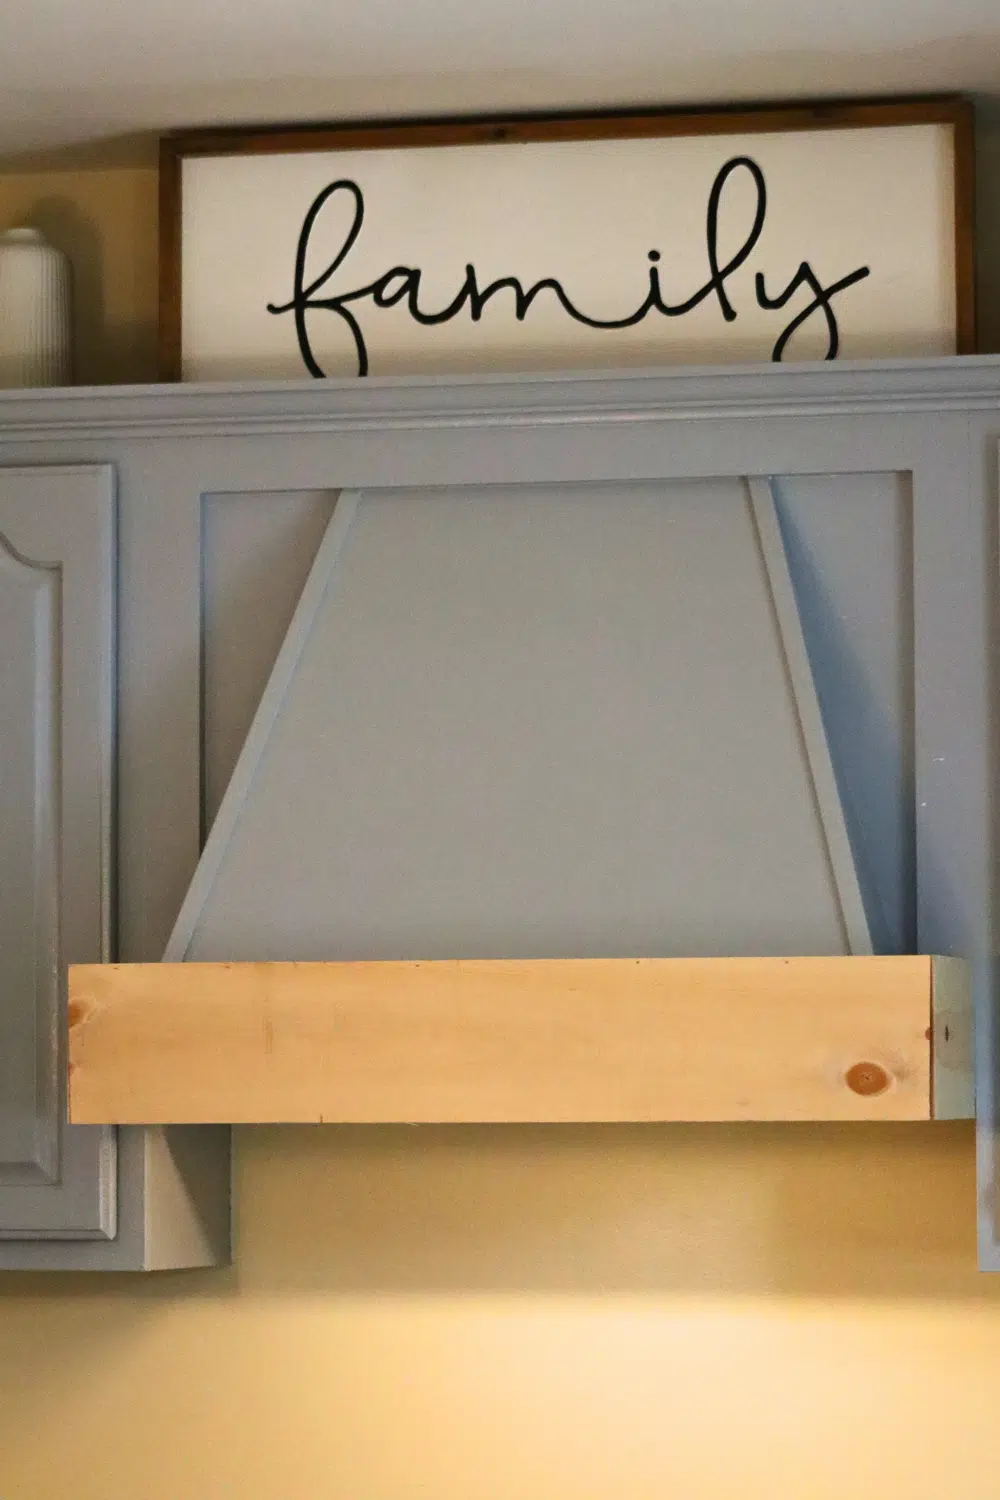
STEP THREE: Take final measurements of each side and front of the hood to make the necessary cuts from the pine. The larger wood for the front and sides should be mitred in the corners for a more finished look.
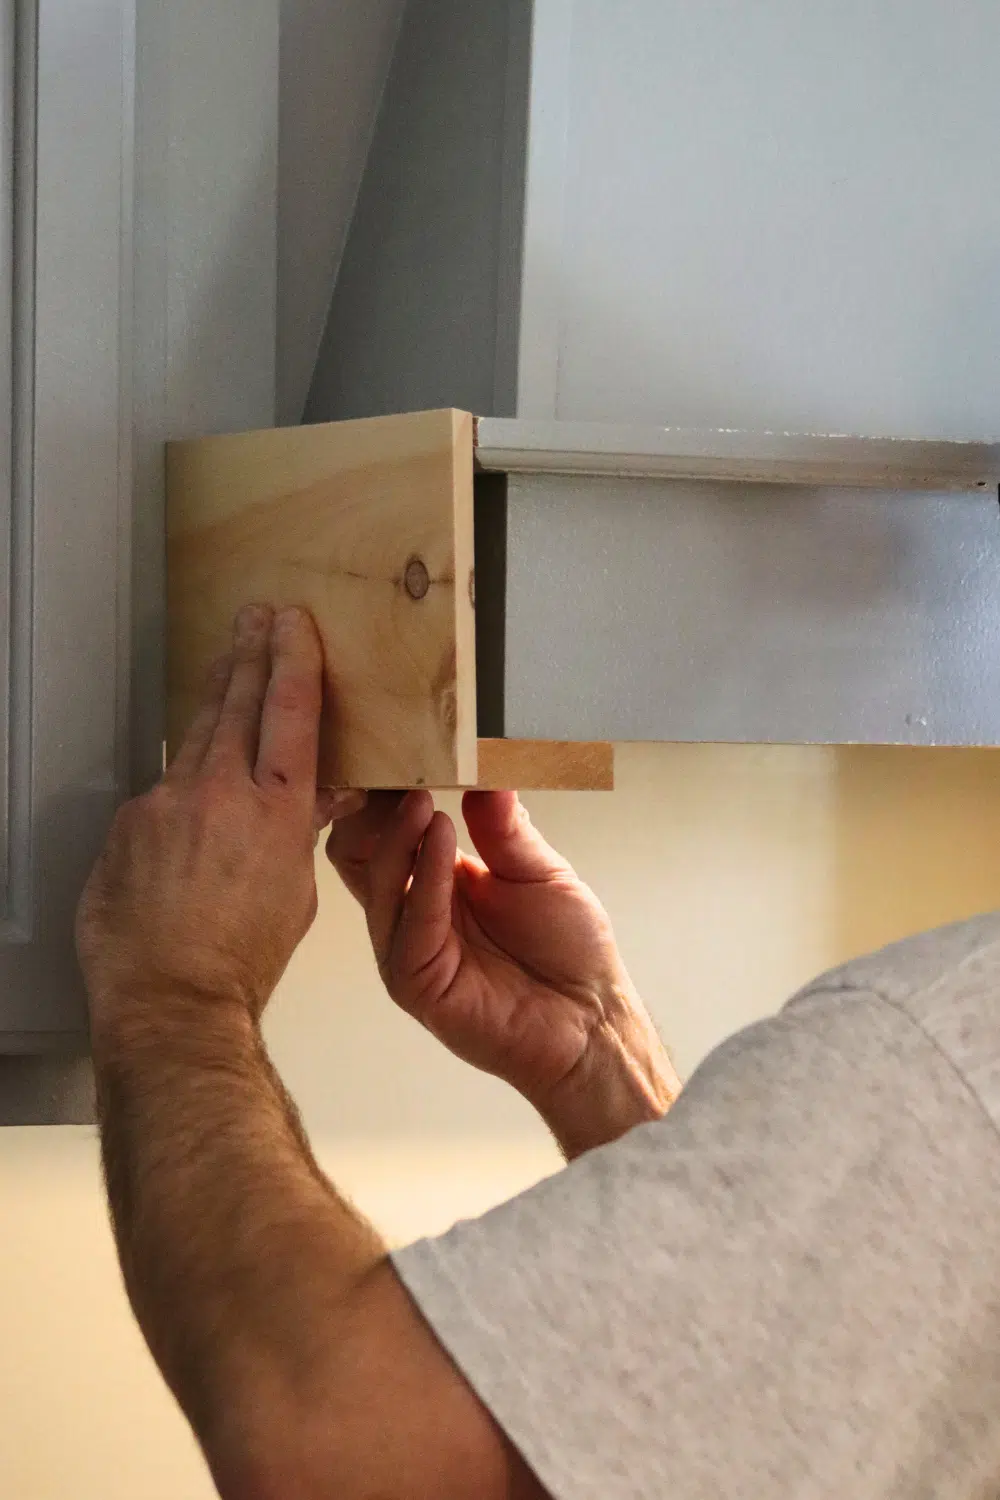
STEP FOUR: After cutting the larger wood for the front and the sides, dry-fit the pieces and make any necessary adjustments. Attach these pieces with the nail gun, only nailing at the top for now.
STEP FIVE: Measure the smaller wood for the bottom pieces, taking into account if you want to miter these pieces or not. These can be mitred, but they will be less visible than the front and sides, so it is not necessary.
STEP SIX: Cut the smaller wood for the bottom and dry-fit the pieces. Make any adjustments for the length and overall fit.
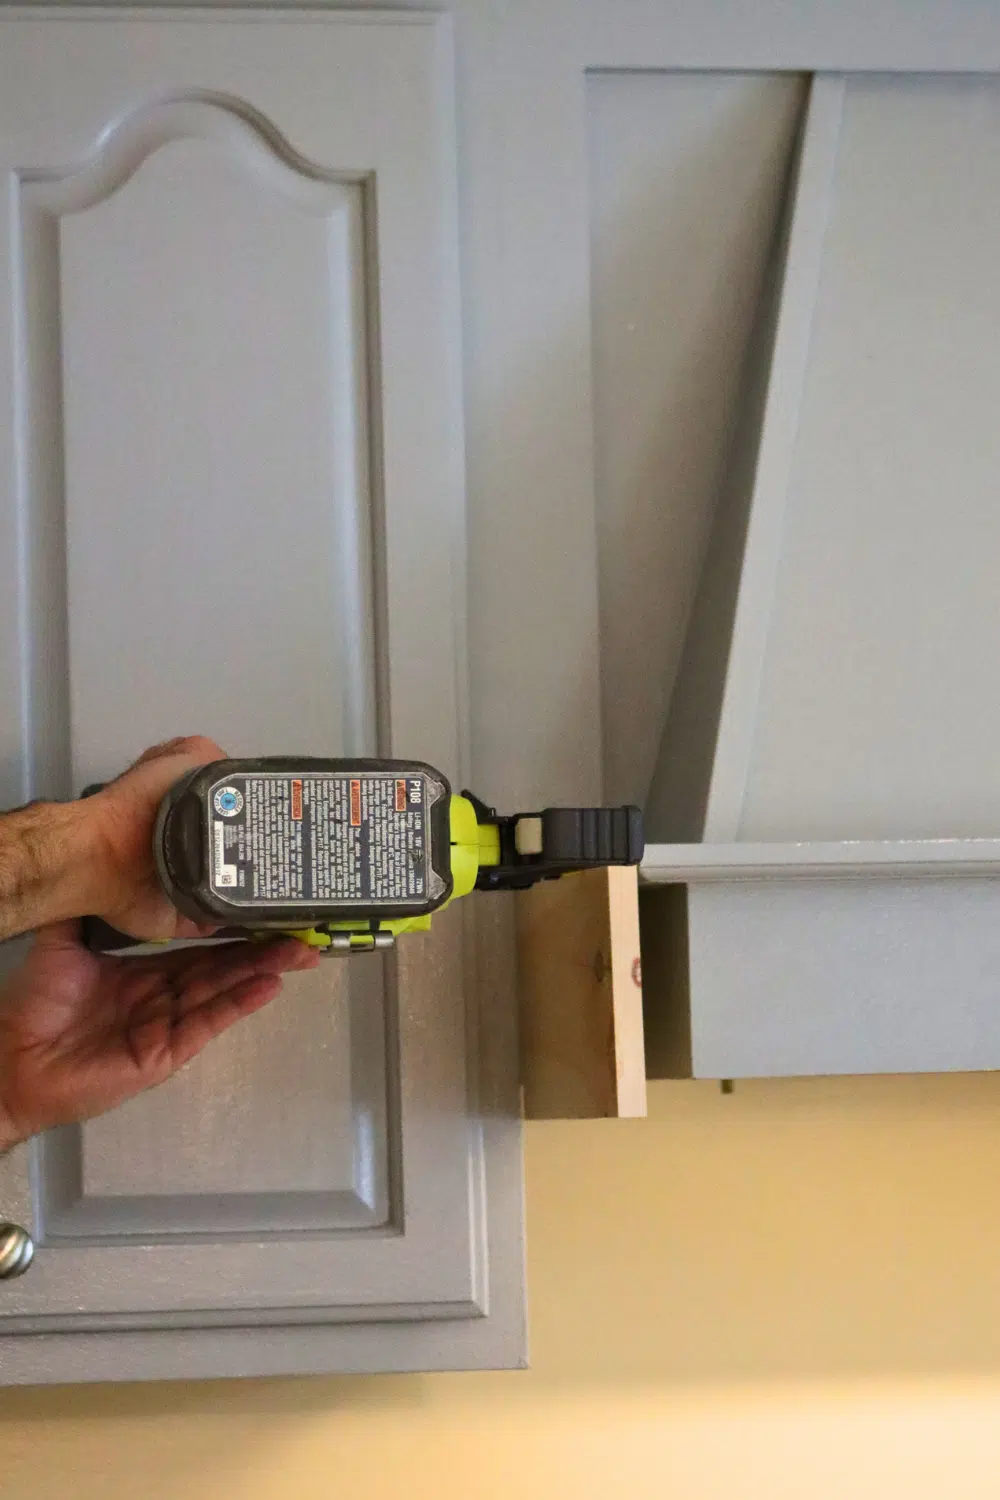
STEP SEVEN: Using a bar clamp and level, hold each bottom piece in place and check to see if the front or side is plumb. Once plumbed, use the nail gun to attach the bottom to the front or side.
STEP EIGHT: After the bottom is attached to the front or side. Use the nail gun to attach the bottom to the underside of the hood.
STEP NINE: Repeat steps seven and eight for each bottom piece.
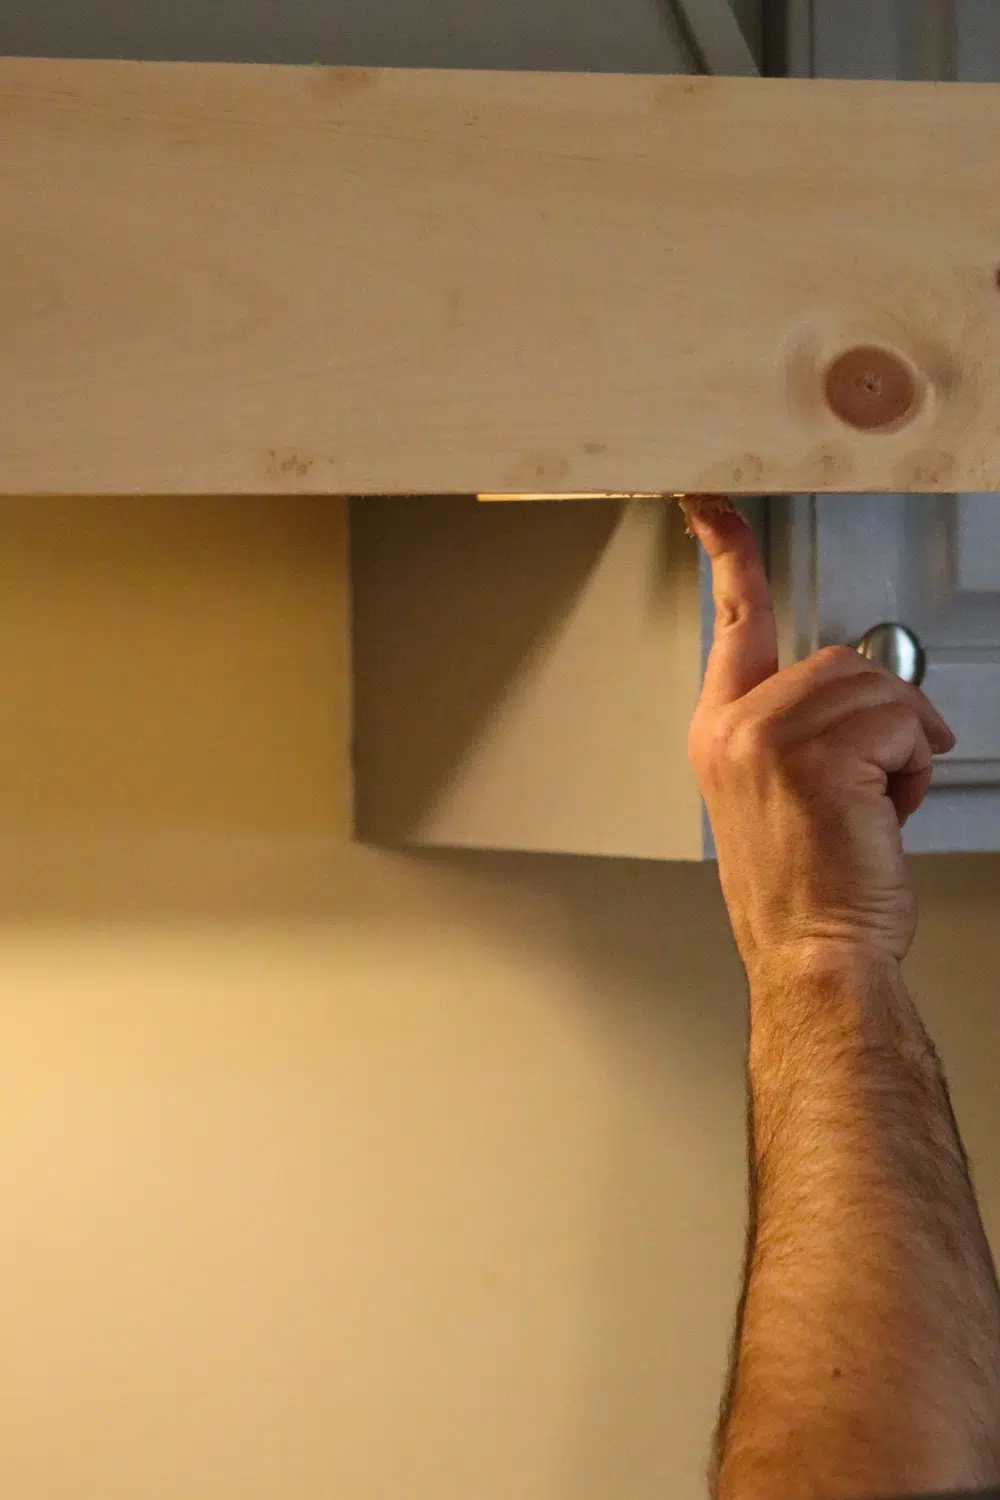
STEP TEN: Use wood filler in each nail gun nail hole and also at the seams between the wood pieces. You may need several coats of wood filler to fill any gaps. Sand each area between layers of wood filler.
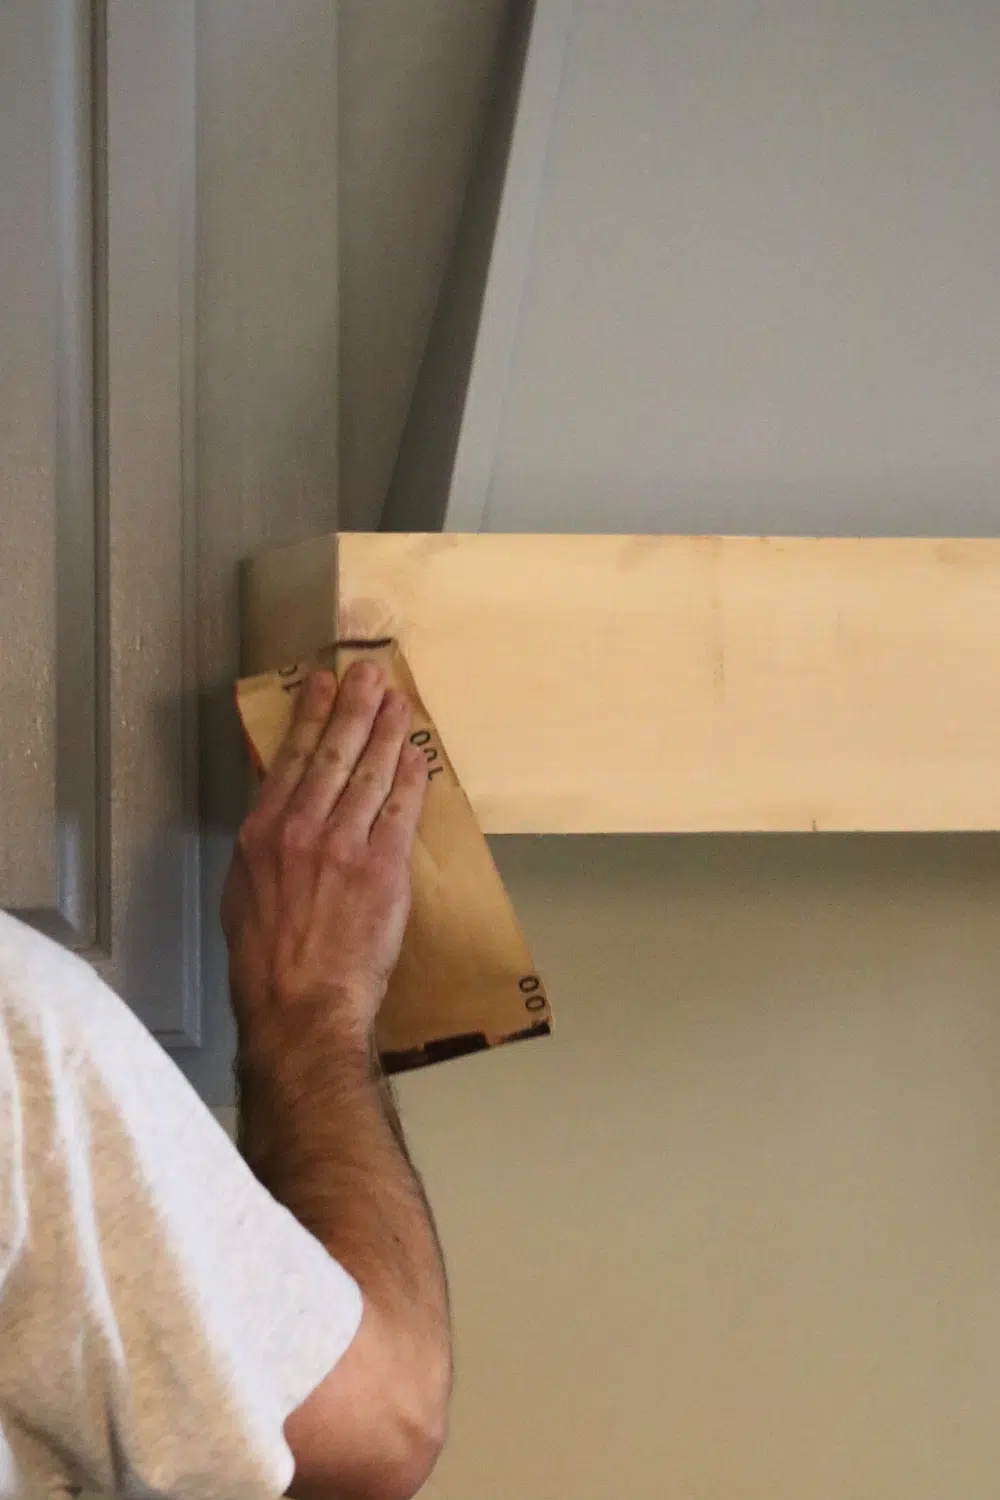
STEP ELEVEN: Sand the front, sides, and bottom of the new wood. At this point, you want to remove any residual wood filler and prepare the wood faces for paint/stain.
STEP TWELVE: Apply pre-stain conditioner following product instructions.
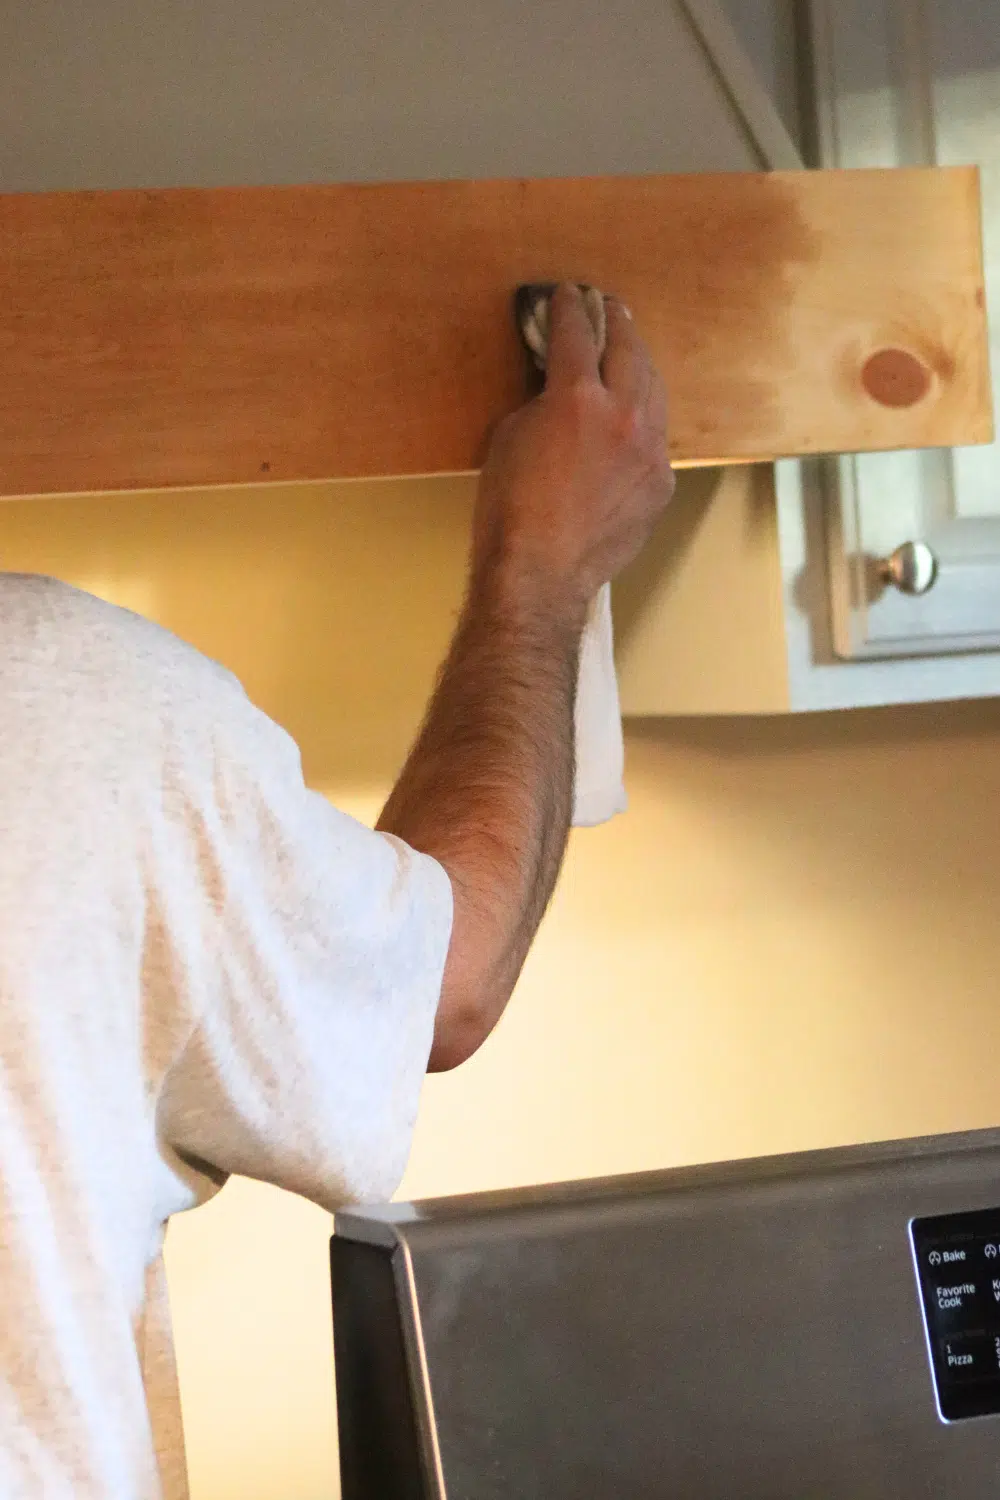
STEP THIRTEEN: Begin the staining process. Apply stain and, if need be, a second coat, but remember to lightly sand in between.
STEP FOURTEEN: Apply two coats of polyethylene. Allow each coat to dry completely before applying the next coat.

An Additional Upgrade Update
To make this inexpensive upgrade look cohesive in our kitchen, we added a shiplap panel. Now, I love it even more.
Well, I am just in awe at how lovely this DIY range hood cover turned out! It has really brought our kitchen makeover together thus far and looks beautiful with our tile backsplash, too! I love the warmth and character it provides and has made a huge difference!
More Low-Cost Kitchen Upgrades
Update Your Kitchen Countertops Without Removing Them
The Best Way to Paint Kitchen Cabinets – Affordable Update
Quick Ways To Make Your Kitchen Cabinets Look New Again
This post may contain affiliate links or sponsored content. Disclosure Policy